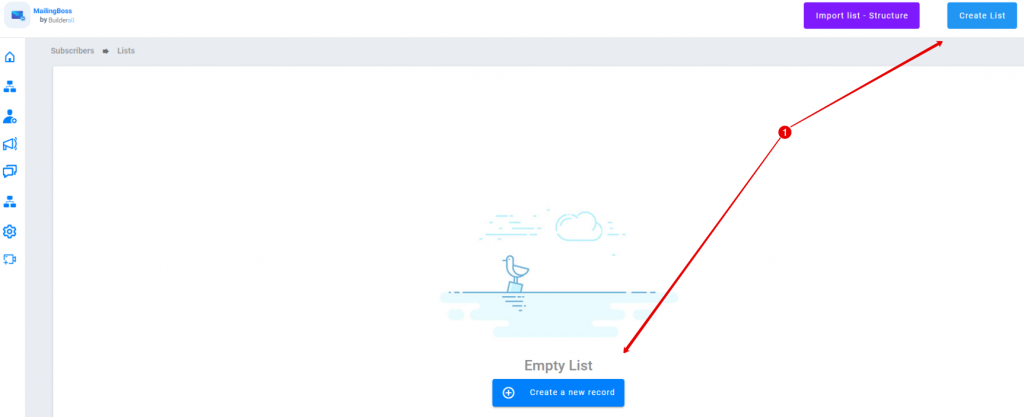
STEP 1
Before you can set up your Workflow you will need to create a List first:
- Click on “Create List” or “Create a new record”
STEP 2
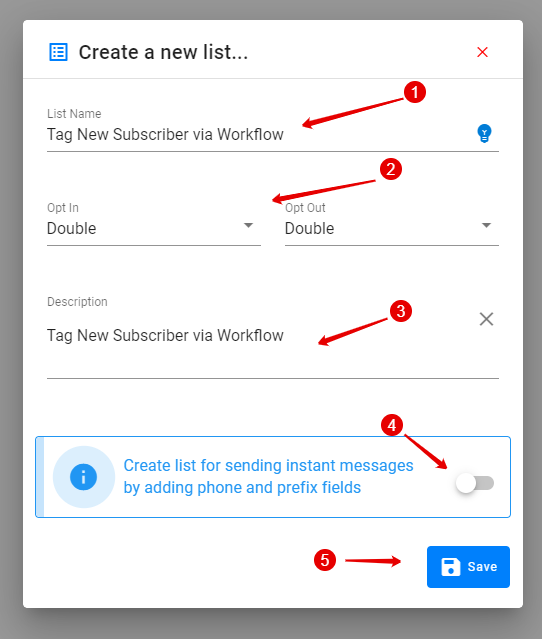
- Give the List a Name
- Make sure to “Double Optin” especially for lead generation
- Give a description of the list
- If you want to send sms or contact subscriber, make sure to enable
- Click on “Save”
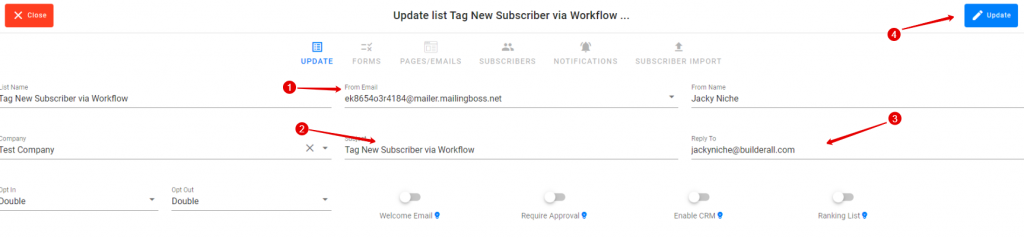
STEP 3
- Make sure to choose your verified email address from the drop-down box
- Create the List Subject Line
- Add a reply to email address. It can be any email address
- Click on “Update”
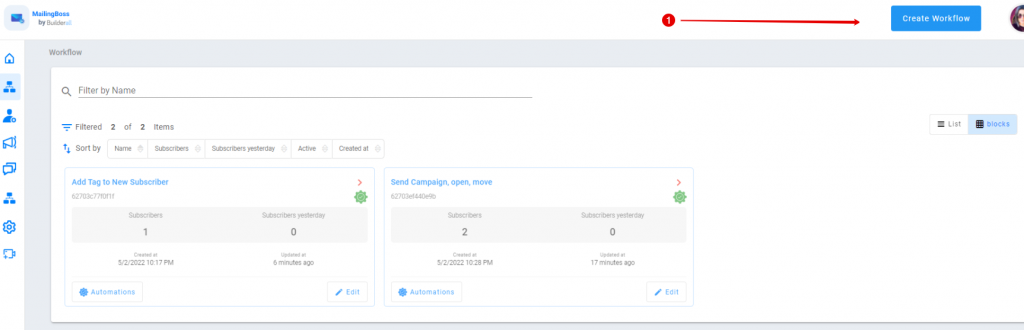
STEP 4
- On the left hand side. Go to “Workflow”

STEP 5
- Click on “Create Workflow”
STEP 6
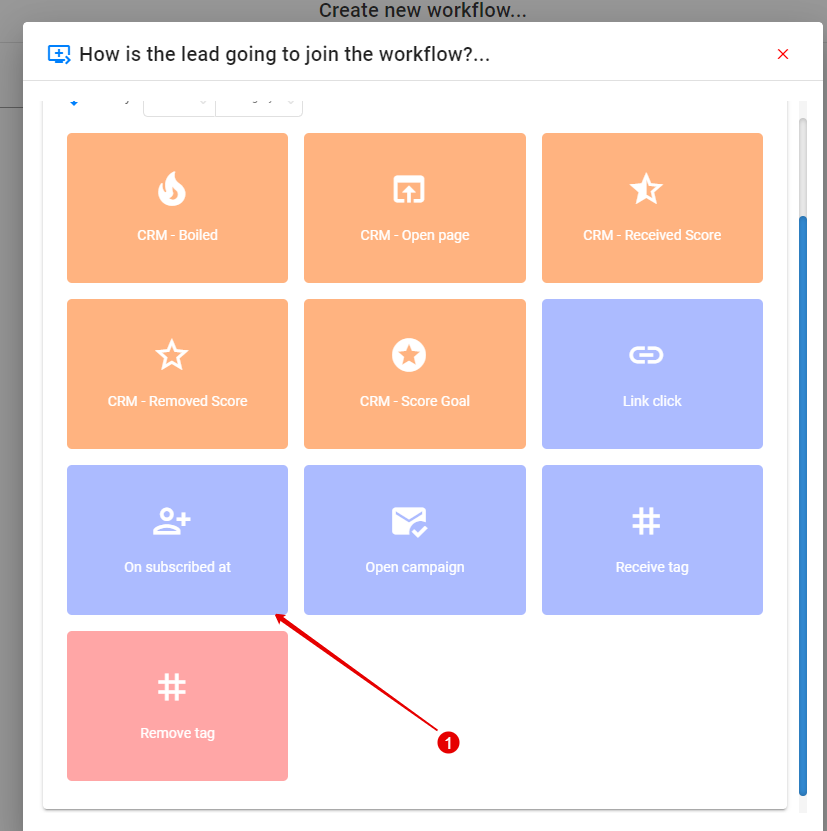
How is the lead going to join the workflow?
- Choose “On subscribed at”
STEP 7
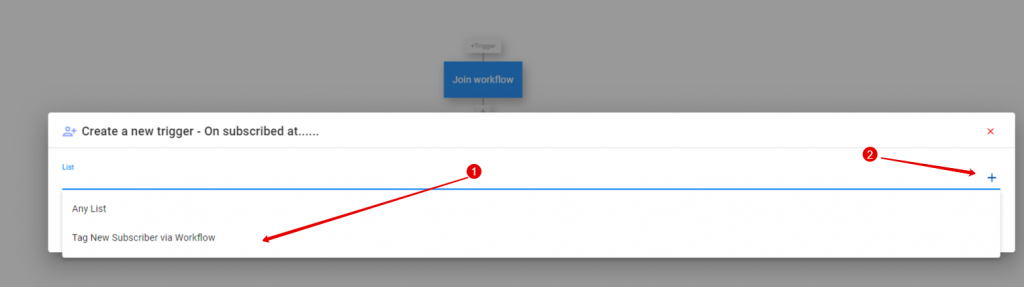
- Choose the existing list or
- You can create a list here
STEP 8
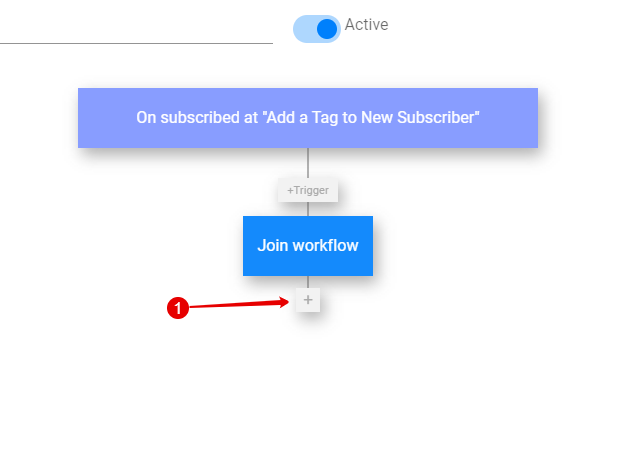
- Now that the list is added to the Workflow, click on the plus to initiate what needs to happen after the subscriber was added.
STEP 9
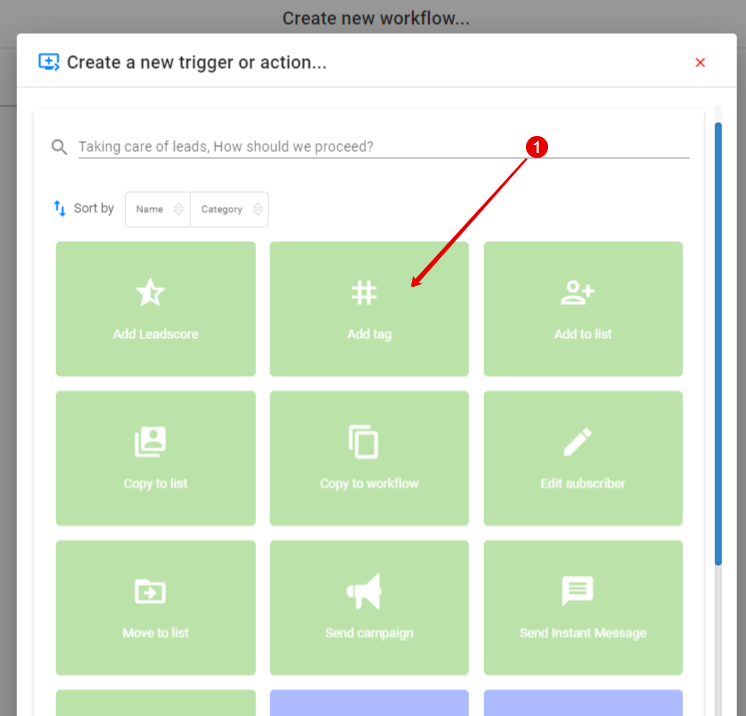
- Click on “Add Tag” (green block)
STEP 10
- From the drop down arrow, choose the tag you want to add or
- You can create a new tag by adding it here and enter
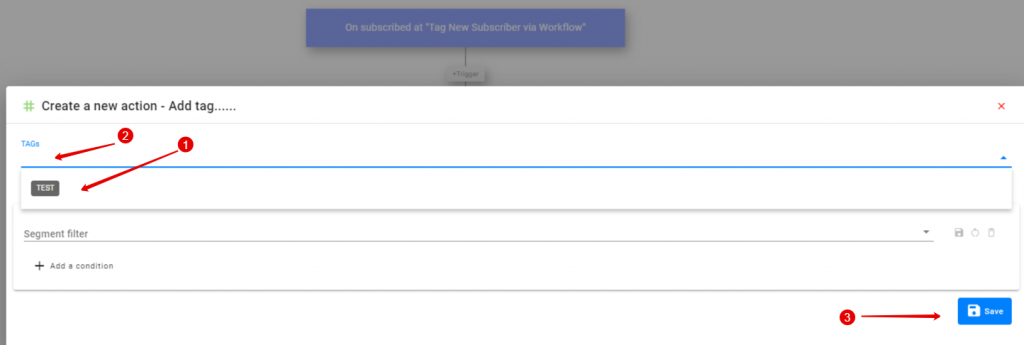
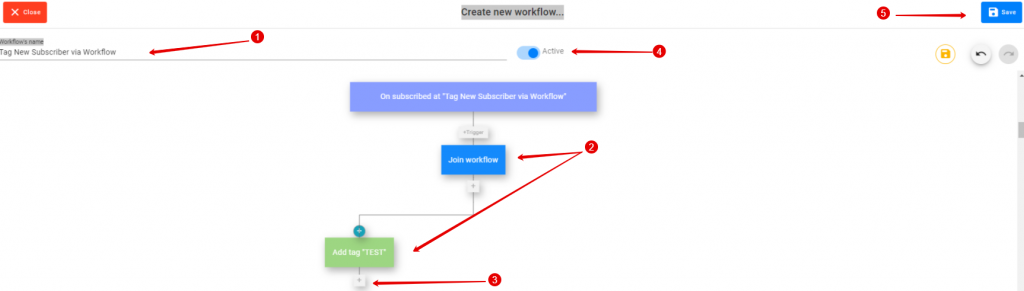
STEP 11
- Create a name for your Workflow
- These buttons can be moved around on the Workflow for ease of use
- You can add more actions by clicking on the plus, but we are stopping the flow here
- Click on “Save”
STEP 12

STEP 13
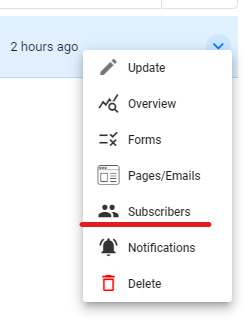
To verify tag on the subscriber. Go to the drop-down next to the list and choose “Subscribers”
STEP 14
Click on either Update or Overview

STEP 15
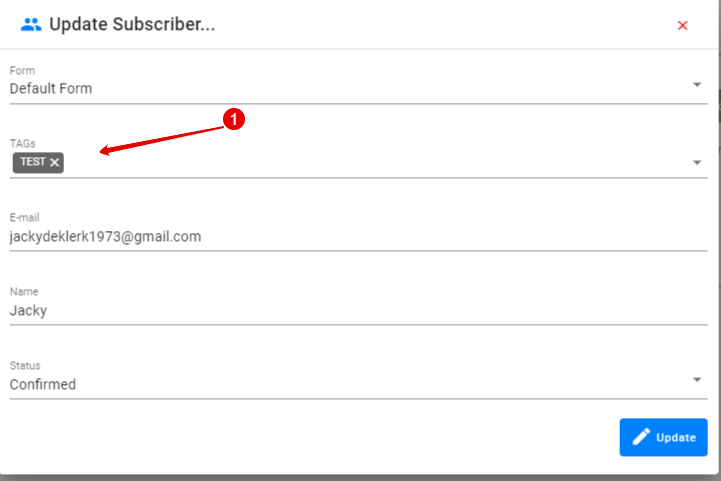
- You will see the Tag’s allocated here