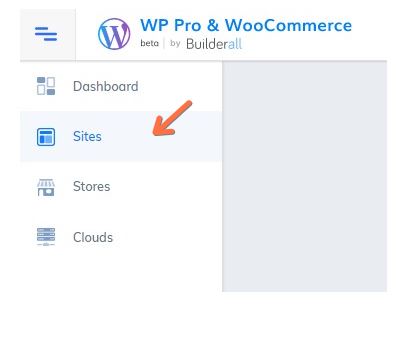
- Access your WordPress Pro or WooCommerce tool. Choose site or store on the left menu;
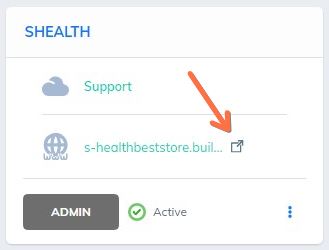
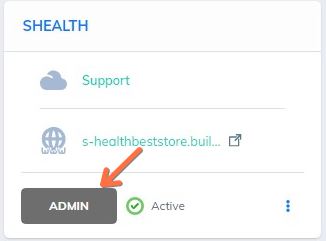
2. Select the site you want to create the pop-up. Click on “Admin”;
3. You will need to log in WordPress account;

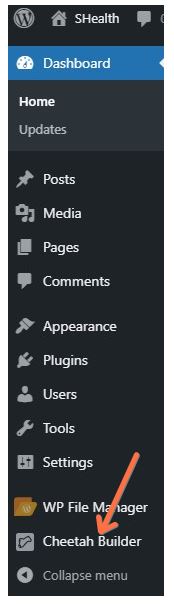
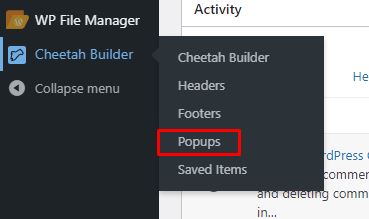
4. You will enter the dashboard. Go to “Cheetah Builder” plugin;
5. Select the “Popups” option;
6. Click on “Add new”;
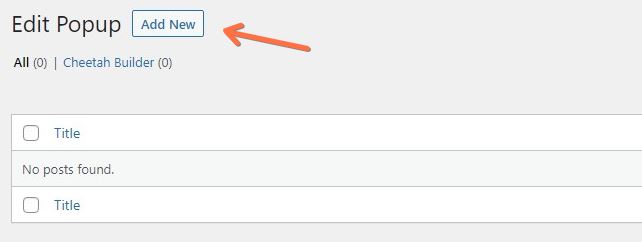
7. insert a name to your pop-up. Then, click on “Add”;

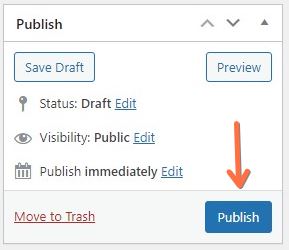
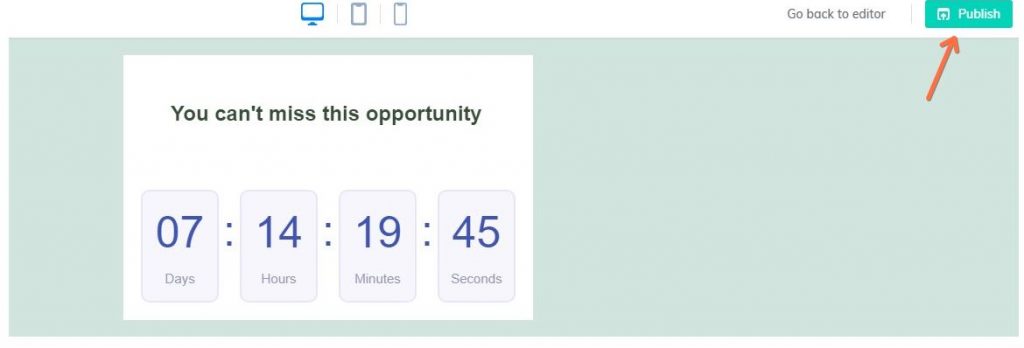
8. You need to publish the page. To do that, click here;
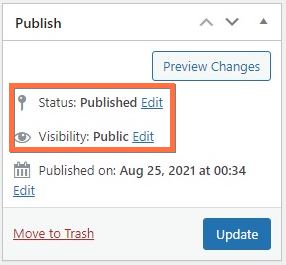
9. Make sure the page is published. You can check it here;
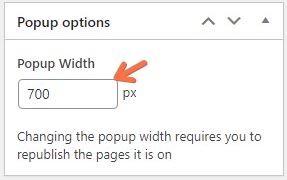
10. In this option, you can change the popup width. Don’t forget to republish the page;
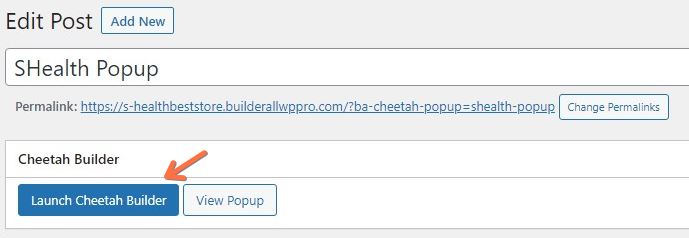
11. Click on “Launch Cheetah Builder” button;
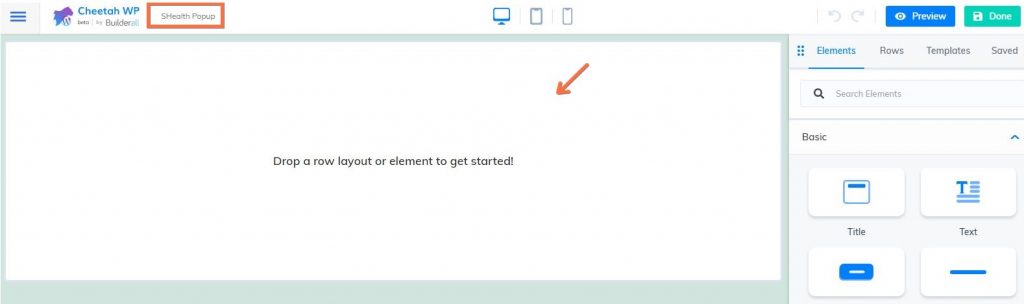
12. You will be redirected to Cheetah editor. The popup name will appear at the top of the page. Now, you can build your popup here;
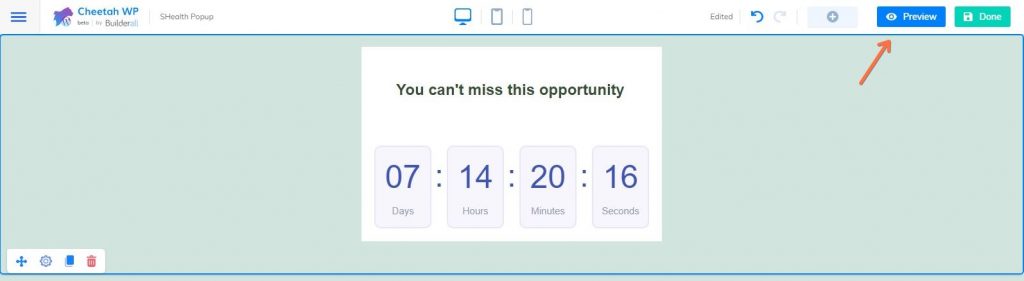
13. After finishing editing your popup, click on “Preview”;
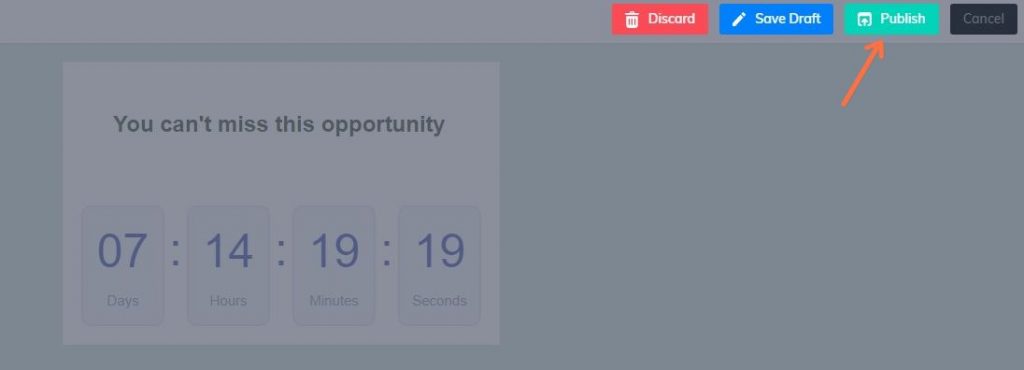
14. Now, click on “Publish”;
15. Publish one more time;
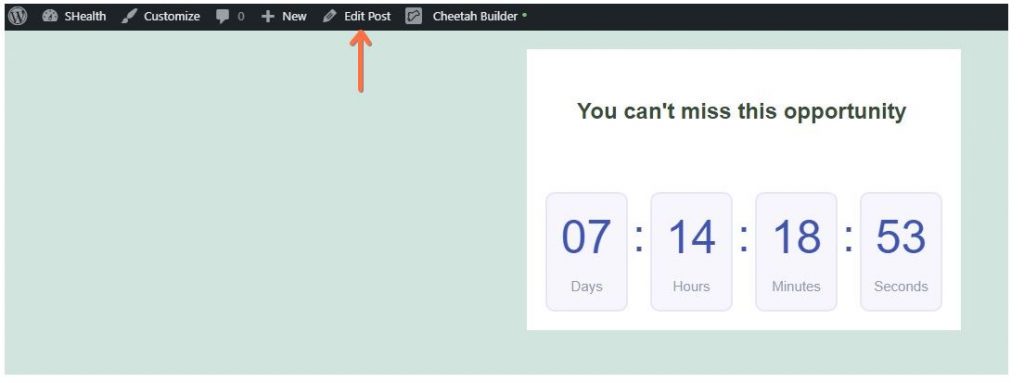
16. At the top you will be able to edit all the Global settings, access Cheetah Builder as well as the WordPress Dashboard.
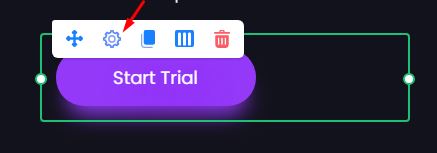
17. At the moment, the exit intent of the pop-up is not yet configured, but you can activate it through a button by clicking on “Cheetah Builder”. In Cheetah WP, click on Button and add to the page. Click on the gear to configure it;
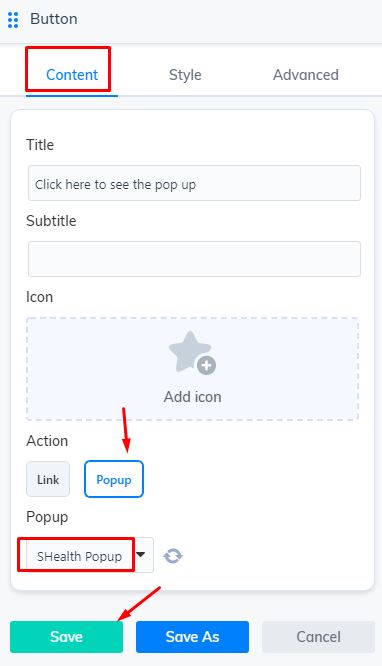
18. This window will open. Go to “Content”, “Popup” and choose the popup created. Now, just hit “Save”;
19. Go to “Preview” and publish your page;


20. Here, you will need to publish one more time;

21. Go back to your Cheetah WP. Click on the URL of the site you applied the pop-up, click on the button and make sure it works;