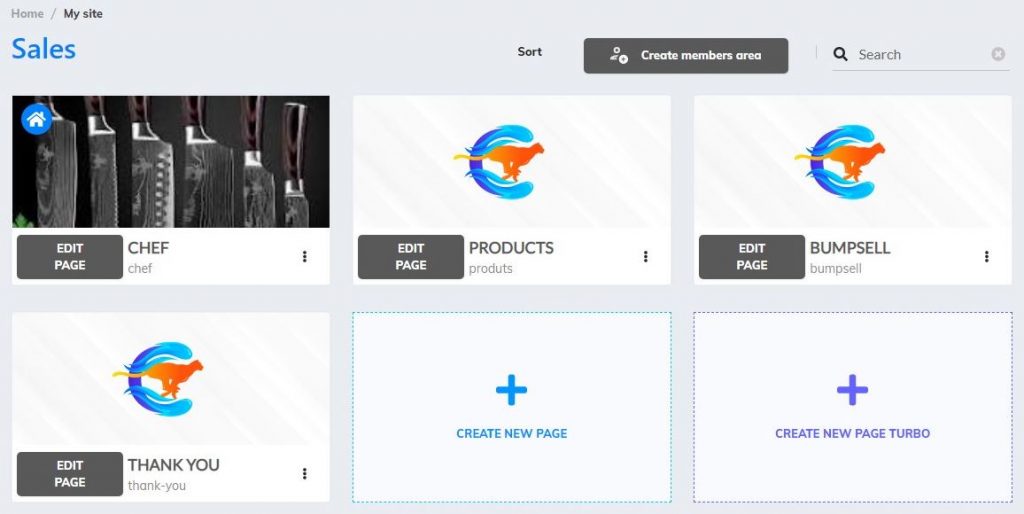
- Open the website where you created the product(s);
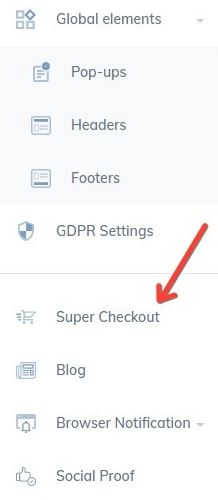
2. Click on the Supercheckout feature, on the left menu;
3. Now, you are in the Supercheckout Dashboard;
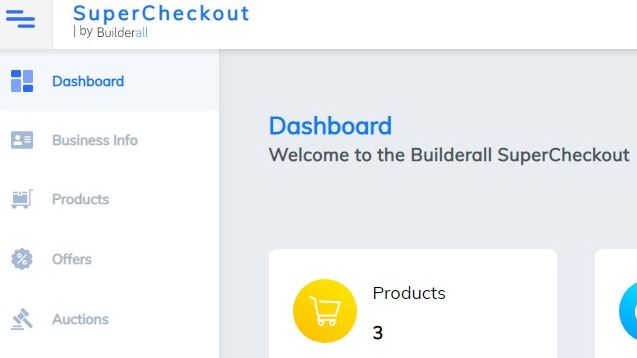
4. Your sales will be shown in a panel here;

As the sales were in test mode, they are not shown
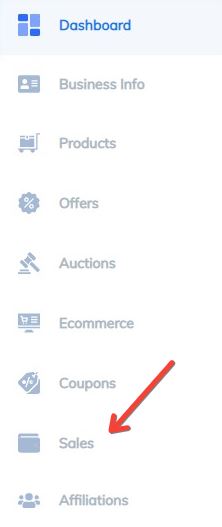
5. Go to “Sales”, and click on it;
6. In this section, you will see all your sales, and will be able to look for a specific sale, using these options:
- Hash/ID
- Buyer name
- Seller Name
- Item
- Coupom
- In Between – To
- Status

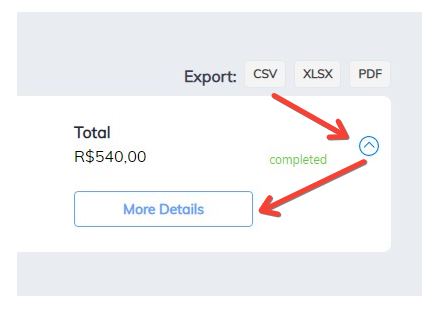
7. Once the client is found, click on the arrow, and “more details”

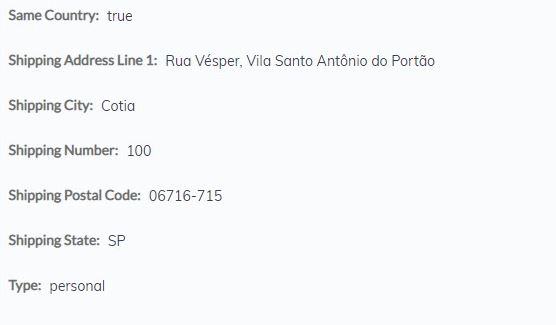
8. A screen will open with all customer information;
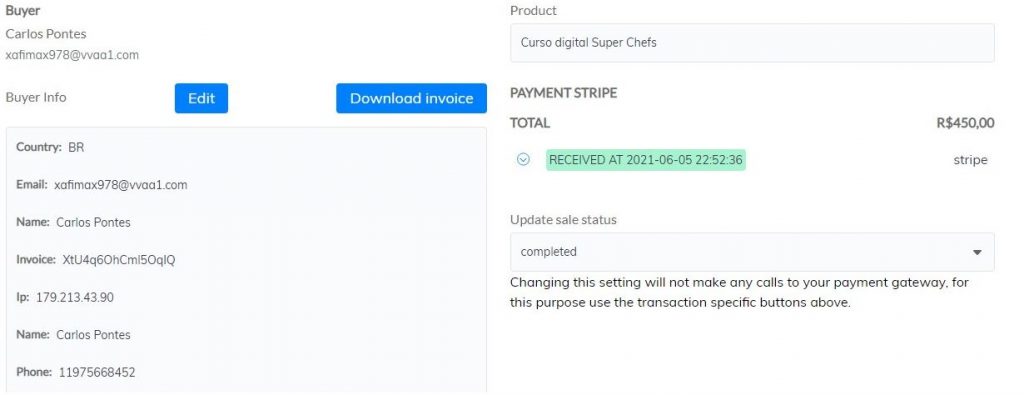
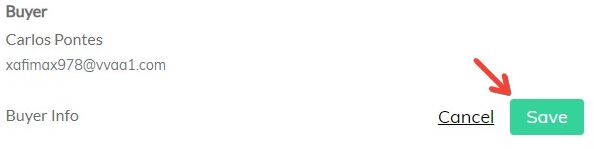
9. If you need to change any customer information, click on “Edit”. And you can download the invoice to your computer, clicking here: “Download Invoice”;
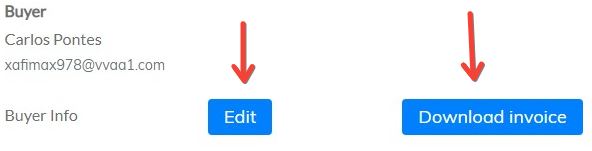
10. After changing the customer information, click “Save”
11. To perform a refund transaction, go to this section;
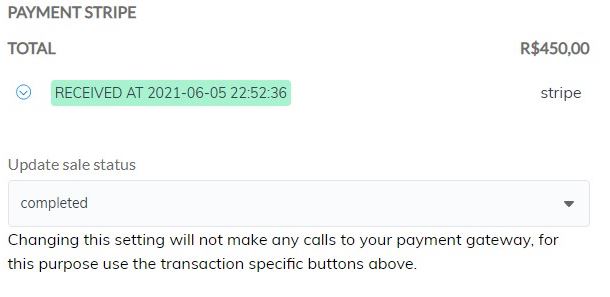
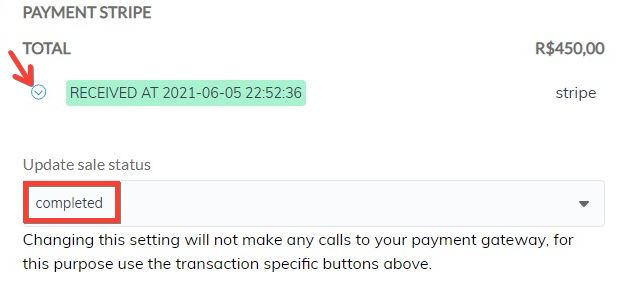
12. In this section, click on the arrow. But first, notice that the “Update sale status” is “completed”;
13. Before making a refund, it is necessary to inform you that this action CANNOT be reversed. So, before you click “Refund” button, be sure of this transaction;
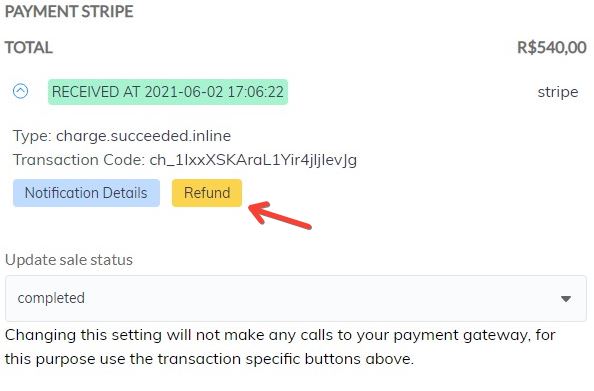
14. Clicking “Refund” button, will pop up a refund window;
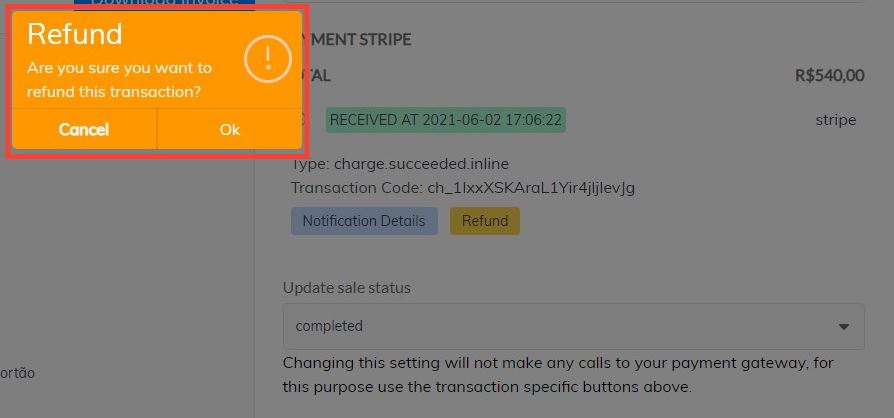
15. Click “OK” to complete the transaction. This information will appear in this sale, where you can see the refund process;
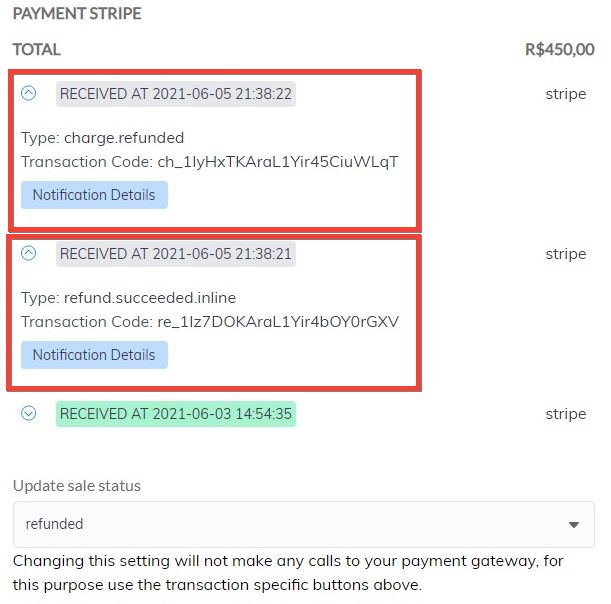
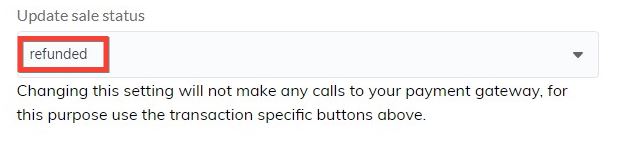
16. The “Update sale status” is showing “refunded”;
17. In the sales area it will also show the customers that have been refunded;

18. The refund will be made to the account that the customer made the payment on. In this example, the payment was made by Stripe. The refund will be made to this Stripe account.