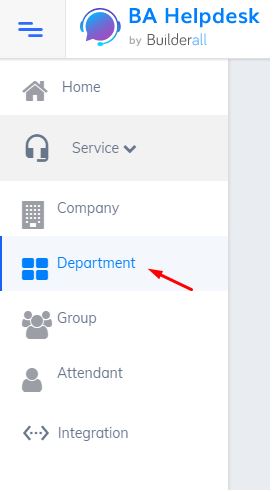
- Open your “HelpDesk” app. You will enter the dashboard. On the left menu, click on”Department”;
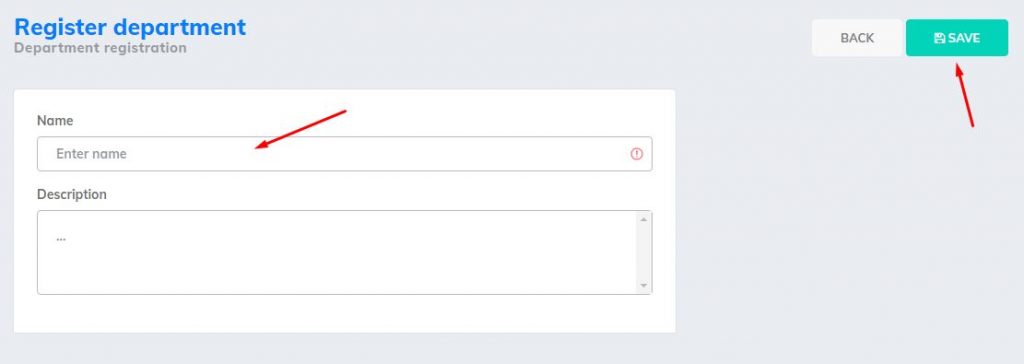
2. Register a new department, by clicking this button;

3. It will open this page. Insert a name here and a description. Then, click “Save”;
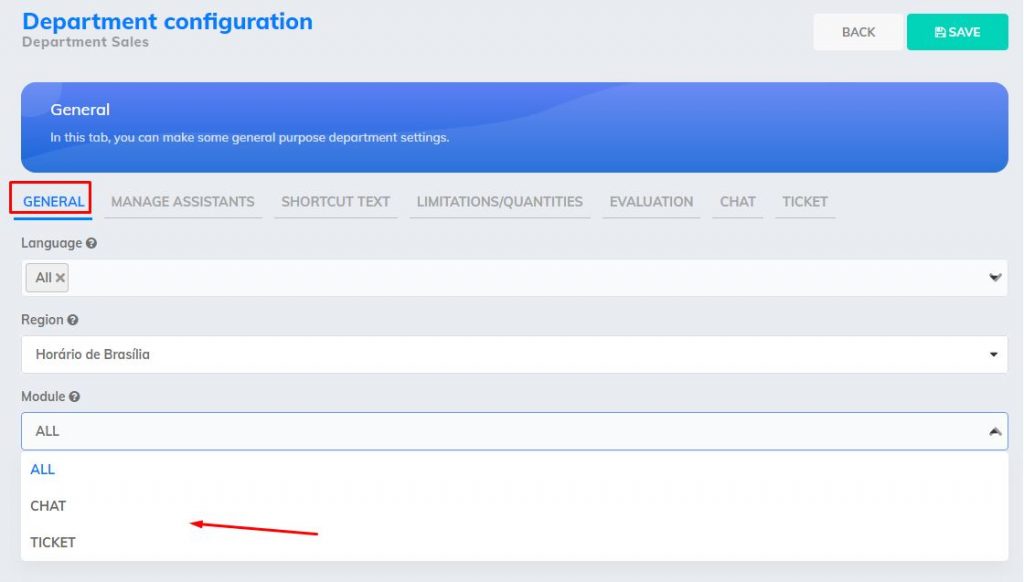
4. You will now have to configure the department. In “General” option, if you click on language, you will be able to select a specific language. You can set you your timezone and you can choose between “Chats” or “Tickets”, or both of them;
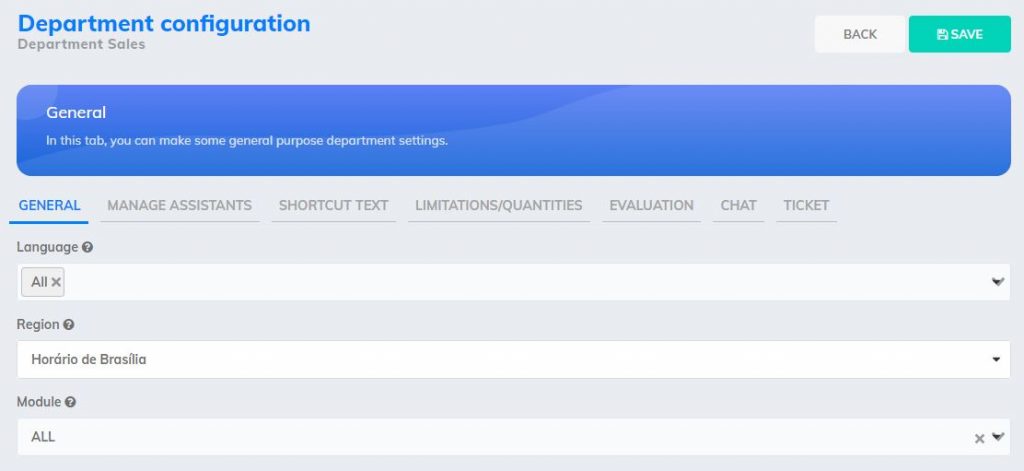
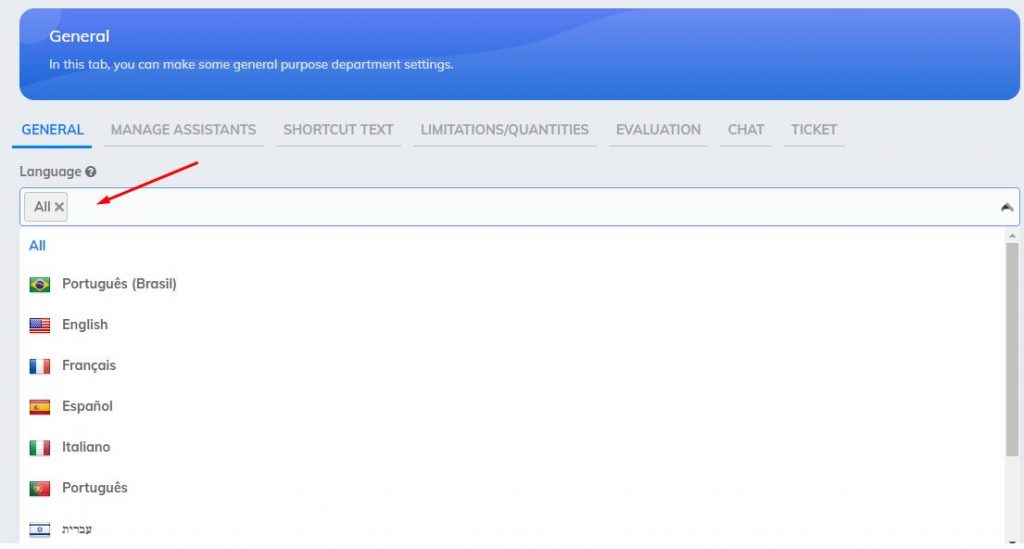
* Click on “Module”, and you can choose here;
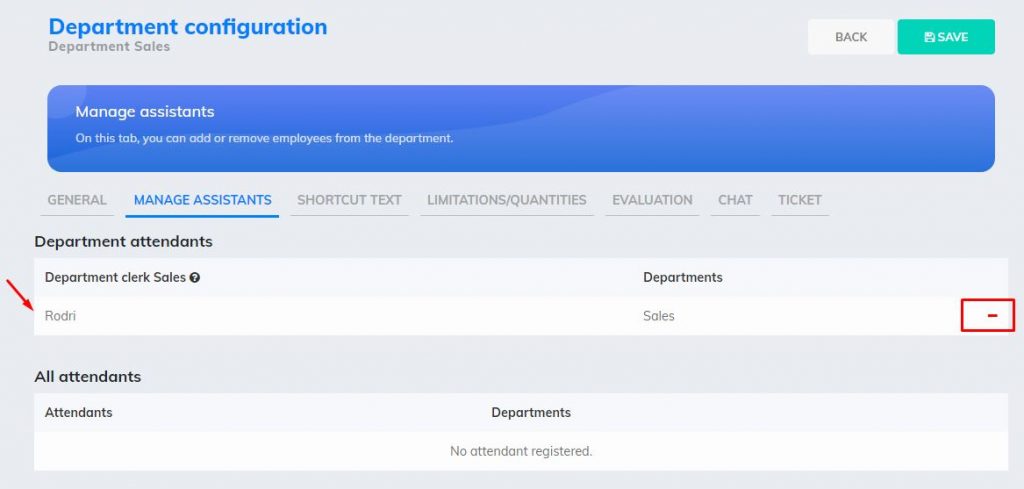
5. Manage Assistants – here you need to create an assistant first. After you create the assistant, he will appear in “All attendants”. To set this attendant in this department, just click on the plus sign. You have the option to disengage the attendant from this department by clicking on the minus sign;

6. Shortcut text – These are texts that will help the attendants with customer service. They can create their own commands and texts by entering the information at the top and then clicking “Add”. They can also use the ready-made messages and customize them by clicking on the pencil;


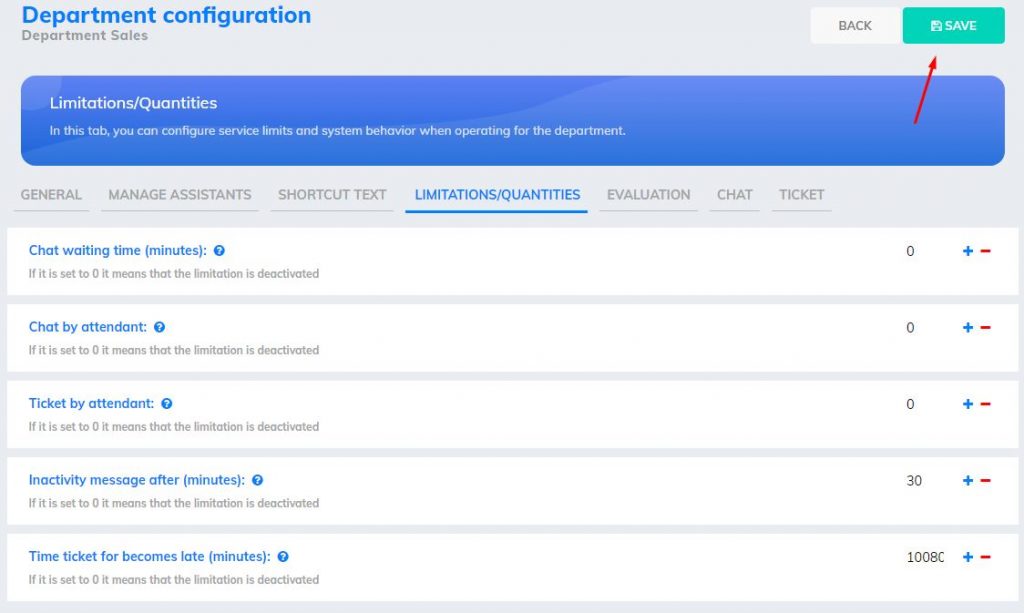
7. Limitations/Quantities – Here you will set the waiting time for the chats, the number of chats per attendant, the number of tickets per attendant, the chat idle time, if the customer does not answer within the set minutes, the chat will be closed. And lastly, you define the time the ticket will be grouped in the “Overdue” category;
8. Evaluation – Here, customers will have the opportunity to evaluate the service they received. By evaluating the attendant, the service provided, and you can leave a comment;

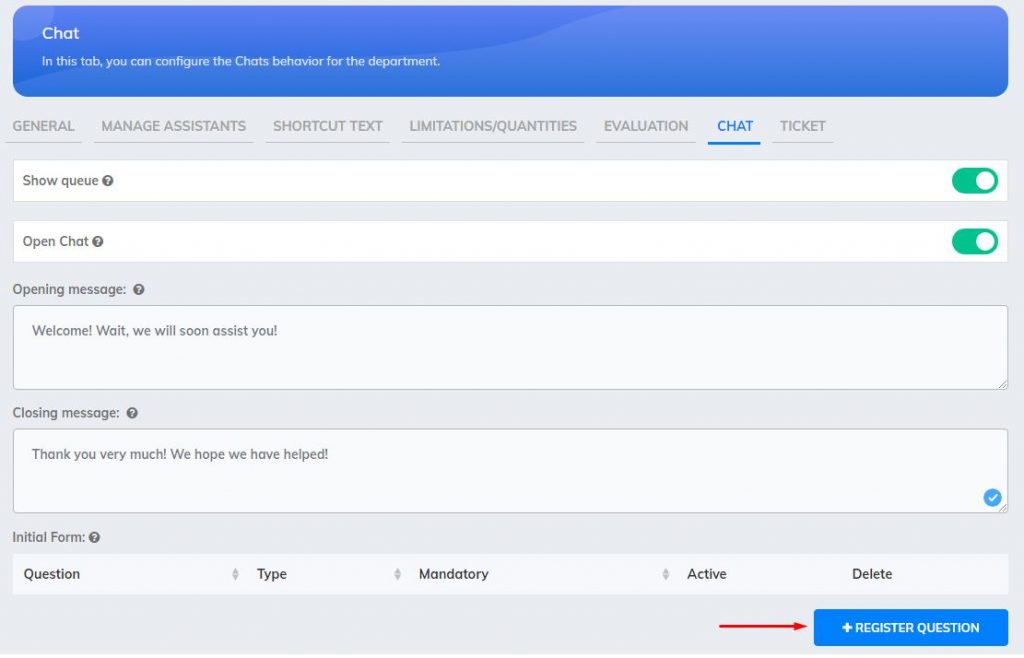
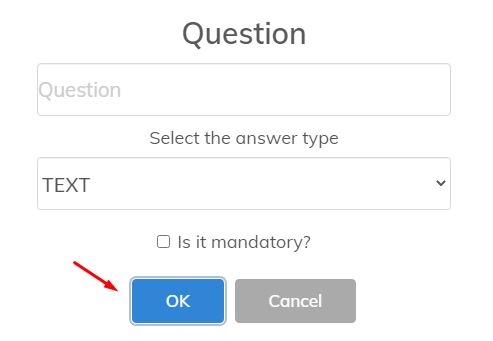
9. Chat – It is the moment when the attendant is having direct contact with the customer. “Show queue” shows the waiting time for the customer to be served. “Open Chat” if this option is selected, the customer can open a chat in this department. You will have the option to edit an opening and closing message. You will also have the option to add a question while the chat is in progress;

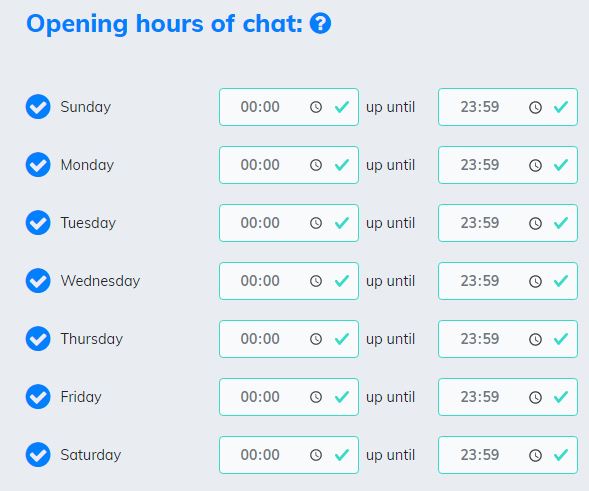
*Here the attendant’s working period will be defined;
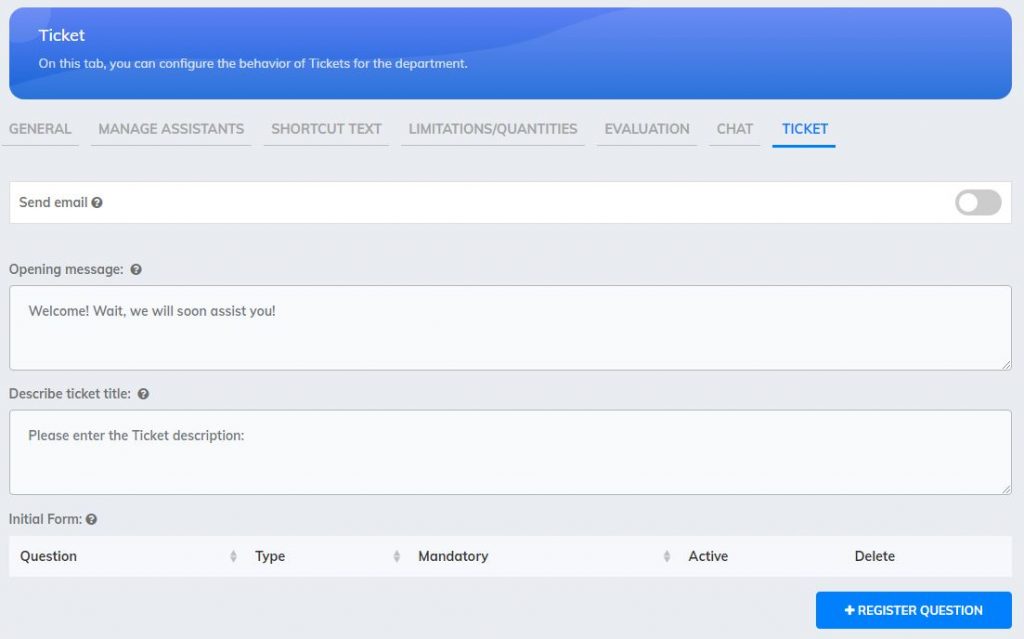
10. Here you define the e-mail that will be sent to the customer every time the ticket is answered by the attendant, remember that you have to activate this function. You can edit the opening and closing message and put the ticket title description. You can also enter a question, in case you need more details about the problem;