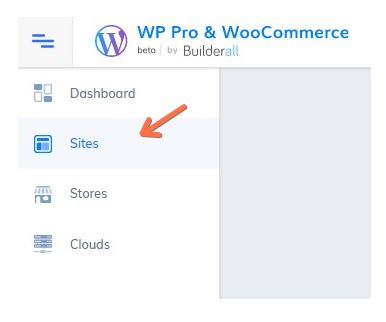
1, Access WordPress Pro pr WooCommerce tool. Choose site or store on the left menu;
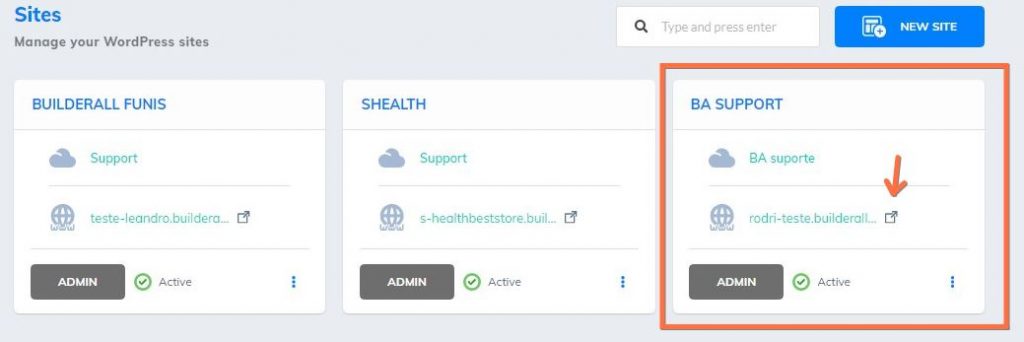
2. Select the site or store you want to configure the menu. Click on the link;
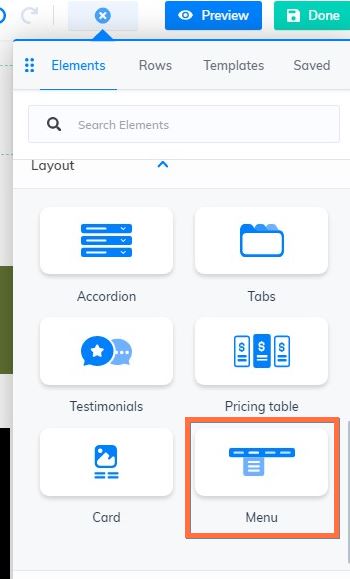
3. Insert a row, or you can use one existing one;

4. Go to “Elements”, and then, drag and drop the menu element into your row;
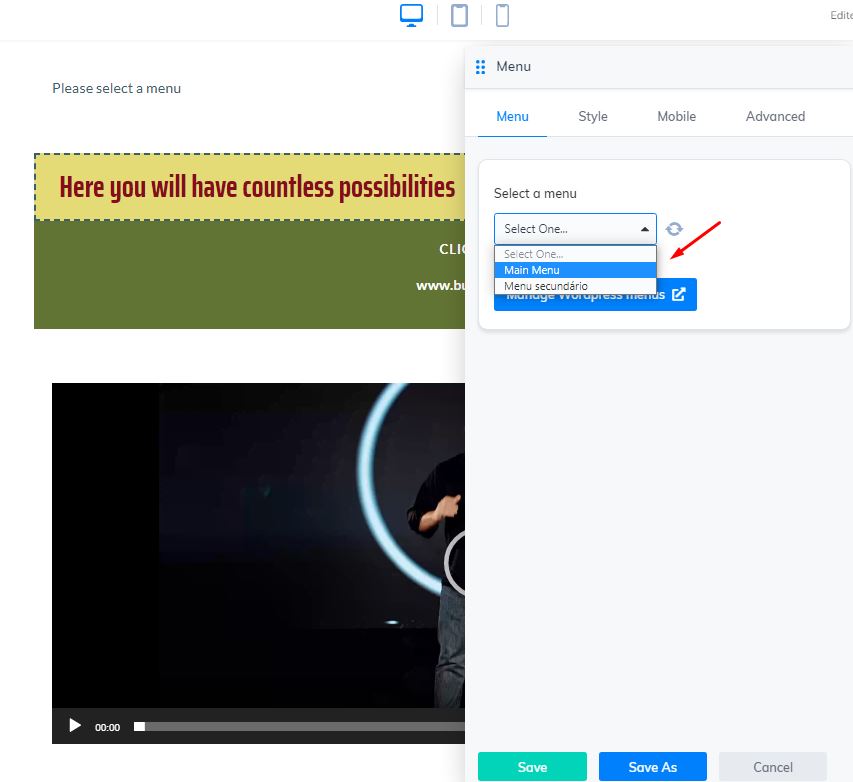
5. This window will appear. First, you need to configure the menu in the WordPress dashboard. Click “Manage WordPress Menus”

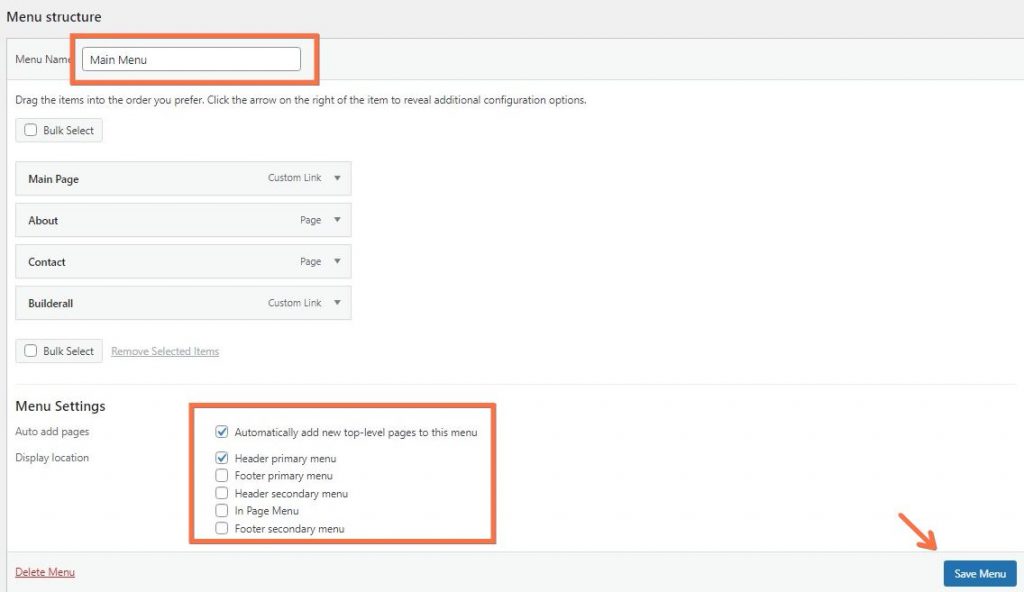
6. You are going to be redirected to WordPress dashboard. Right to “Menu structure”, here you have to add a name to your menu, and select its content. In “Menu Settings” you set where the menu will appear;
7. Going back to Cheetah editor, now you are able to choose the menu you’ve just configured before;
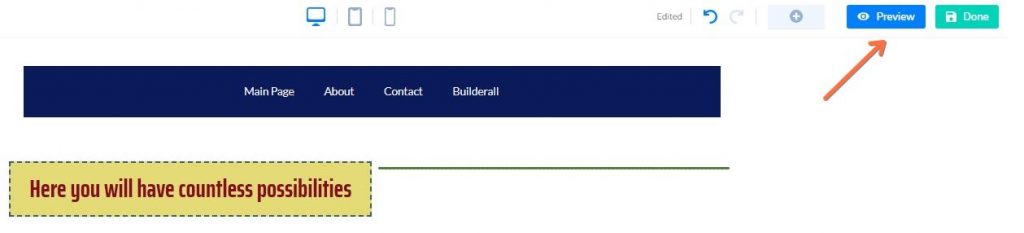
8. After saving the menu, it will be shown where you have configured it to appear. Click on “Preview”;
9. Now you have to “Publish” your page;
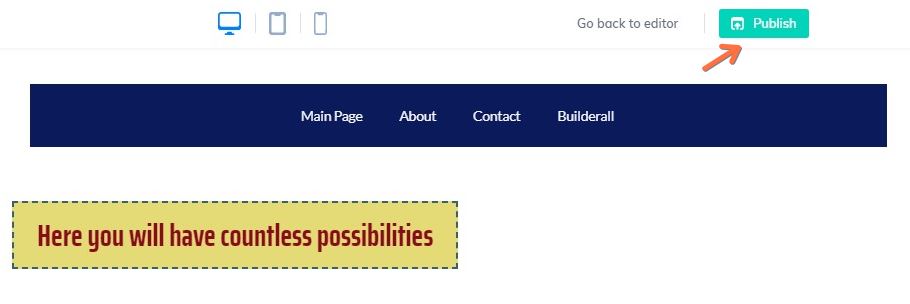
* And publish one more time;

10. Now, your menu will appear into your page;
