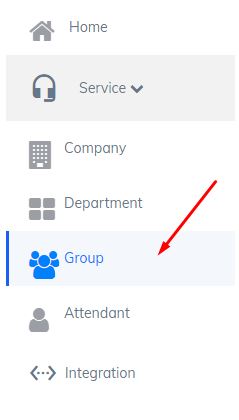
- On the left side menu of your dashboard, click “Group”;
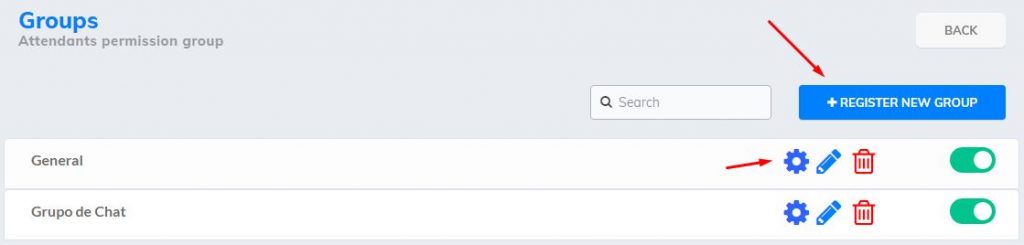
2. Here you will see all your created groups. You can edit an existing one or create a new group by clicking on the “Create new group” button;
3. Here you will have to enter the name of the group and a description for it. Once you have done this, click “Save”;
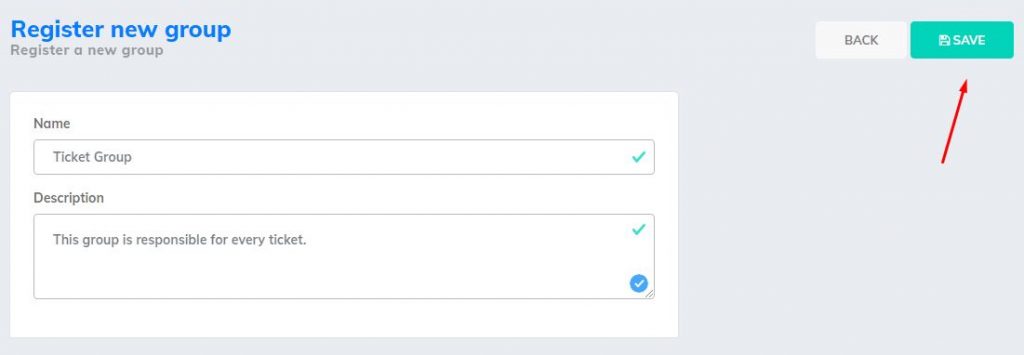
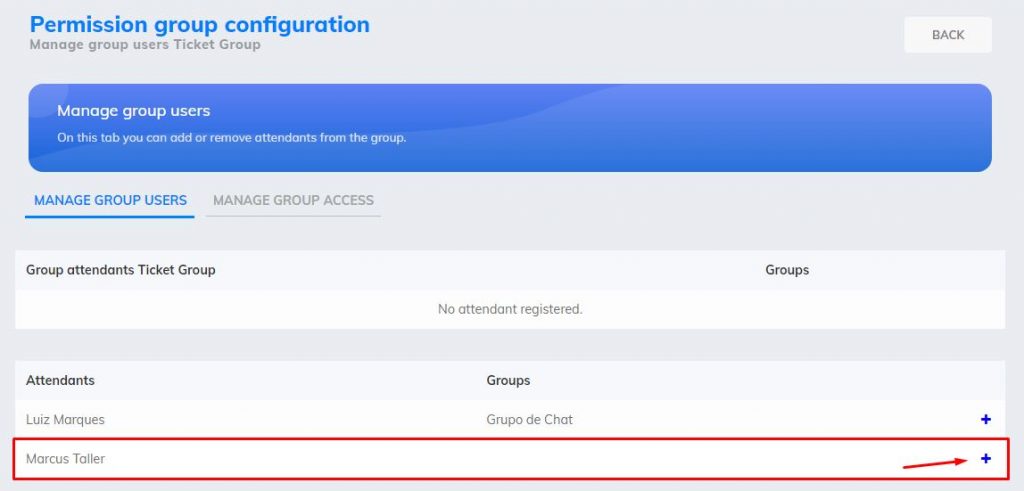
4. All registered attendants will appear at the bottom. If you don’t have any registered, you can register them later. It is up to you to place the agents in their respective groups, by clicking on the plus sign. The group created for this example was the “Ticket Group”, which will be responsible for all tickets;
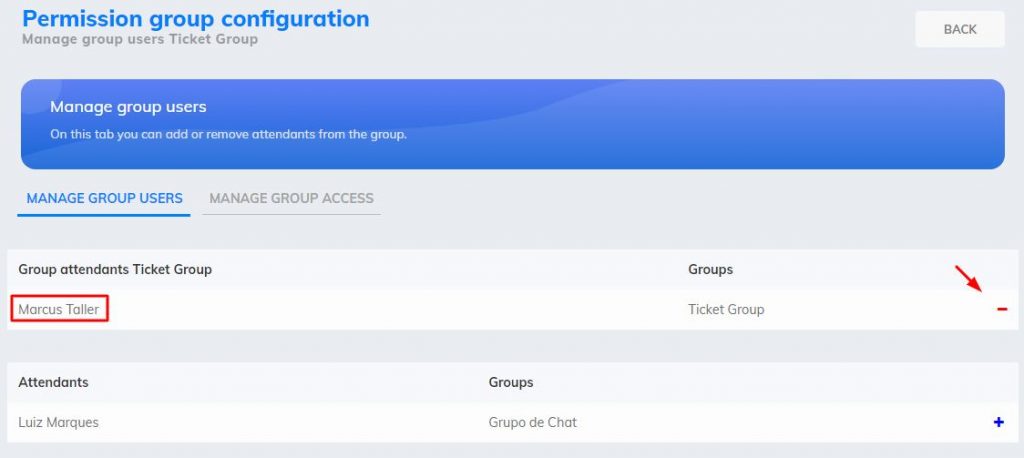
5. Here the attendant has been added to this group. If you need to remove him from the group, just click on the minus sign in red;
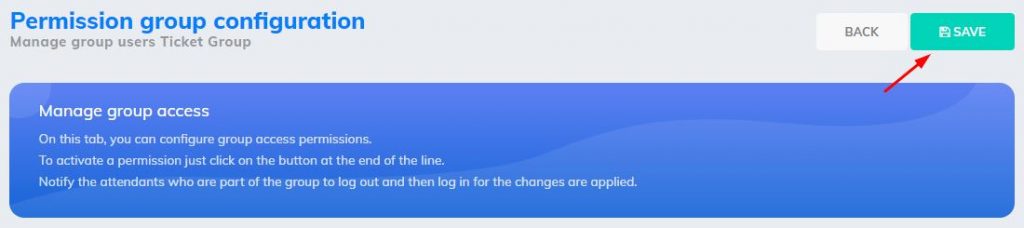
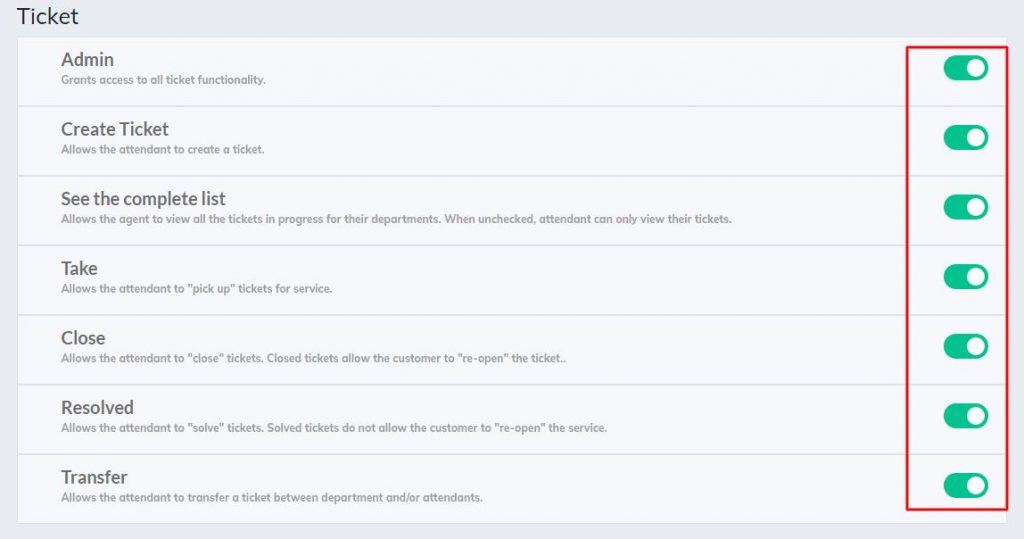
6. Now that you have configured the attendants, you have to configure their access. Three access options will appear: Chat, Ticket and Controllers. It is important that you read the information below each option, so it will be easier to set up access;
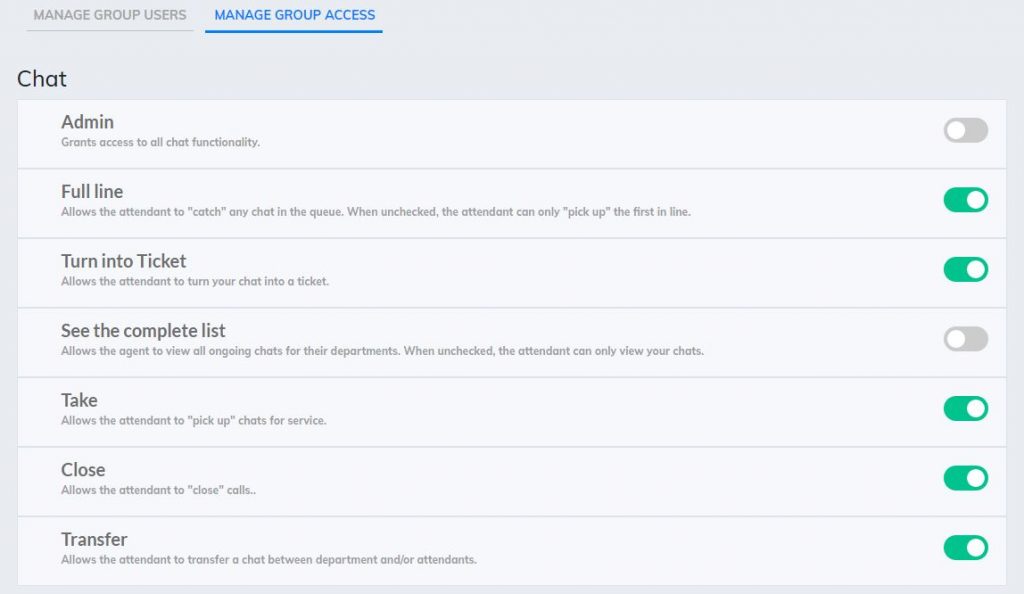

* This category is related more to supervisors;
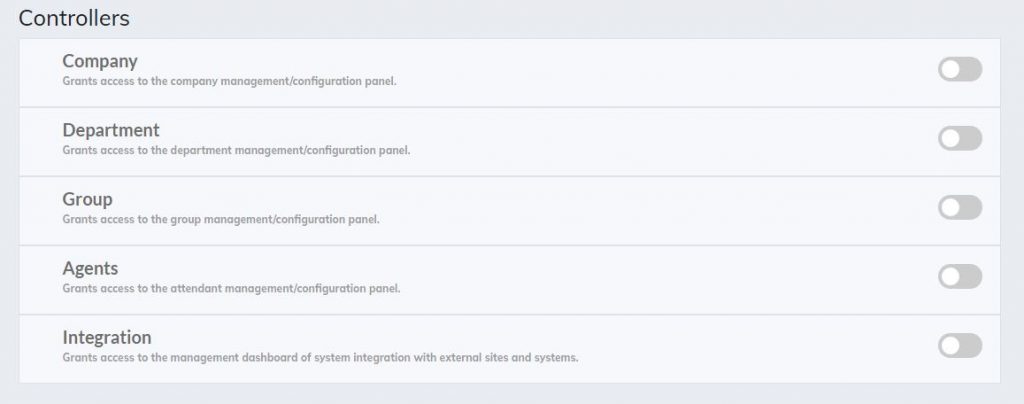
7. As this group created will be responsible for the tickets, access will only be for this category. To release access, simply click the button at the end of the line and leave it green;
8. After you have finished the configuration, click “Save”;