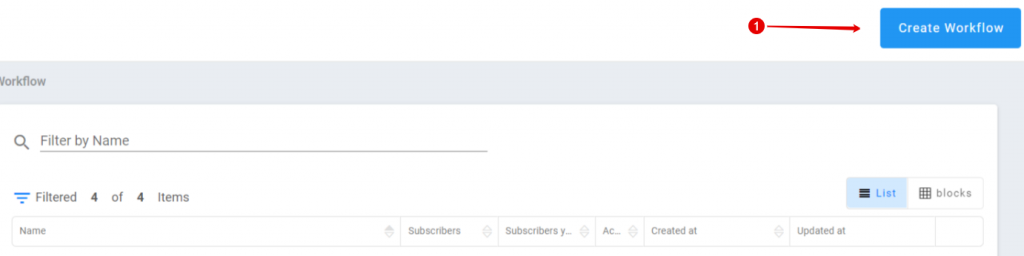
STEP 1:
- Click on “Create Workflow”
STEP 2:

- Click on “On subscribed at”
STEP 3:
- Choose the list where you want to add the tag to.
- Click “Save”

STEP 4:
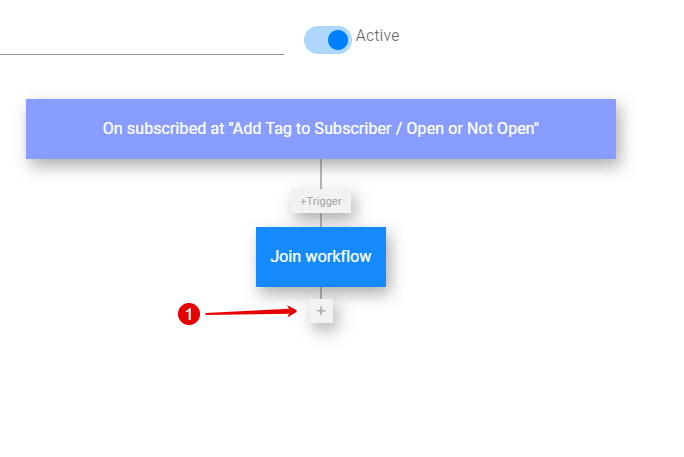
- Click on the plus to add an action
STEP 5:

- Click on “Send Campaign”
STEP 6:
- Choose the Campaign you want to add a tag to when opened/not opened
- Or create a new Campaign
- Click “Save”

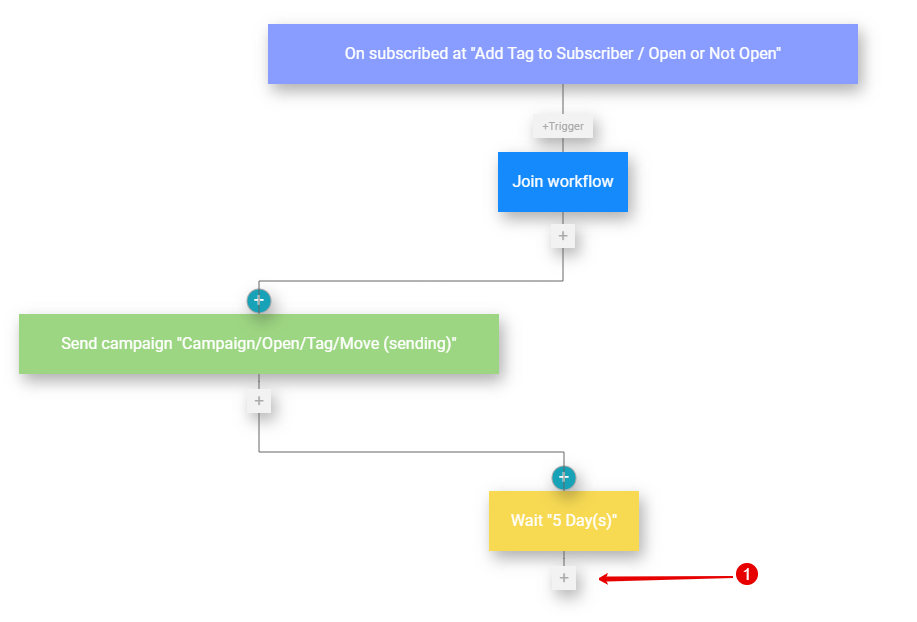
STEP 7:
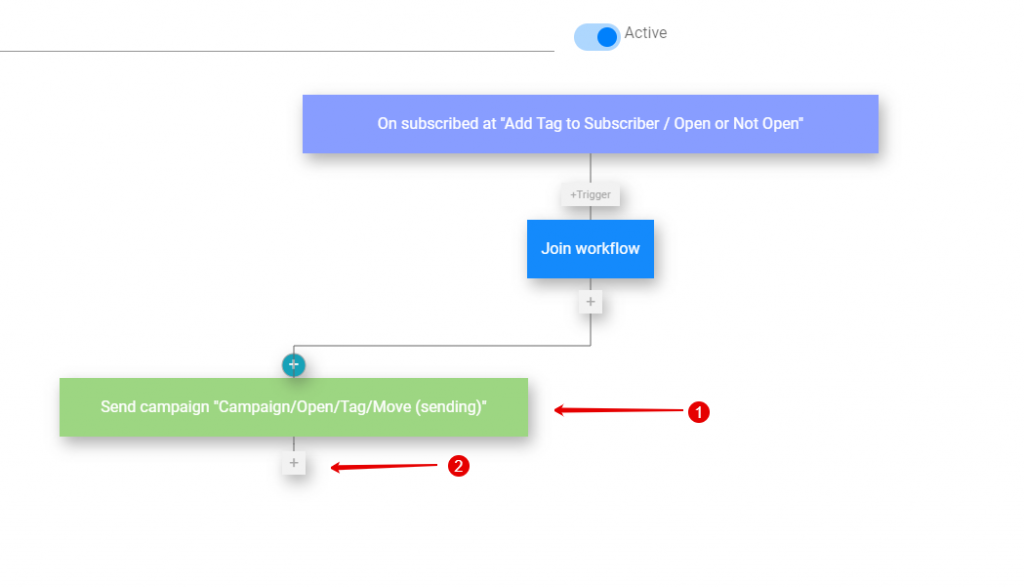
- The blocks can move around on your workflow
- Click on plus to add another action
STEP 7:
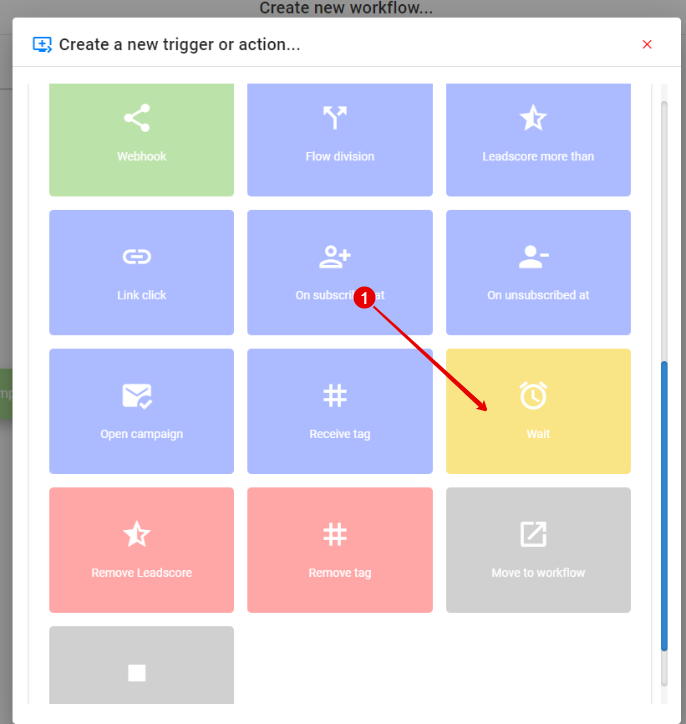
- Click on “Wait”
STEP 8:
- Choose how long you want to wait before the tag is given after campaign is opened.
- Choose the unit
- Click “Save”

STEP 9:
- Click on the plus for next action
STEP 10:

- Click on “Open Campaign”
STEP 11:
- Choose the same Campaign as previously
- Click on “Save”

STEP 12:
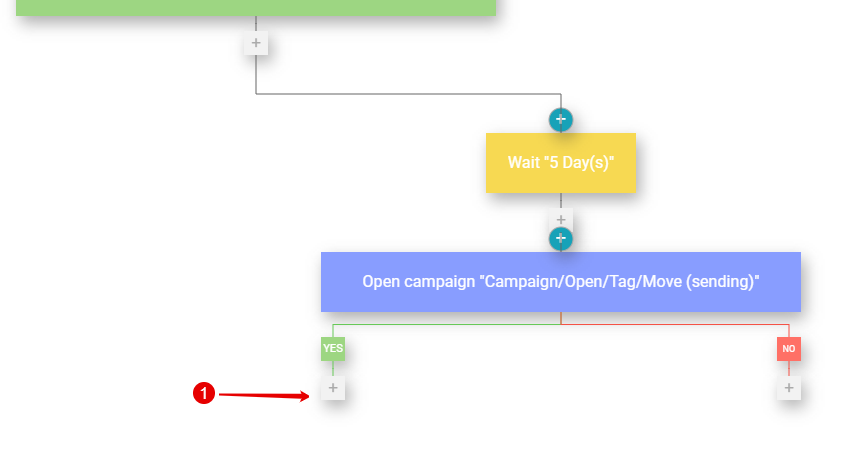
- Click on plus to add Tag
STEP 13:
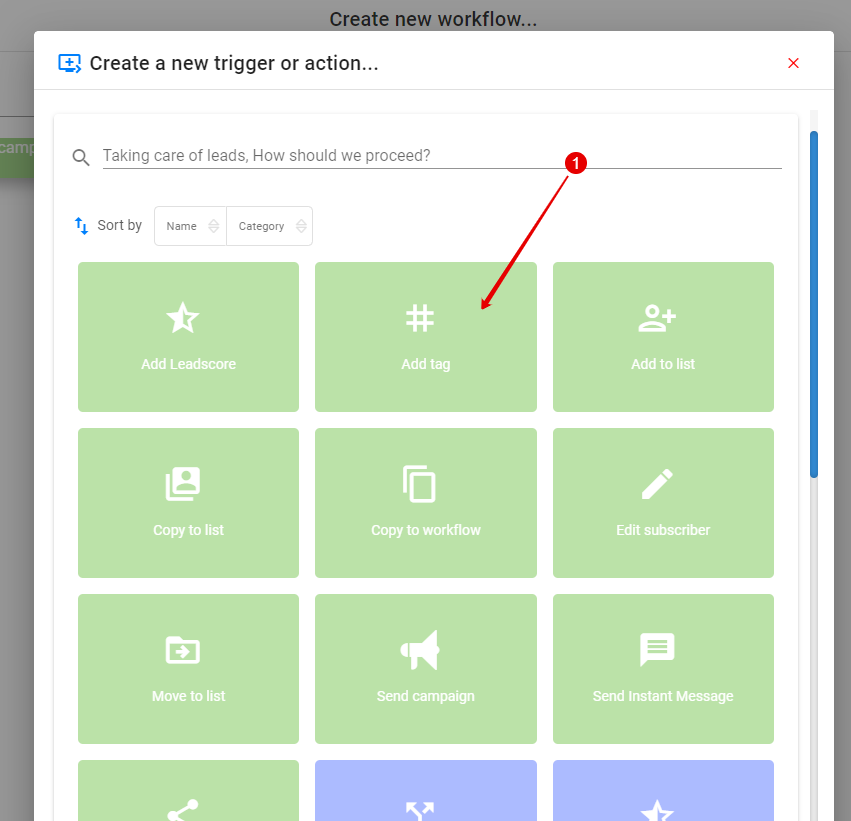
- Click on “Add Tag”
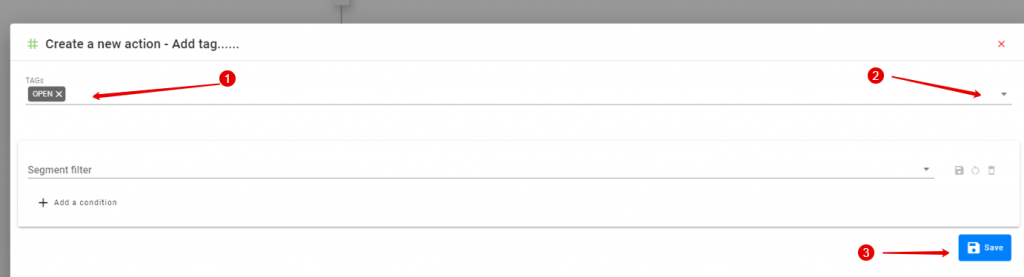
STEP 14:
- Create a new tag and enter
- Or, choose an existing tag
- Click “Save’
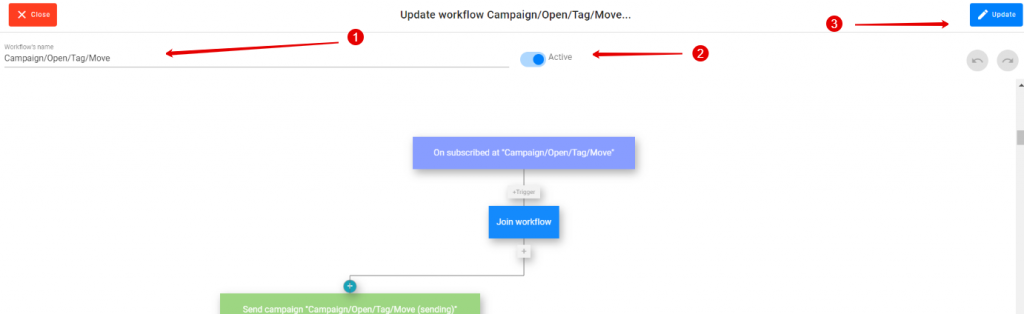
STEP 15:
- Name your workflow
- Enable “Active”
- Click “Update”
STEP 16:
Repeat Steps 12 – 15 for “Not Open” Tag