Example:
This type of tagging is ideal if you have a list that is connected to Supercheckout with a Tag (Purchase). You can then move everyone that has made a purchase to another list specific for existing clients so you can send them another set of emails.
STEP 1
- Click on “Create Workflow”

STEP 2
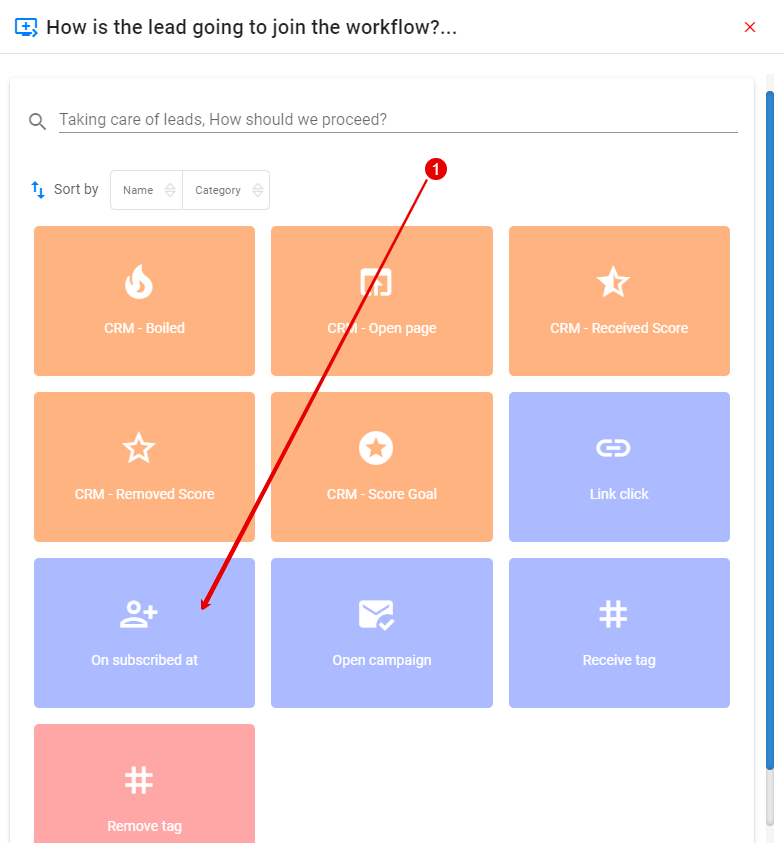
- Click on “Subscribed at”
STEP 3:
- Choose an existing list (the list that you want to move the subscriber from)
- If you do not have an existing list, you can create one here
- Click “Save”

STEP 4:
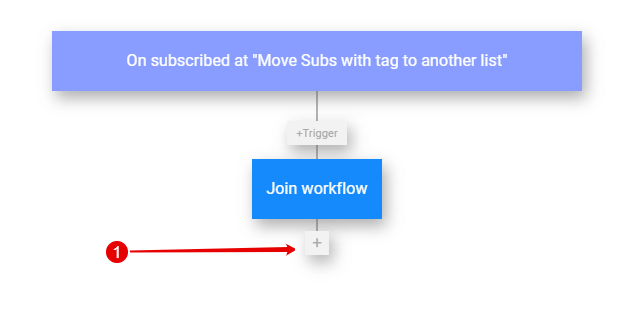
- Click on the + to “Join Workflow”
STEP 5:
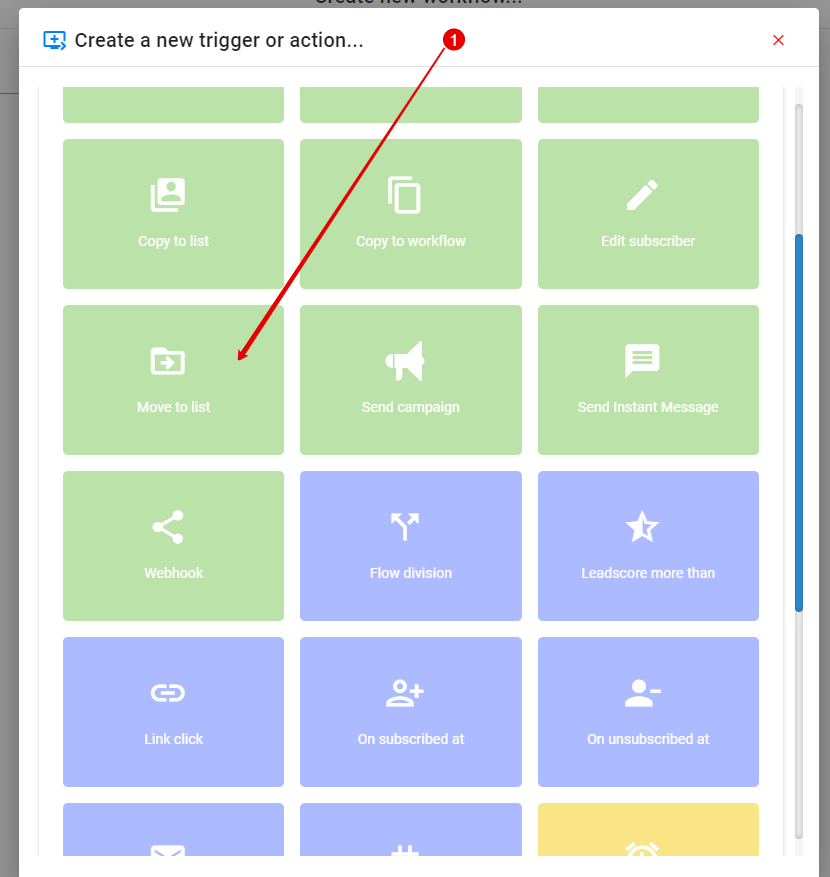
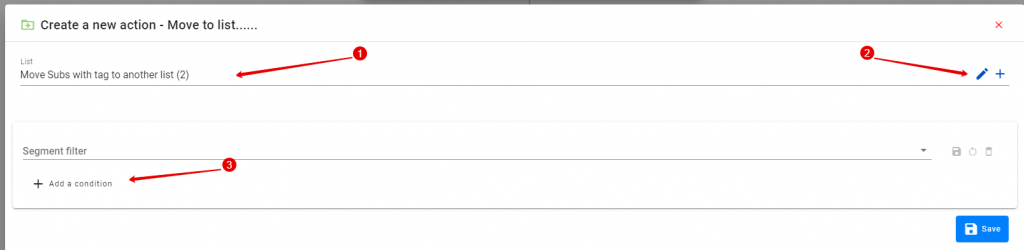
- Click on “Move to List”
STEP 6:
- Choose the list you want to move the subscriber with the tag
- If you do not have the list ready, you can create one here
- Click on “Add a condition”
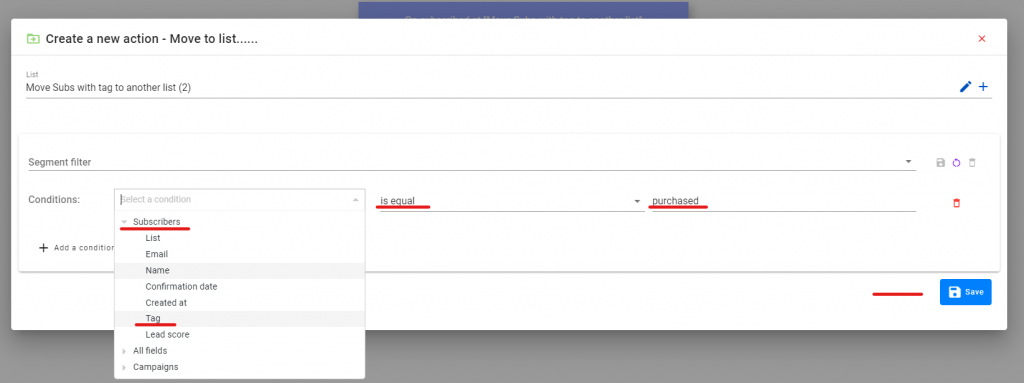
STEP 7:
Choose “Subscribers” and “Tag”
Make sure it “isequal” and search for the tag
Click “Save”
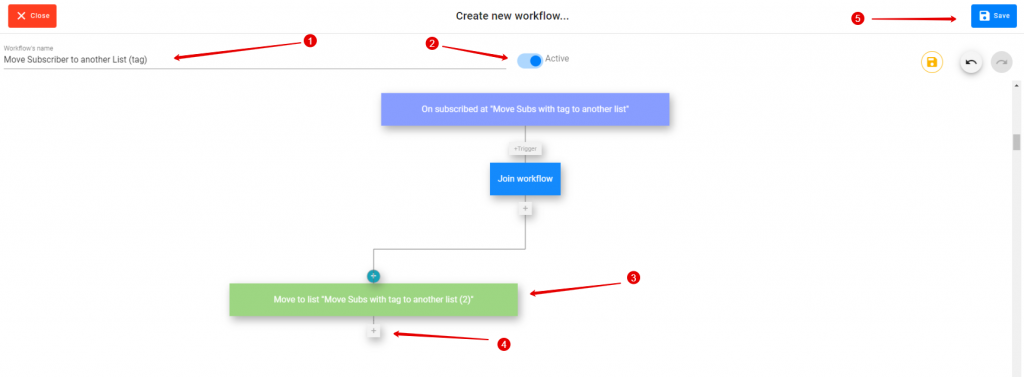
STEP 8:
- Name your workflow
- Make sure it is Active
- Note: You can move blocks around on the workflow to make it more visual
- You can add more actions by clicking on the + but in this example, the workflow ends here
- Click “Save”