STEP 1
- Here we have an existing Subscriber List with 3 subscribers. Click on the Blue Drop Down Arrow to begin.

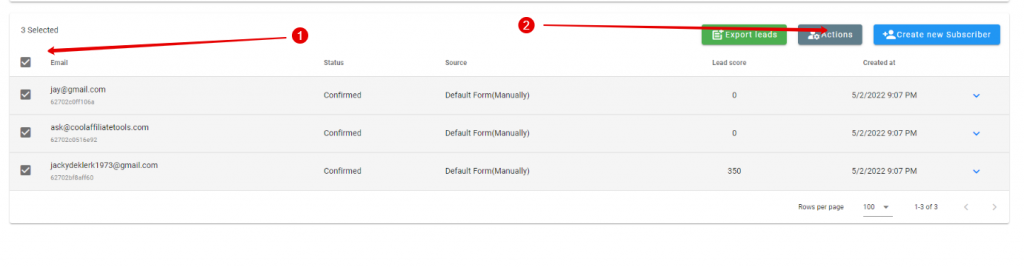
STEP 2
- Click on the checkbox to select “All Subscribers”
- Click on Actions
STEP 3
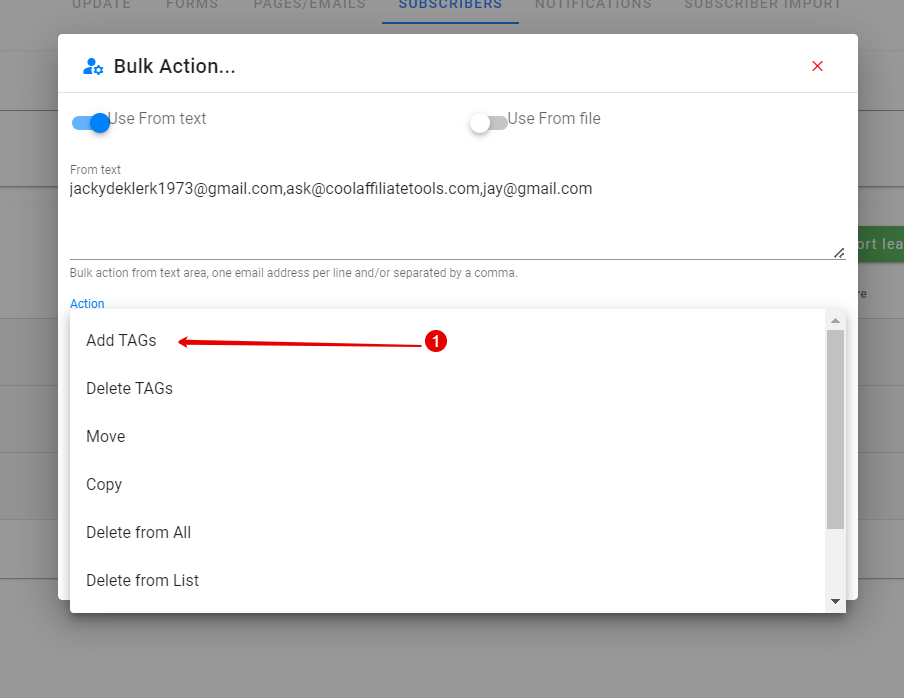
- Click on “Add TAG’s”
STEP 4
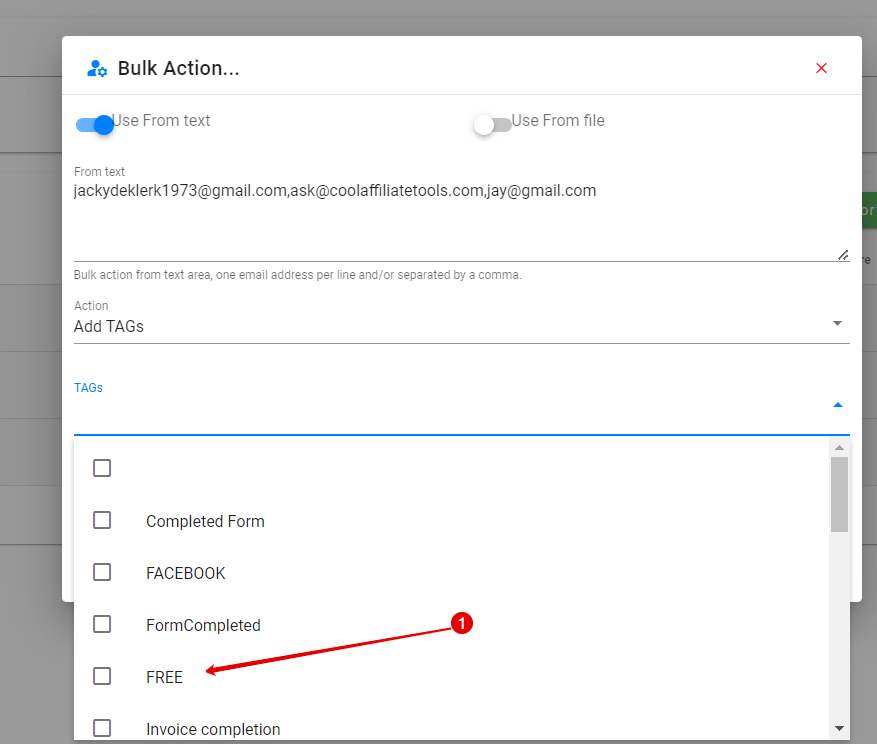
- Choose the “TAG” you want to allocate to the list
STEP 5
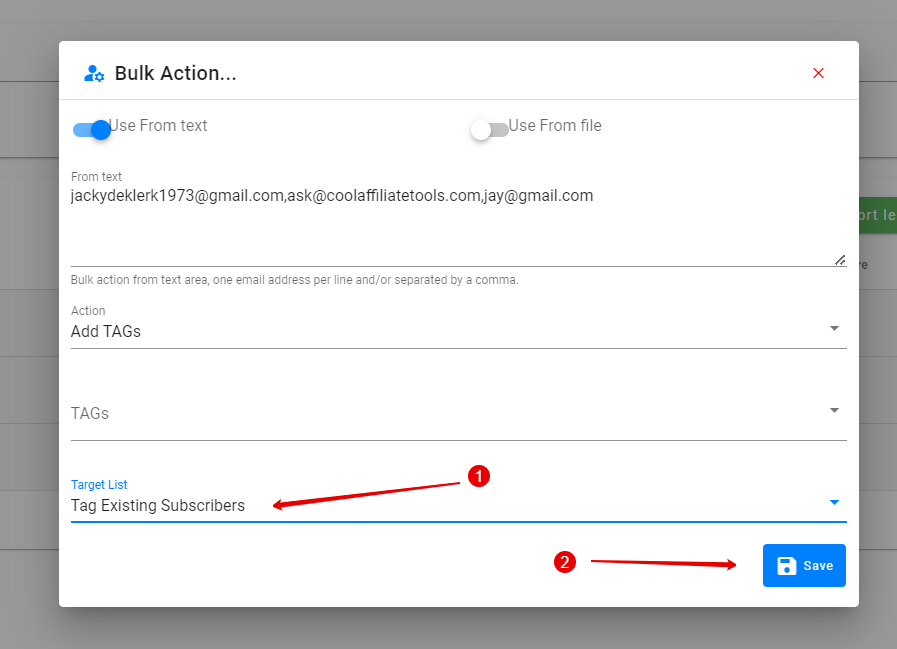
- Choose the List
- Click on “Save”
STEP 6
To verify that subscriber was added:

Choose “Subscribers”
STEP 7
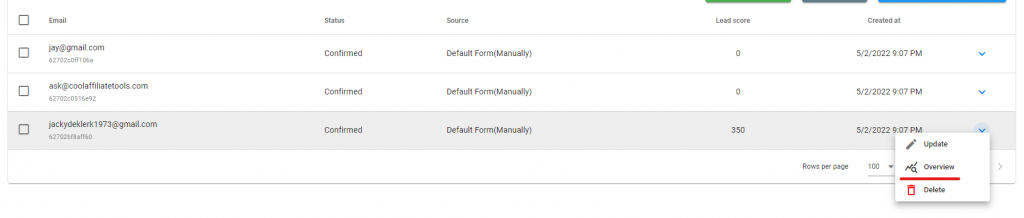
Click on “Overview” or “Update”
STEP 8
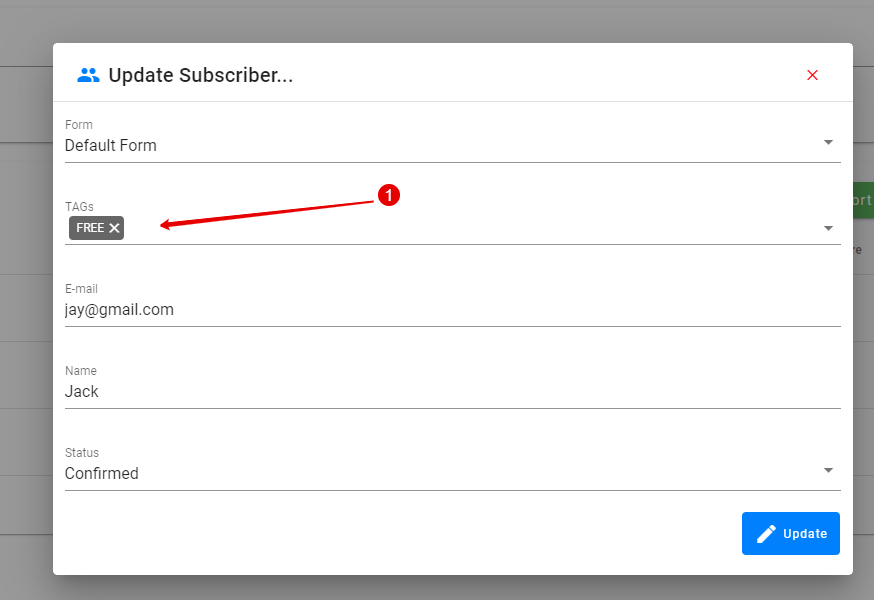
You will see the TAG’s added at the top of “Update” screen or under ‘Overview” it will show below.