In this tutorial you will learn how to configure the General Settings in eLearning including the Language Translations.
- CREATE ELEARNING
Step 1:
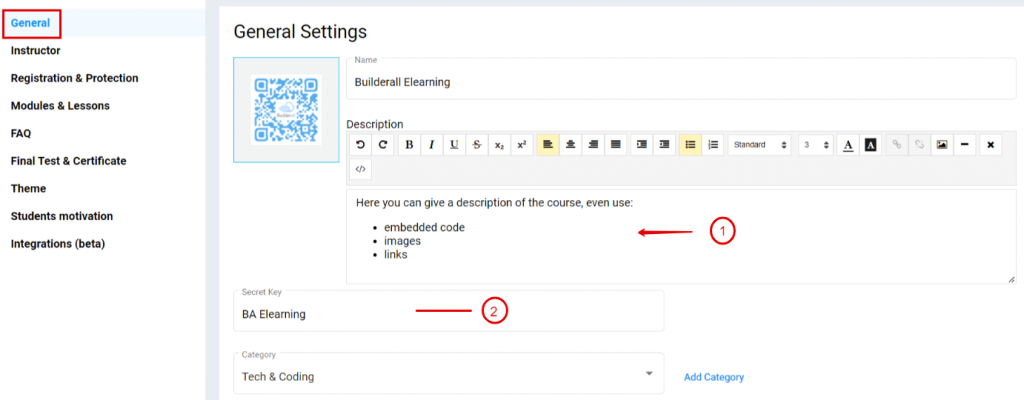
- Click on “General” in the left hand tab
- Add a “Description” for your course. You can use multiple elements in the editor
- Create a “Secret Key” that will form part of the eLearning URL
Step 2:
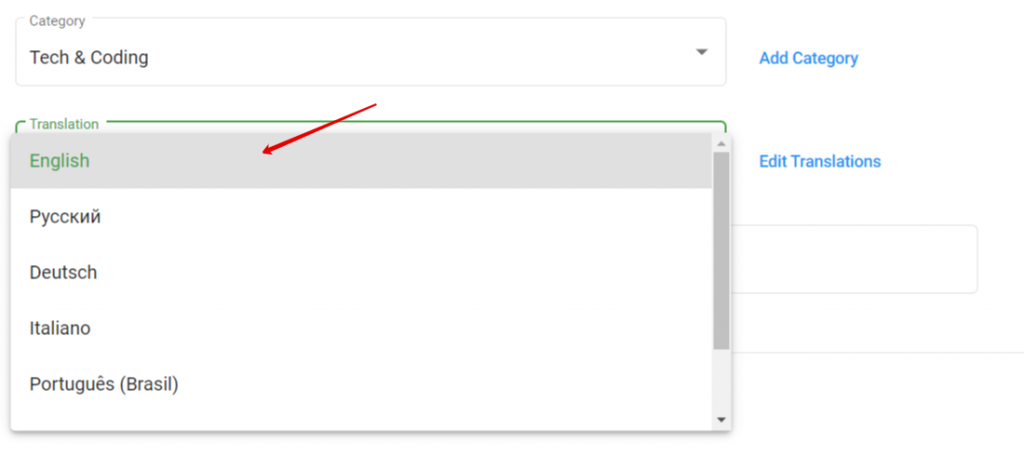
- Choose a translation
Step 3:
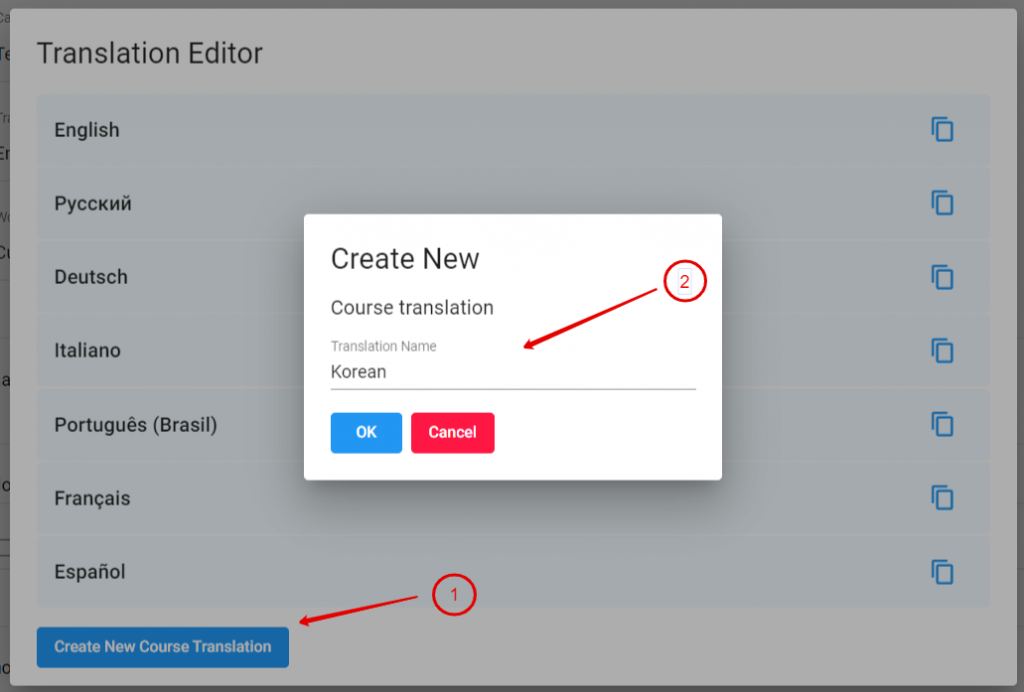
- You can also create your own translation by clicking on “Create New Course Translation”
- Ad the language of the translation and click “ok”
Step 4:
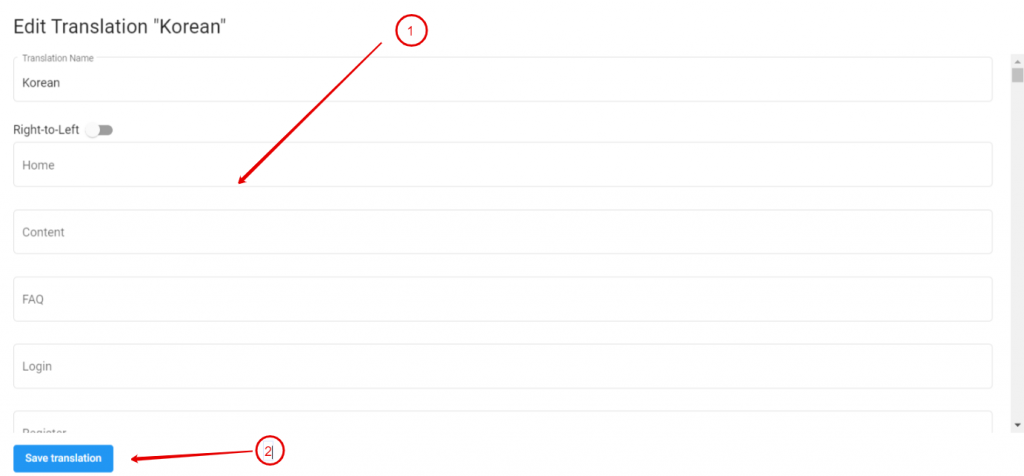
- Change all the translation words and when done click on “Save translation”
Step 5:

- In the “Dropdown Arrow” You can choose:
- Custom Hours (Complete time it will take to complete course) or
- Calculate by lessons
- Enable “About Page” if you want to add information about yourself.
- Add a “About Me” information in “About page content”
- Enable “Allow ask questions to instructor” if you want to allow the students to send you questions via email. Make sure to add the email that you want to use.
- You can also enable “Search Bar”
Step 6:
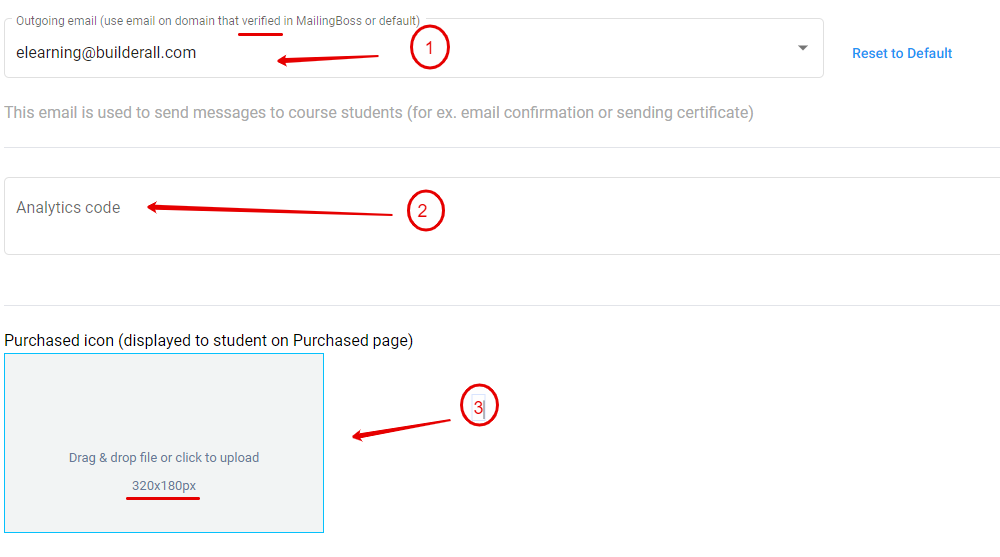
- For all your outgoing email, make sure you use an email on a domain that is verified in Mailingboss
- You can add “Analytics code “such as Google Tag Manager.
- Add the “Purchase Icon” with dimensions of 320 x 180px.
Step 7:
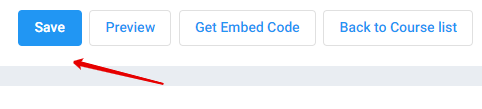
Click on “Save”