In this tutorial you will learn how to configure your eLearning where students have to register for your course to get access.
- CREATE ELEARNING
Step 1:

- Scroll to “Registration & Protection”
- Click on 1st tab “Registration”
Step 2:
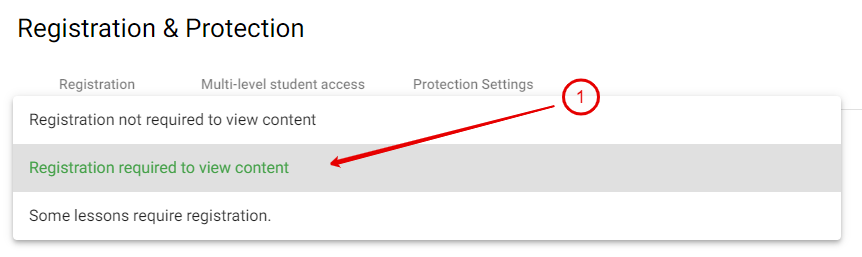
- In the dropdown choose “Registration required to view content. Can also choose “Some lessons require registration
Step 3:
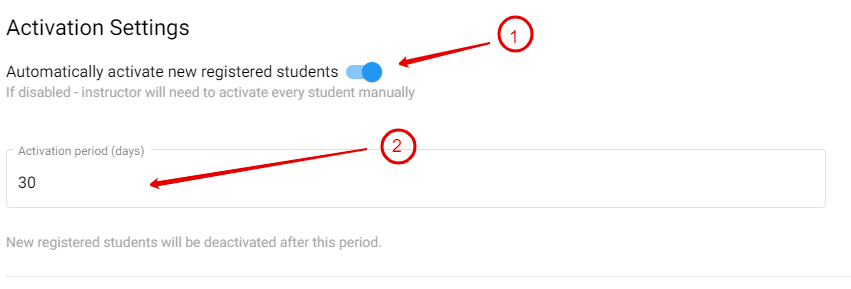
- Under the “Activation Settings” enable if you automatically want to activate new registered students.
- If you only want to give them access for a short period of time, add the activation period here in days
Step 4:
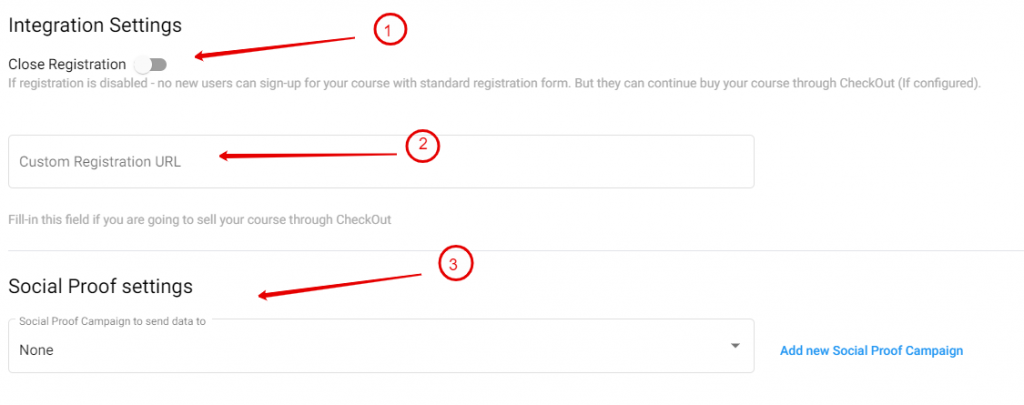
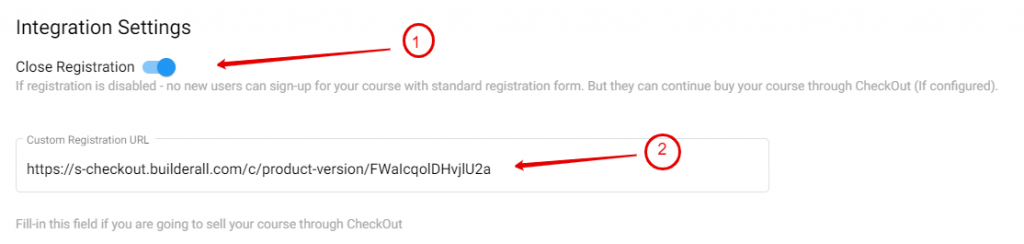
- Under the “Integration Settings” you can choose to have a “Close Registration” which means no new users will be able to sign up with just the registration form, but they can still purchase your eLearning through SuperCheckout
- If the course is sold through SuperCheckout you need to add the Custom Checkout URL here. (See Step 5) on where to find the url?
- You can also add Social Proof (see Social Proof Training)
Step 5 :
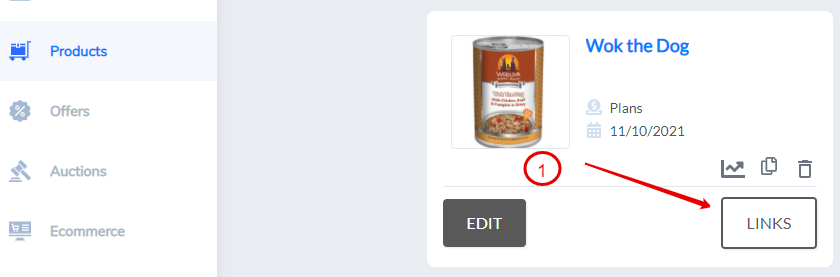
- Go to Super Checkout. Go to the eLearning Product and click on “Links”. Copy the Checkout URL
Step 6:
- You can choose if you want to enable or disable
- Add the custom registration url here
Step 7:
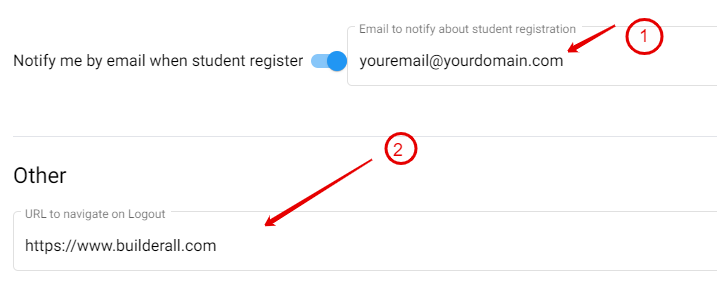
- You can also enable eLearning to send you an email if a student register
- If you want the student to be send to another page after they have logged out then just add the URL here
Step 8:

- Click “Save”