Interested in collecting leads directly from your Facebook Page? Yes, it is now possible, follow this tutorial and increase your lead collection power.
To use this integration, you will need to open a paid account on Integrately. https://integrately.com/
Currently, they do have a trial account of 14 days if you want to try it out first.
Step 1:
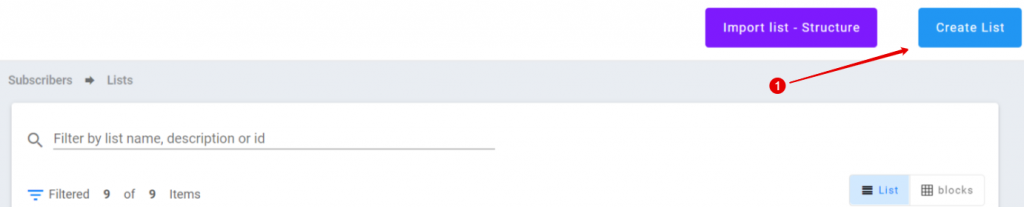
- Go to Mailingboss 5.0 and Click on “See Lists”

STEP 2:
- Click on “Create List”
STEP 3:
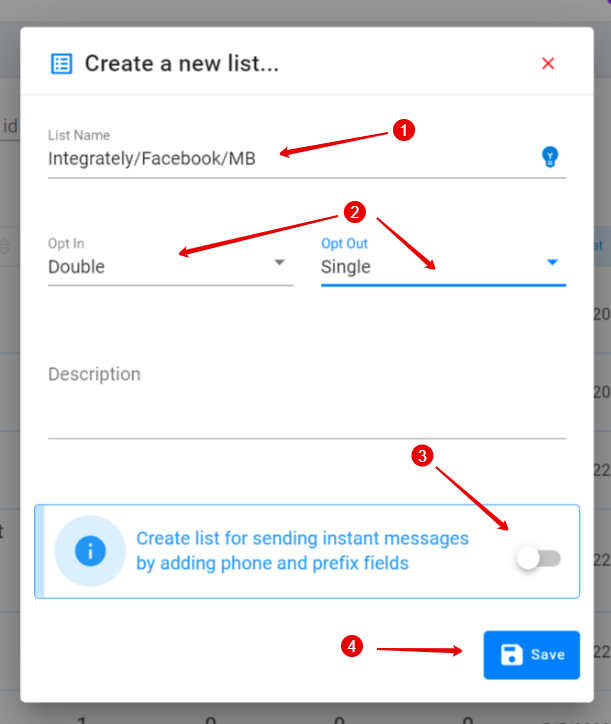
- Give your List a Name
- Choose Double Optin/Single Optin
- Do not enable for phone and prefix as this will be done manually
- Click “Save”
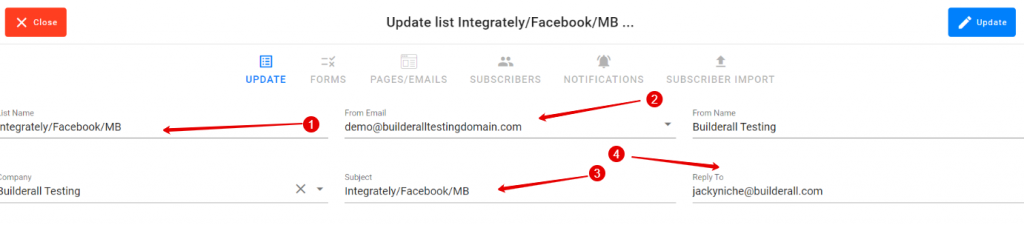
STEP 4:
- Change List Name if you want to
- Make sure to use a verified email address
- Add a Subject
- Add any Reply To email address
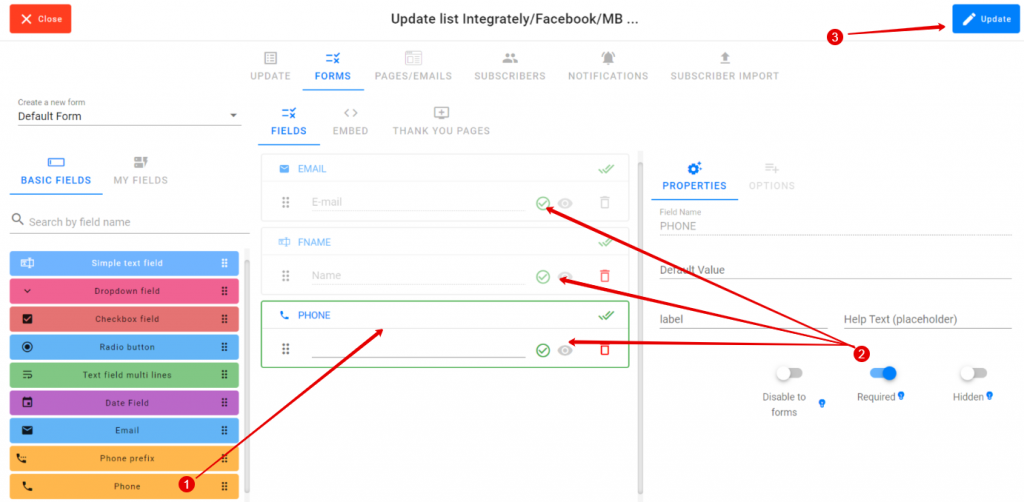
STEP 5:
Go to the “Forms” Tab
- Under “Basic Fields” drag Phone to the fields area
- Makes sure that you enable Email, Fname and Phone by either clicking on the green circle or by sliding the “Required” button
- Click on “Update”
Note: It is important that the fields in Mailingboss is exactly the same in Facebook
STEP 6:
Login to your Business Facebook Account: https://business.facebook.com/

- Go to “All tools”
STEP 7:

- Scroll until you see “Instant Forms”
STEP 8:
- Click on “Create Form”

STEP 9:
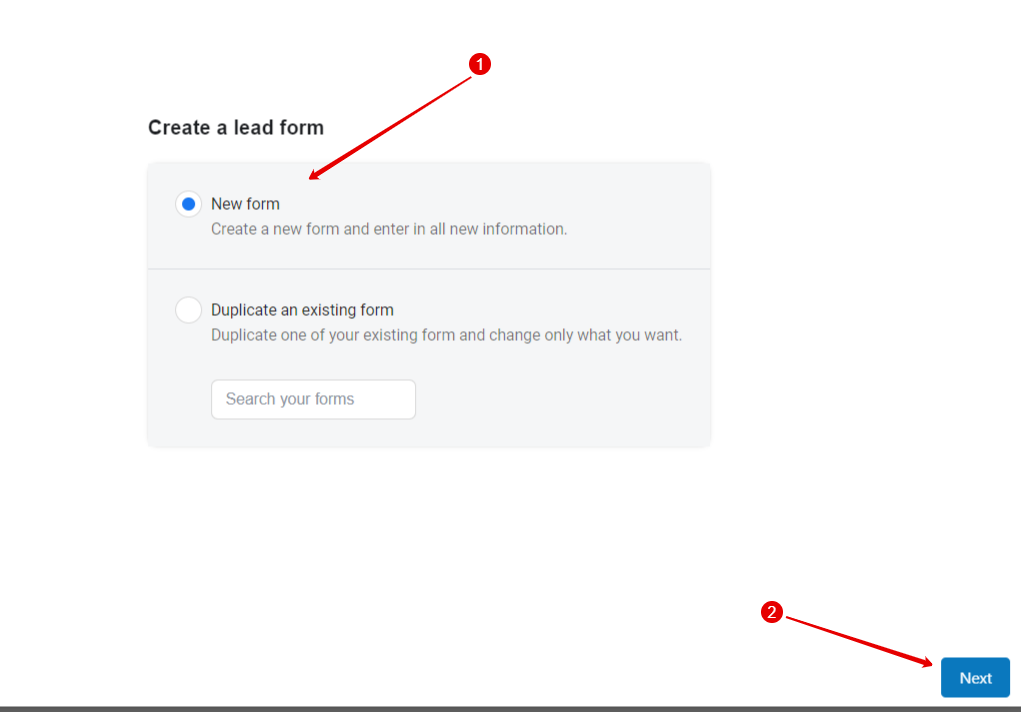
- Click on “New Form”
- Click “Next”
STEP 10:
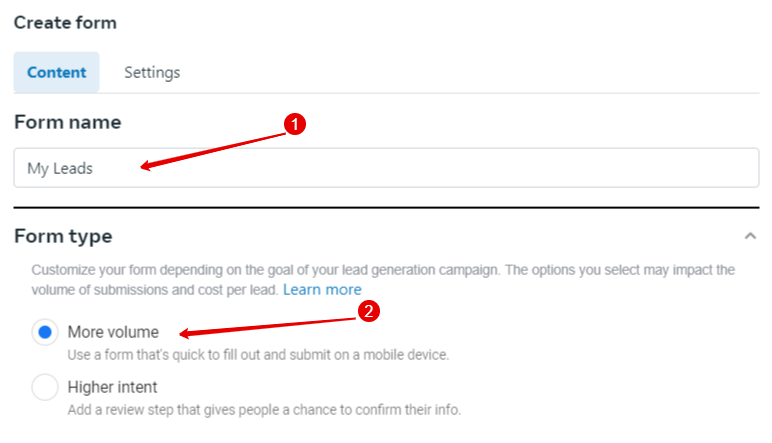
- Give the form a name
- Choose “More volume”
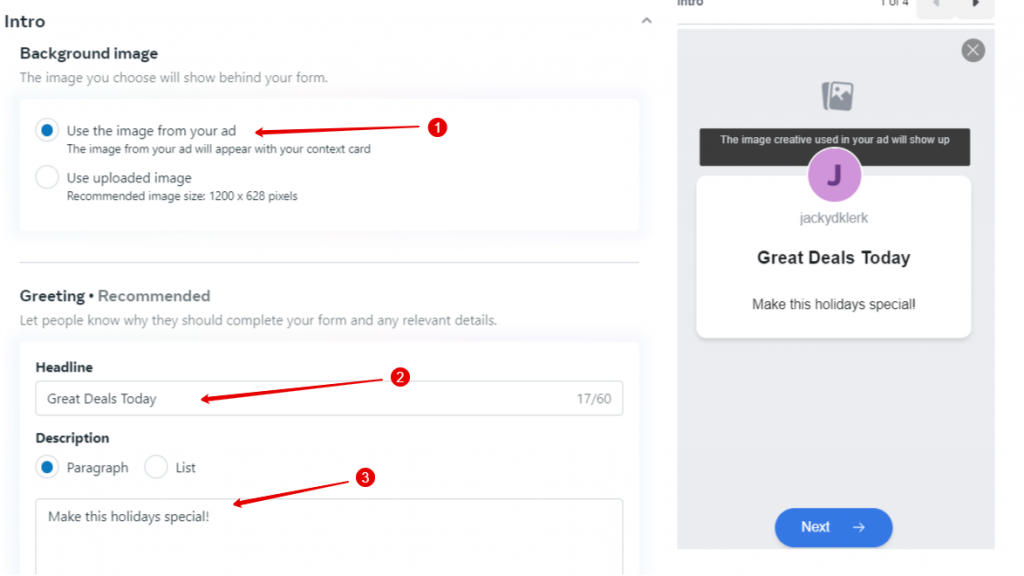
STEP 11:
- Choose image from your ad
- Choose a great Headline
- Write an awesome Description
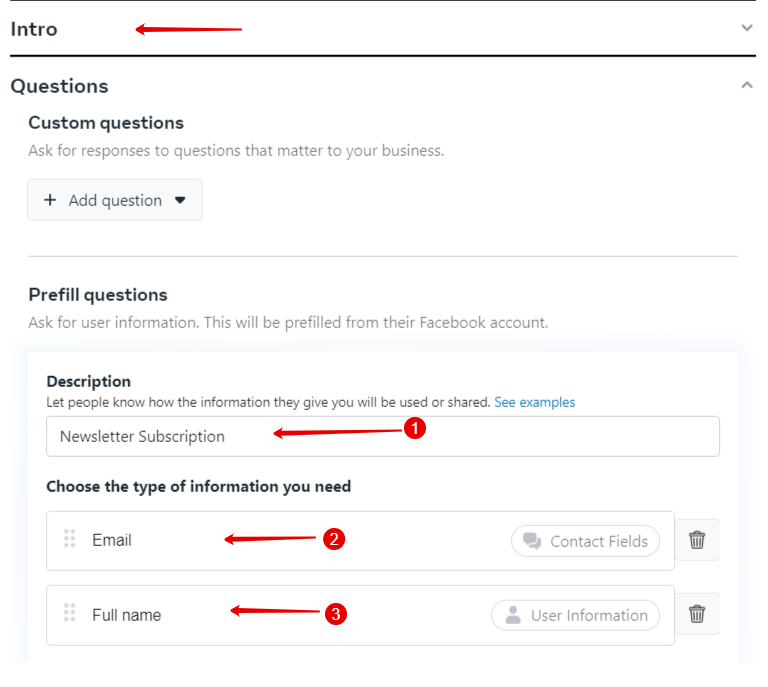
STEP 12:
Under the Intro:
- Write a description telling people how the information will be used
- Make sure you have the Email field
- Make sure you have the Full name field
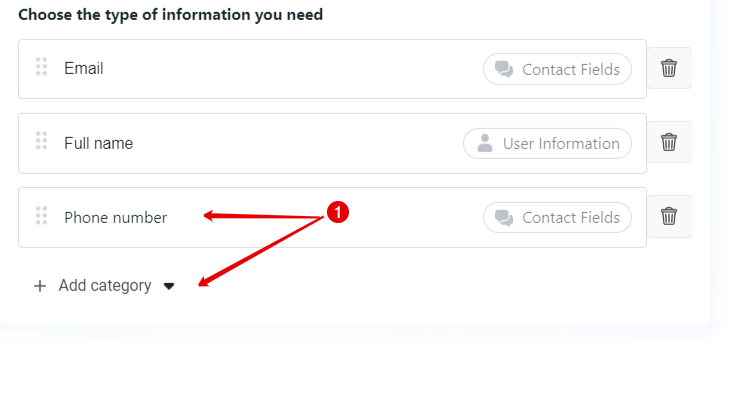
STEP 13:
- Add another category: Phone Number
STEP 14:
Scroll to Privacy
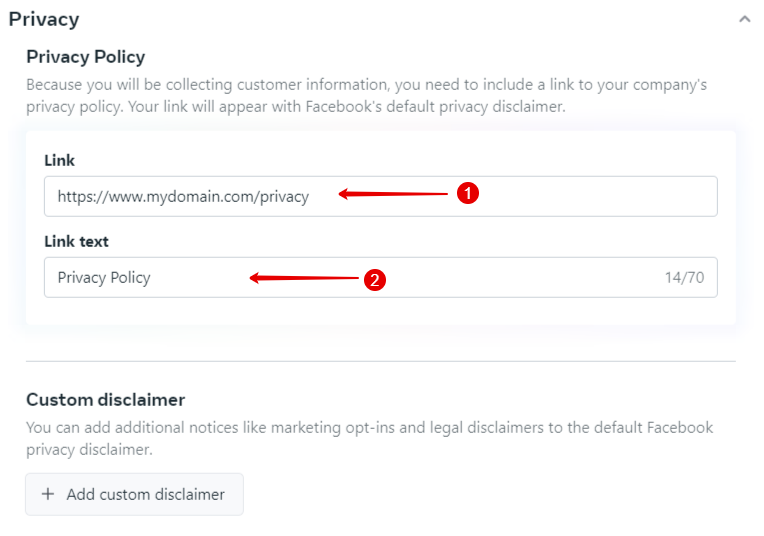
- Add the link to your business Privacy Policy
- Add text link
STEP 15:
Under Completion
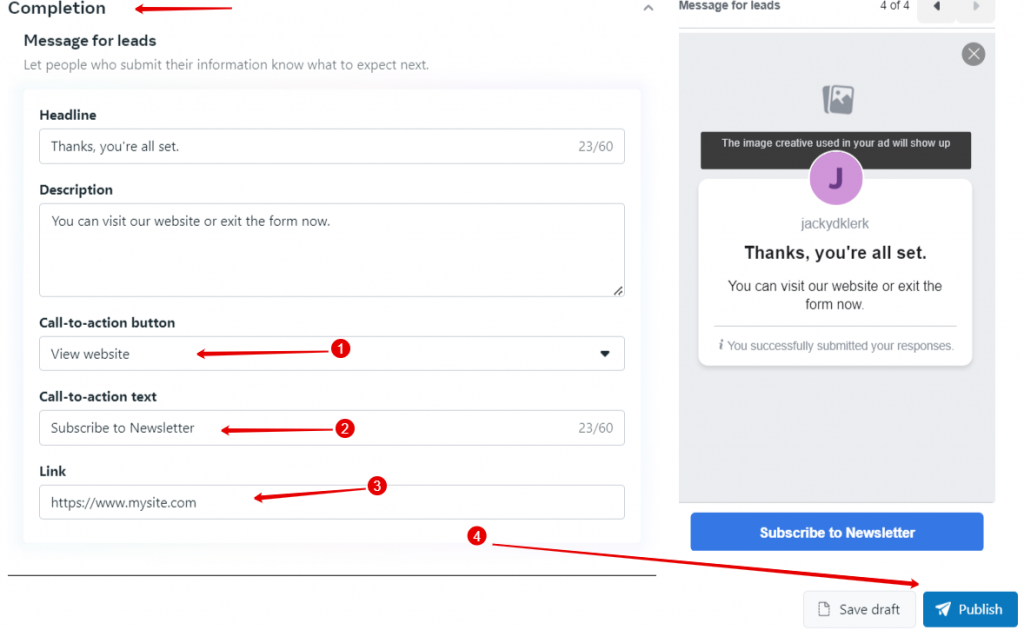
- Choose button action
- Type button text
- Add website link
STEP 16:
Form is now created and you are ready to start connecting Facebook with Integrately

STEP 17:
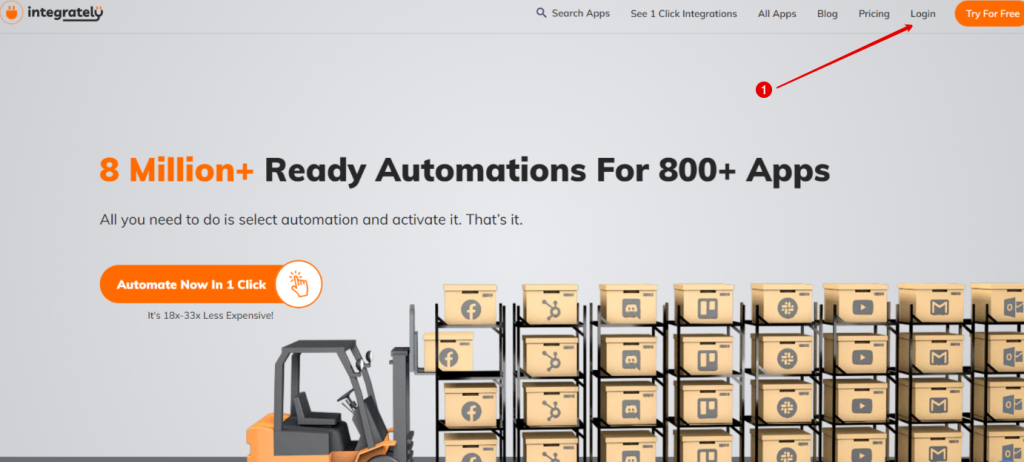
- Go to https://integrately.com/ and click on “Login”
STEP 18:
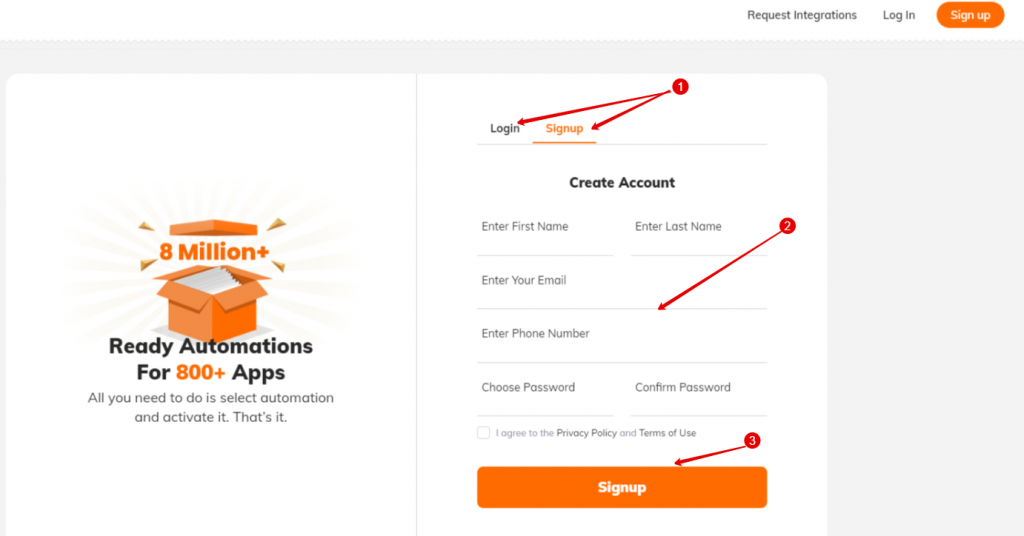
- If you already have an account – Login or Signup
- Add your details
- Click “Signup”
STEP 19:
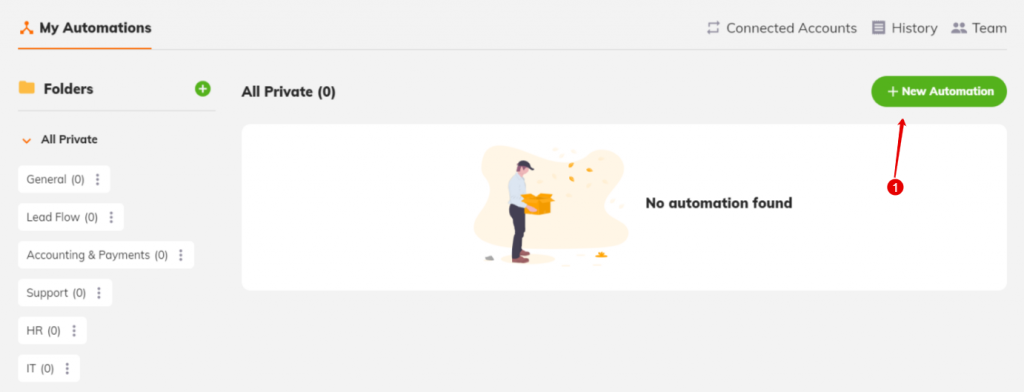
- Click on “My Automations”

STEP 20:
- Click on “New Automation”
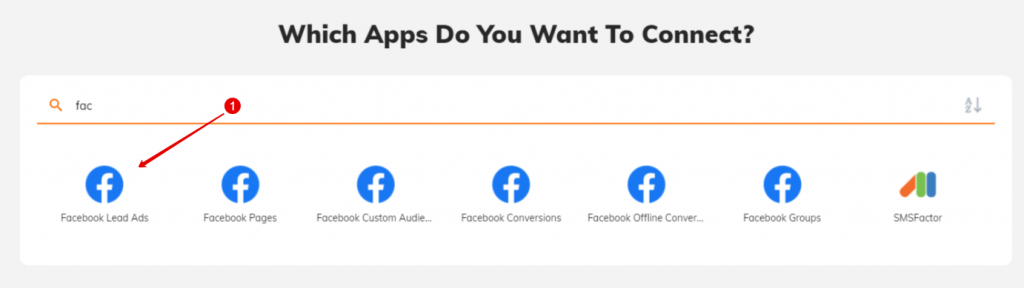
STEP 21:
- Choose “Facebook Lead Ads”
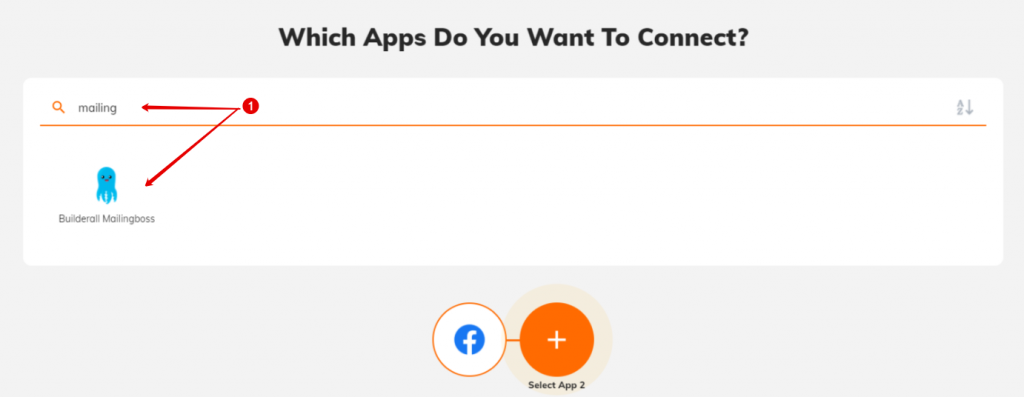
STEP 22:
- Type in search: mailing and choose Builderall Mailingboss
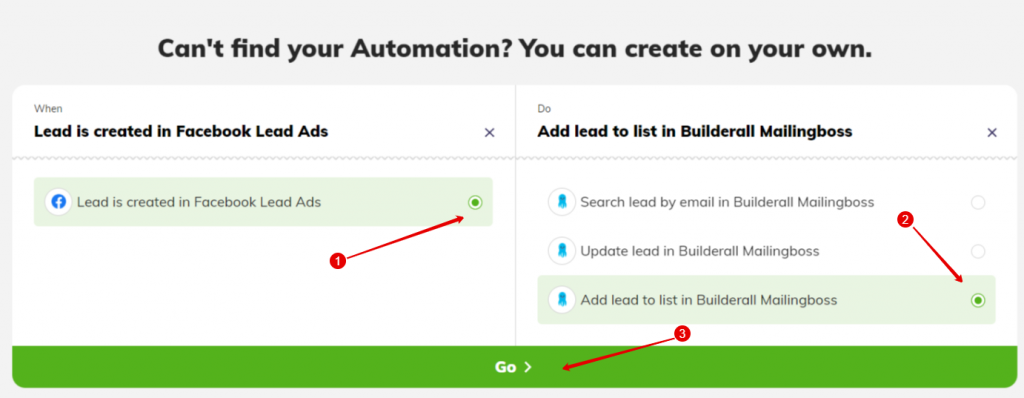
STEP 23:
- Click to enable
- Choose 3rd option (Add lead to list in Builderall Mailingboss)
- Click “Go”
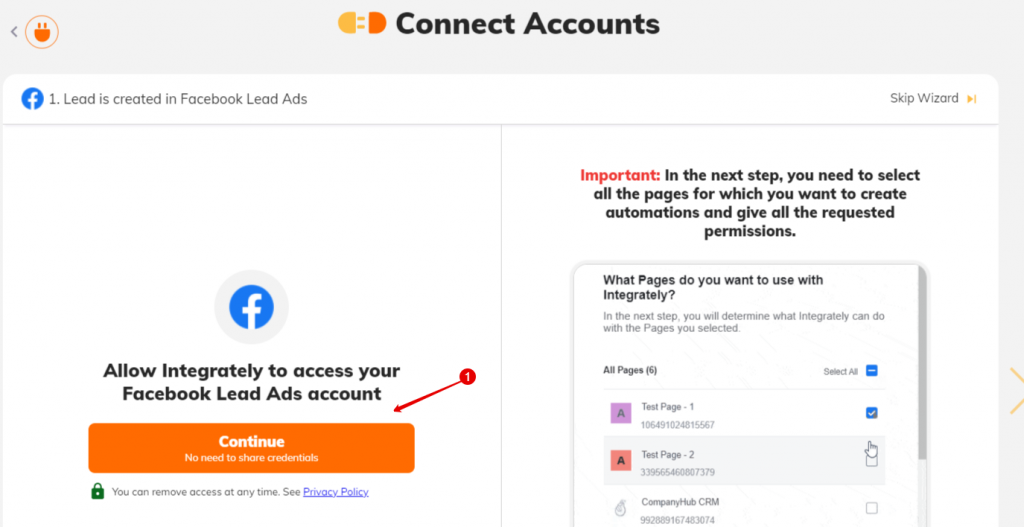
STEP 24:
- Click on “Continue”
STEP 24:
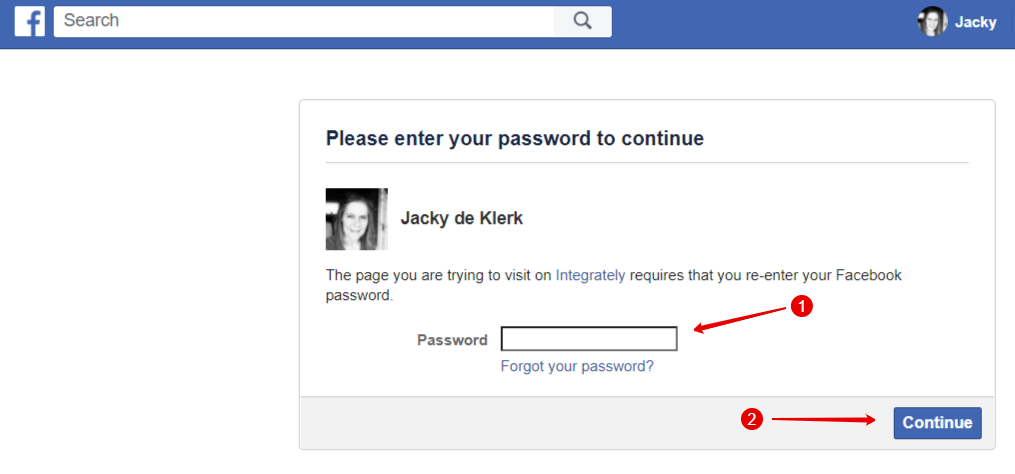
- Enter “Password”
- Click “Continue”
STEP 25:
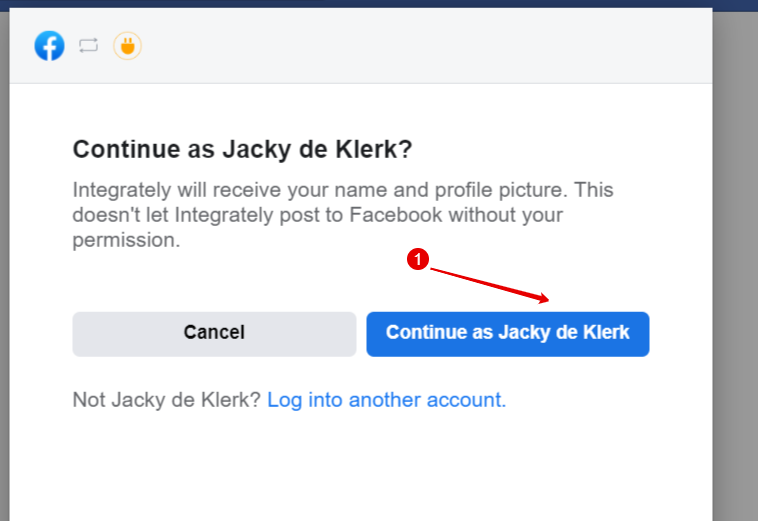
- Click “Continue”
STEP 26:
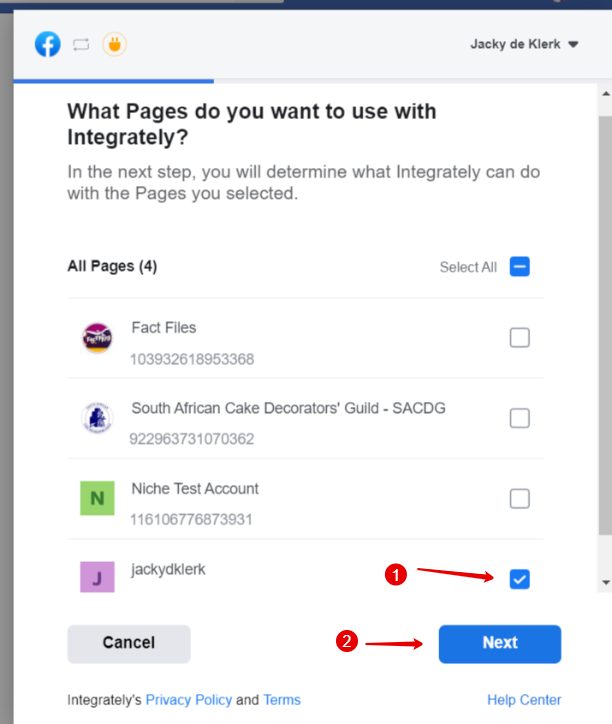
- Choose the pages you want to use with Integrately
- Click “Next”
STEP 27:
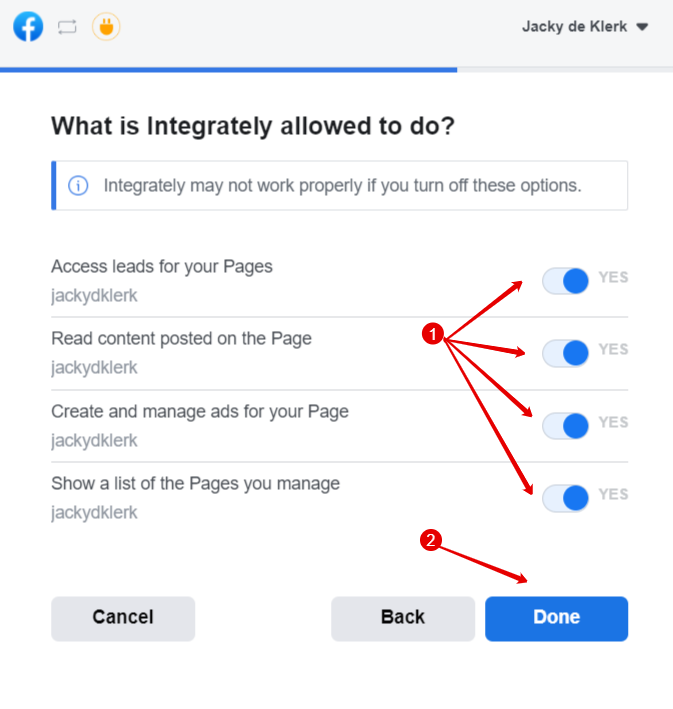
- Enable all these items
- Click “Done”
STEP 28:
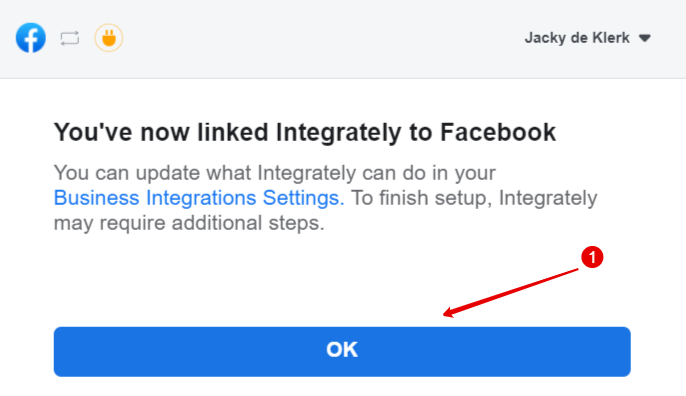
- Click “OK”
STEP 29:
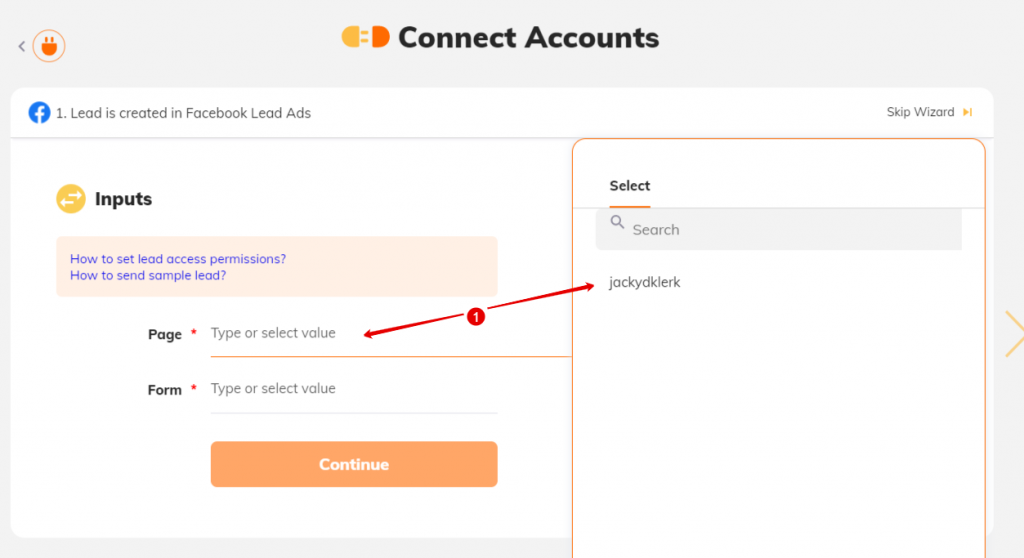
- Click “Page” to see list of pages and choose the page
STEP 30:
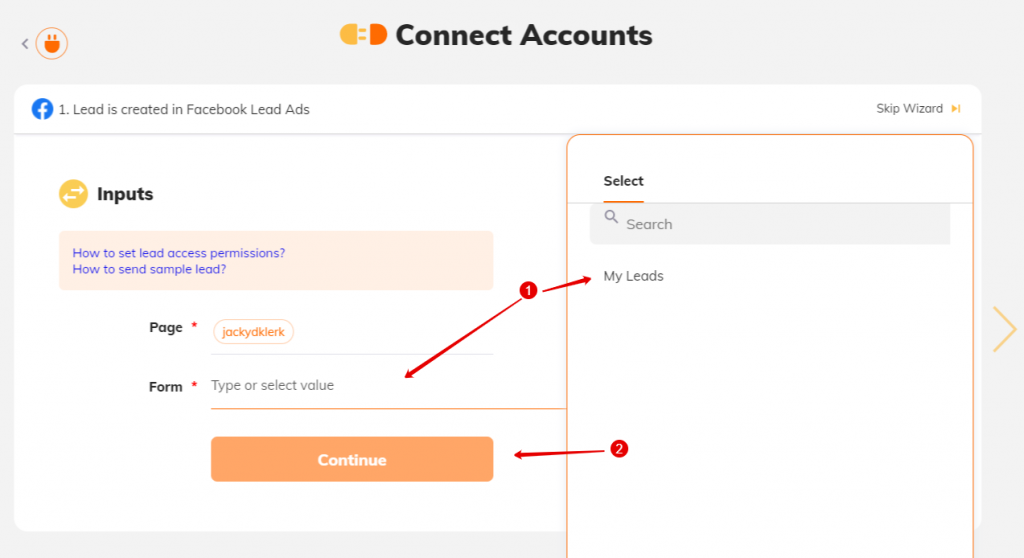
- Click “Form” to see list of forms and choose the Facebook form
STEP 31:
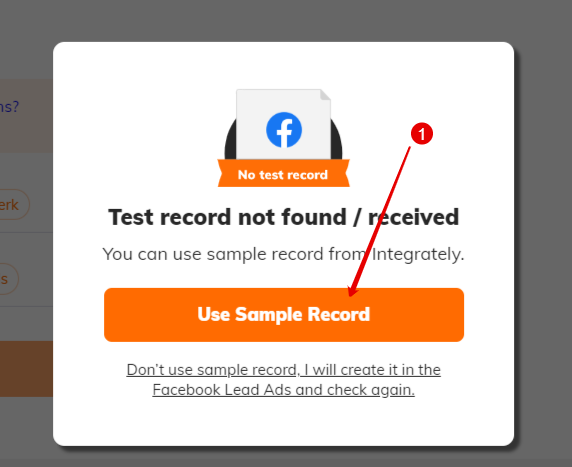
- Click on “Use Sample Record”
STEP 32:
Go back to Mailingboss
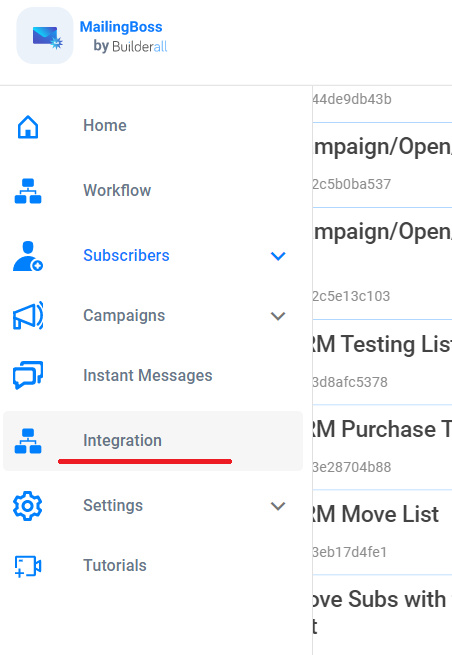
- On the left hand side, click on “Integration”
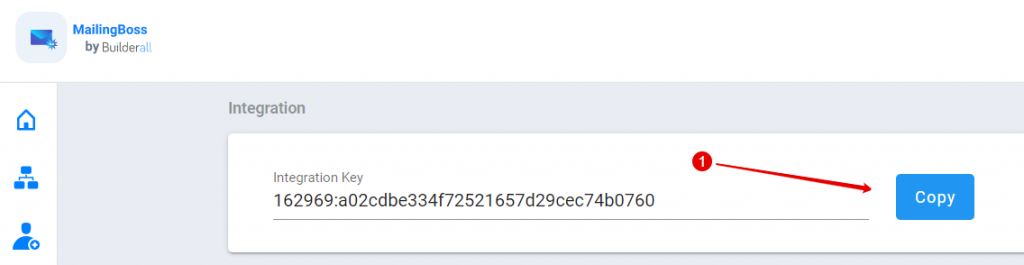
STEP 33:
- Copy the Integration key
STEP 34:
- Add the Mailingboss Integration key and click on “Continue”

STEP 35:
- Click on List Uid to see all Mailingboss Lists. Choose the one you are working with
- Click “Continue”

STEP 36:
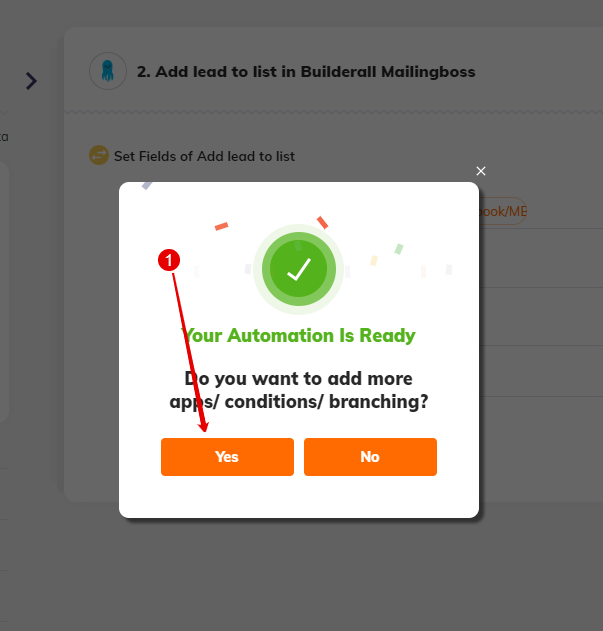
- Click on “Yes”
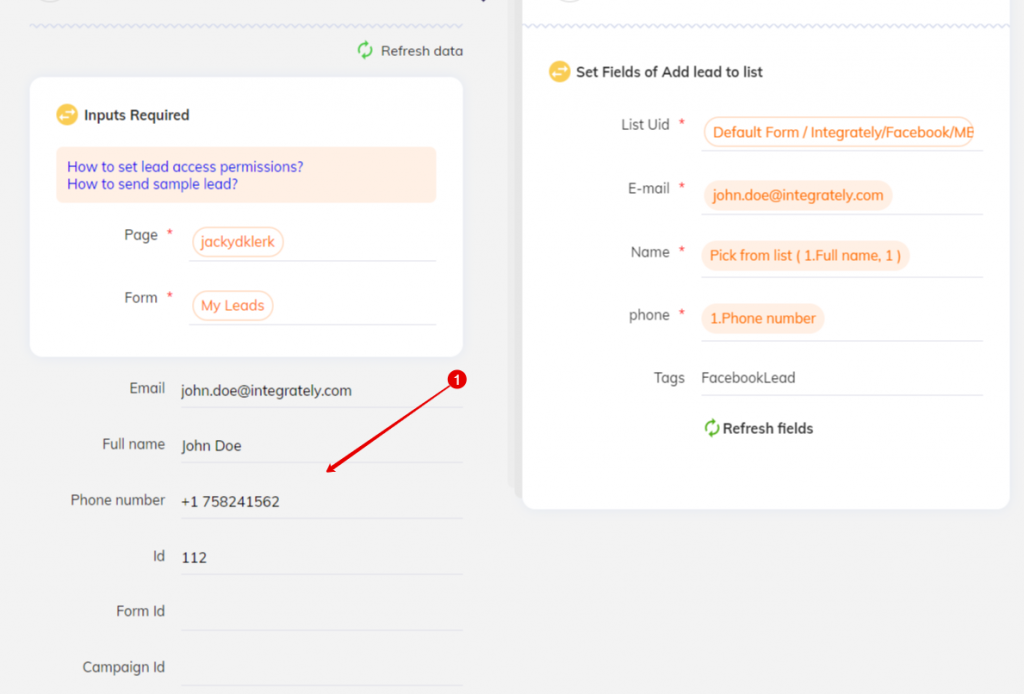
STEP 37:
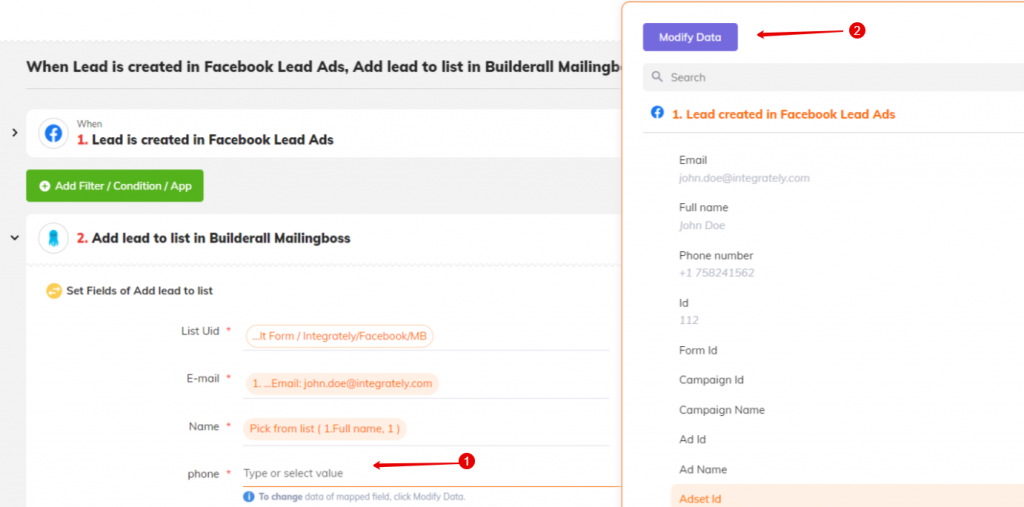
Sometimes you might see an error here, but you can delete it and add it back by just clicking on Modify Data. In this example, the phone still needs a value like the above fields.
- Click on “phone” so the “Modify Data” button opens.
STEP 38:
- Click on “Select Field”
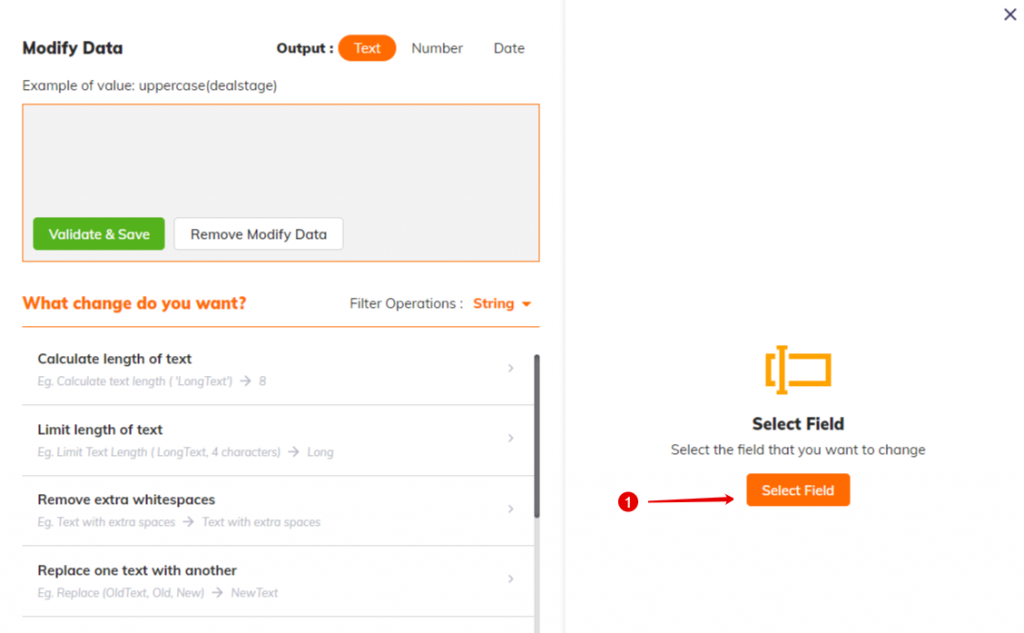
STEP 39:
- Click on “Phone number” in the block on the right to add it to the block on the left.
- Click on “Validate & Save”

STEP 40:
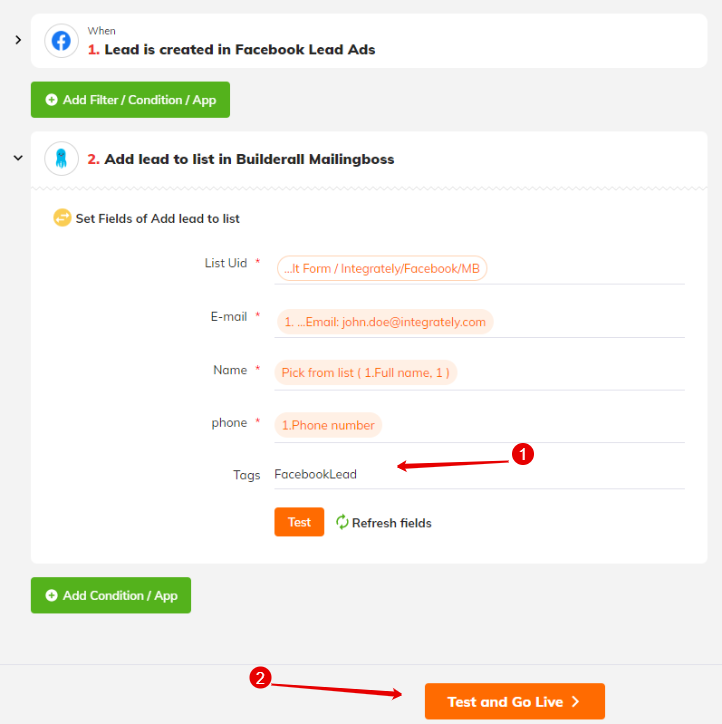
- Name the Tags field. This tag will be added to Mailingboss.
- Click “Test and Go Live”
STEP 41:
- This is a default lead and needs to be replaced
STEP 42:
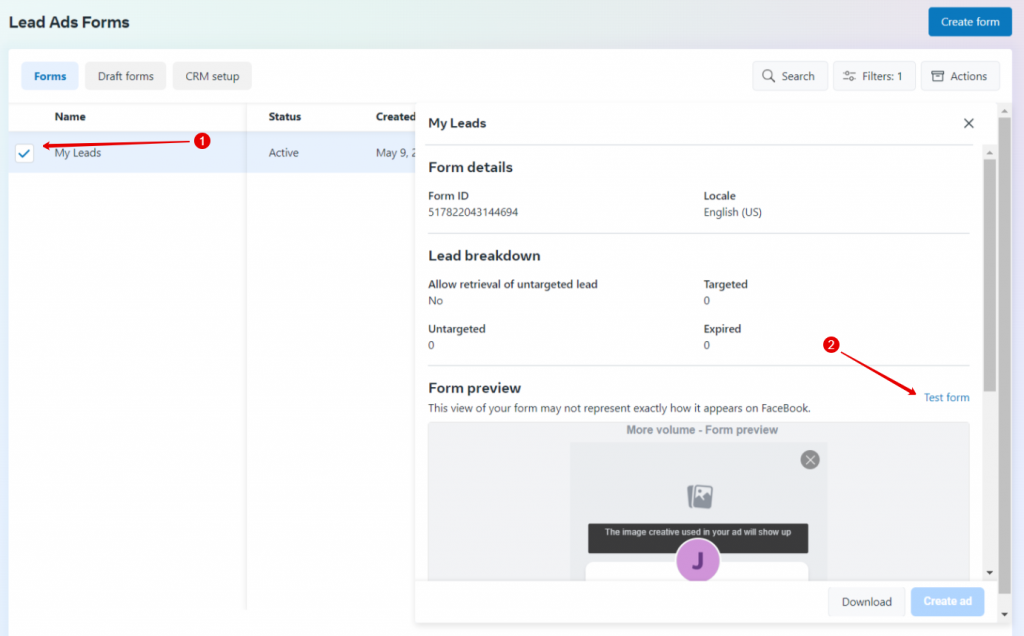
- Enable the form you are using
- Click on “Test Form”
STEP 43:
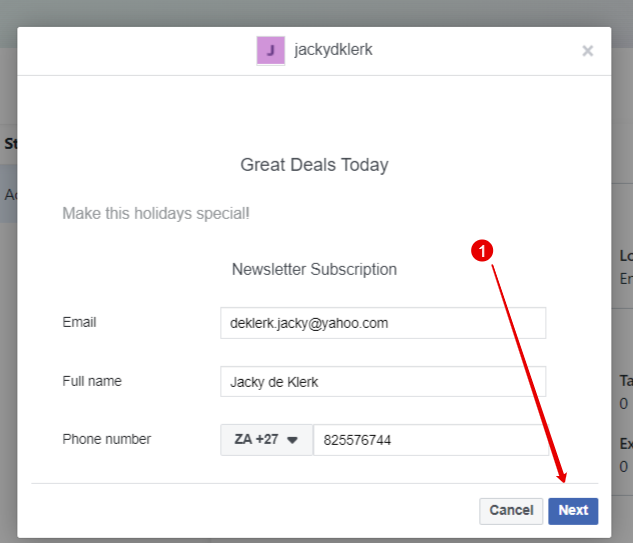
- Fill in the Form and click “Next”
STEP 44:
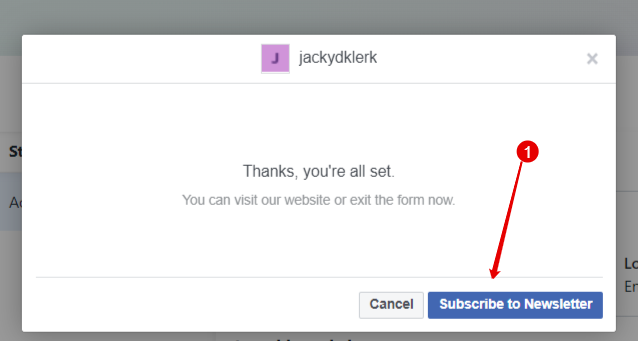
- Click “Subscribe to Newsletter”
STEP 45:
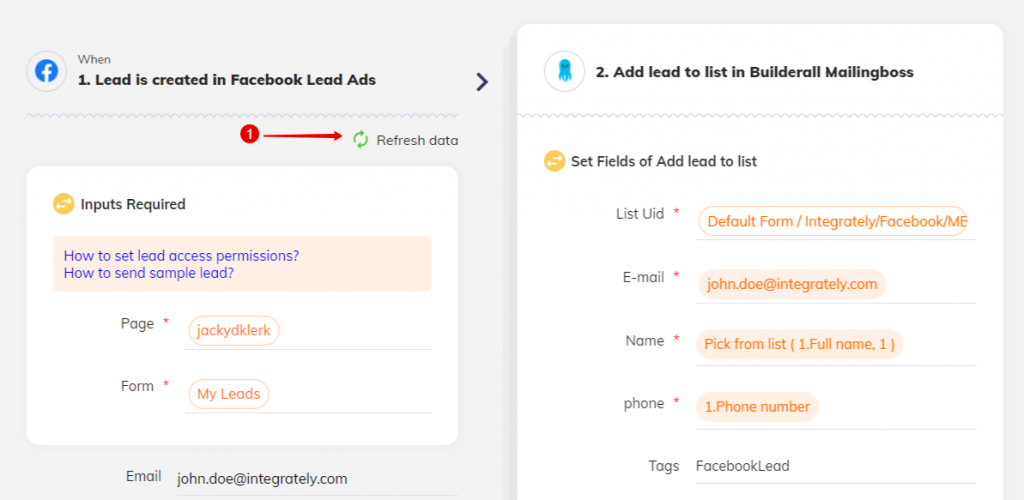
- Click “Refresh data”
STEP 46:
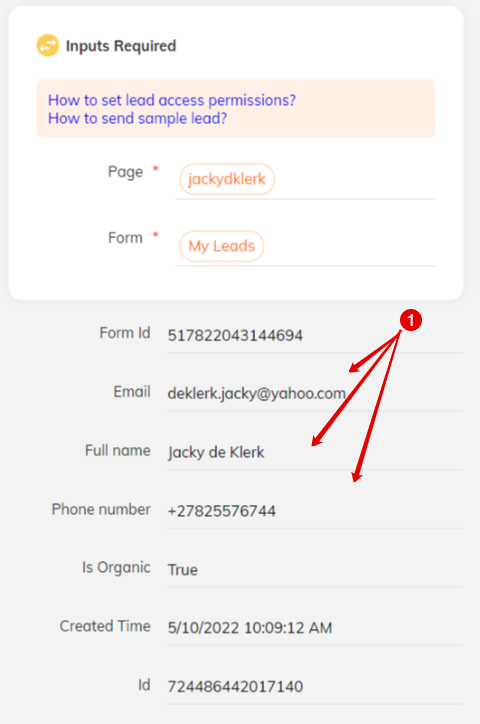
- You will see the fields completed with your information
Congrats! You are done!