Listed below are the steps to publish your mobile app to the apple app store for iOS devices.
If you’re enrolling your organization, you’ll need an Apple ID with two-factor authentication turned on, as well as the following to get started:
A D-U-N-S® Number
Your organization must have a D-U-N-S Number so that we can verify your organization’s identity and legal entity status. These unique nine-digit numbers are assigned by Dun & Bradstreet and are widely used as standard business identifiers.
You will need to obtain a D-U-N-S number from here: dnb.com. Applying for your D-U-N-S number is completely free, there is just a registration process to complete for your businesses and usually within a couple of hours you can be in receipt of the number needed to set up your Apple Developer account as an Organization rather than an individual. The Organisation registration is essential as this allows you to add our account to your as an app manager with the ability to manage certificates and profiles that are needed to complete the app submission process.
Legal Entity Status
Your organization must be a legal entity so that it can enter into contracts with Apple. They do not accept DBAs, fictitious businesses, trade names, or branches.
Legal Binding Authority
As the person enrolling your organization in the Apple Developer Program, you must have the legal authority to bind your organization to legal agreements. You must be the organization’s owner/founder, executive team member, senior project lead, or an employee with legal authority granted to you by a senior employee.
A Website
Your organization’s website must be publicly available and the domain name must be associated with your organization.
Apply to be an Apple Developer here: https://developer.apple.com/programs/enroll/
Ensure that you have an Organization developer account and not an Individual developer account. If you have an individual account, you will need to change this to an Organization account before you can complete the steps below. You will need two-factor authentication turned on.
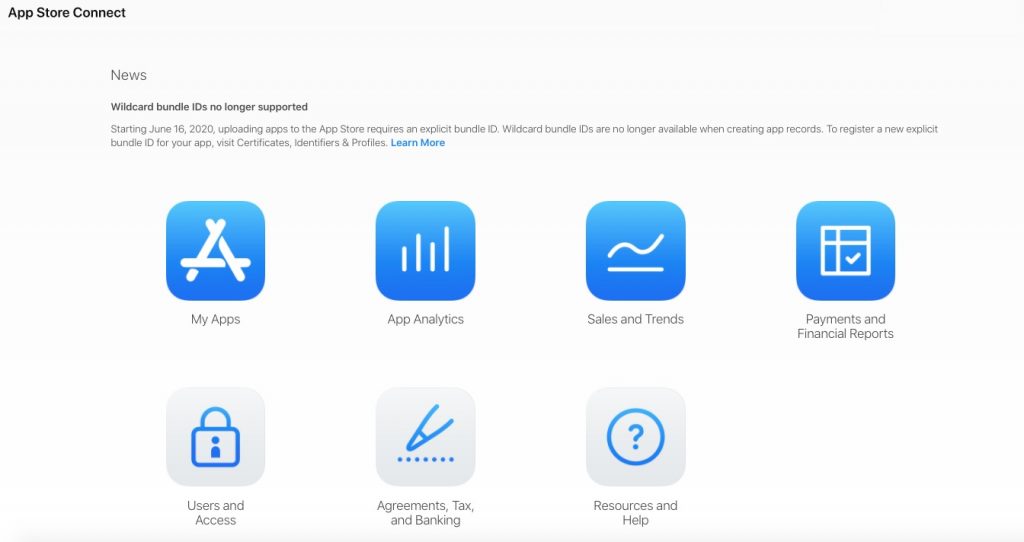
App Store Connect is a suite of web-based tools for managing apps sold on the App Store for iPhone, iPad, Mac, Apple Watch, Apple TV, and iMessage. After you register as an Apple Developer, you can join App Store Connect here: https://help.apple.com/app-store-connect/#/devcd5016d31
As a member of the Apple Developer Program, you’ll use App Store Connect to submit and manage apps, invite users to test with TestFlight, add tax and banking information, access sales reports, and more. Once you’ve completed your enrollment in the Apple Developer Program, you can sign in to App Store Connect with the Apple ID you used to enroll.
If you already have an individual Apple developer account and need to change it to an organization, you will need to contact Apple support and request that change to be made.
NOTE: BECAUSE OF APPLE GUIDELINE 4.2.6, IF YOU PUBLISH AN APP FOR A CLIENT, YOU MUST PUBLISH THE APP WITH THE APPLE DEVELOPER ACCOUNT OF YOUR CLIENT.
Once your app build is created, sign in to your App Store Connect account on https://appstoreconnect.apple.
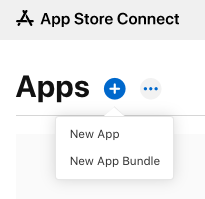
1. Click My Apps.
2. Click + and select New App.
3. Complete the following:
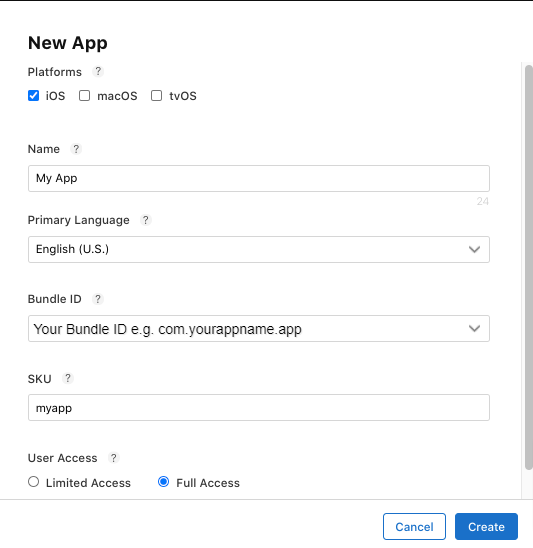
Note: The bundle ID is the unique identifier you have used to create your app build.
The SKU Number is a unique ID for your app, it will not be seen by the users.
4. In iOS App > Prepare for submission tab: in Version Information, first add the screenshots of your app.
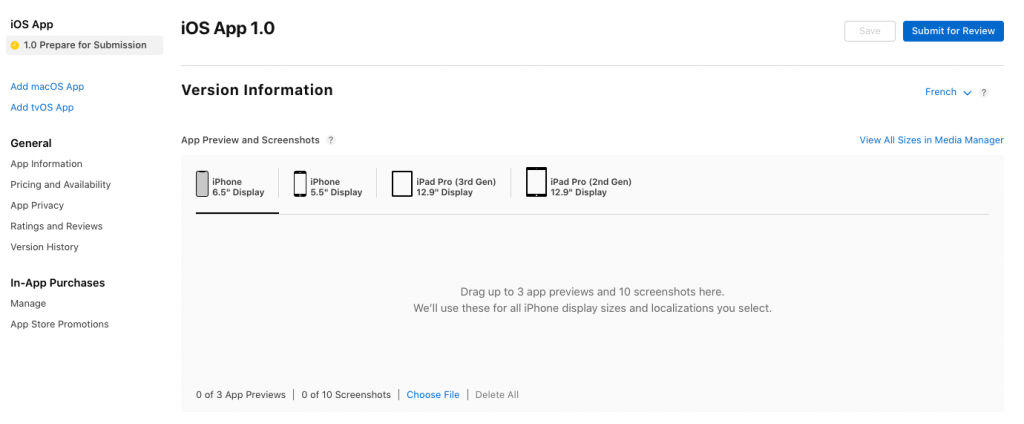
Choose the device type and drag your images for each format.
iPhone: 6.5-inch display (iPhone 11 Pro Max, iPhone 11, iPhone XS Max, iPhone XR): 1242 x 2688 pixels (portrait).
iPhone: 5.5-inch display (iPhone 6s Plus, iPhone 7 Plus, iPhone 8 Plus): 1242 x 2208 pixels (portrait).
iPad: 12.9 inch display (3rd generation iPad Pro): 2048 x 2732 pixels (portrait).
iPad: 12.9-inch display (2nd generation iPad Pro): 2048 x 2732 pixels (portrait).
5. Enter the following information for your app:
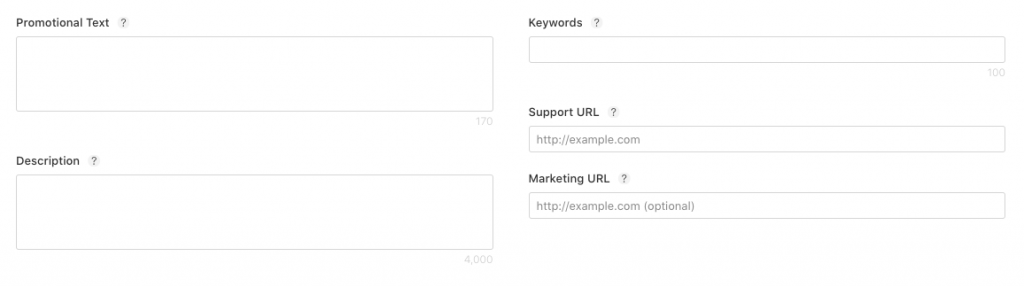
– Promotional Text (optional): Promotional text lets you inform your App Store visitors of any current app features without requiring an updated submission. This text will appear above your description on the App Store for customers with devices running iOS 11 or later.
– Description: must be 300 characters minimum, explaining to the user what he will find in your app
– Keywords: 5 at least, 10 maximum
– Support URL: it appears on your app sheet, to provide some support to users if needed
– Marketing URL (optional): a link where users can find more information about the app.
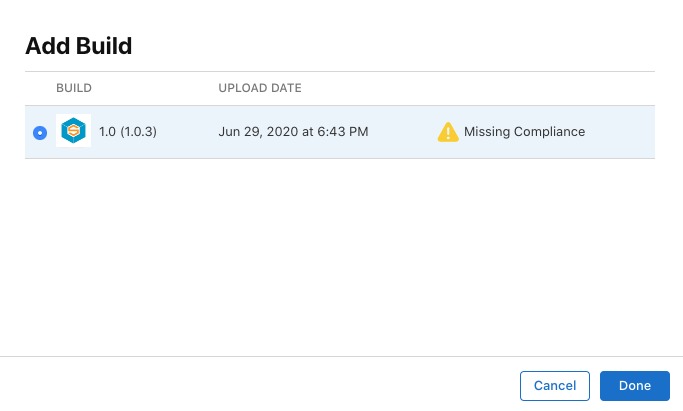
6. Click + next to Build in order to add the Build of your app.

The + is only available after your compiled app has been uploaded to your App Store Connect account from an Apple computer with Xcode. If you do not have an Apple computer, you can use a service called MacinCloud by going here: https://www.macincloud.com/
7. Select your build files and click Done.
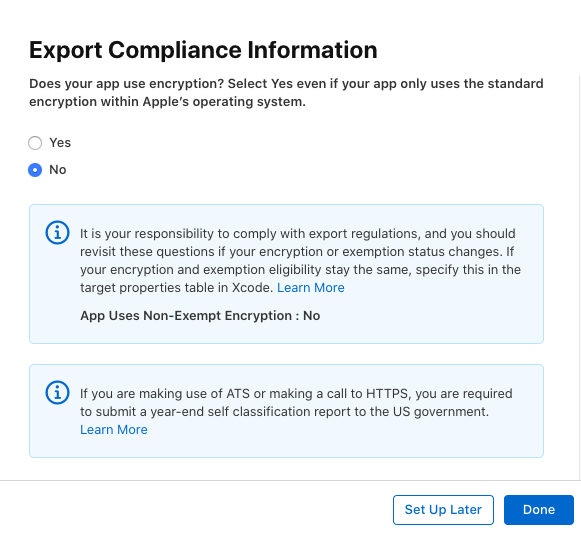
For Export Compliance Information, select No and click on Done.
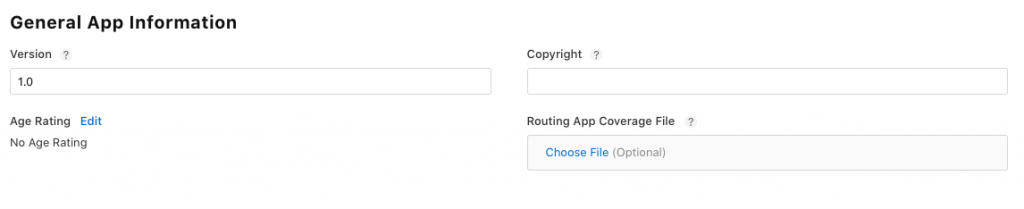
8. In General App Information
– Edit the Rating of your app and select how often each content description appears in your app.
– Enter the Copyright: The person or entity that owns the exclusive rights to your app, preceded by the year the rights were obtained (for example, “2021 Builderall”).
– (Optional) Routing App Coverage File. Specify the geographic regions supported by your app. The file must be in the .geojson format.
9. In App Review Information, enter your contact info where Apple can contact you with issues regarding the review process.
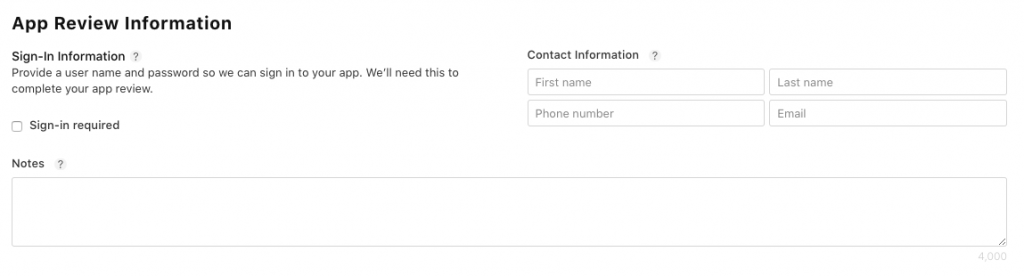
This information is not visible to your app users.
If some parts of your app are locked and not available for all users, you have to provide a demo Account authorized to access the entire app by checking “Sign-in required“.
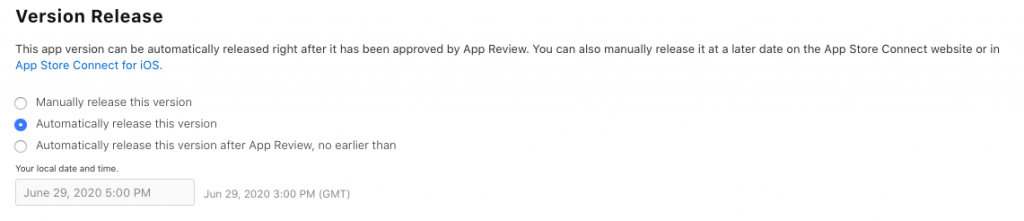
10. In Version Release, select Automatically release this version.
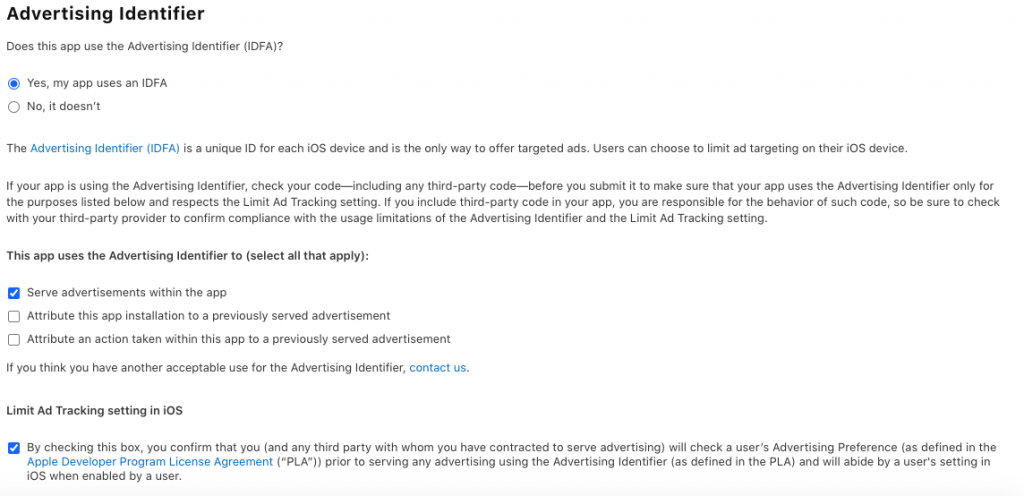
11. In Advertising Identifier, select No if you have not added AdMob ads in your app.
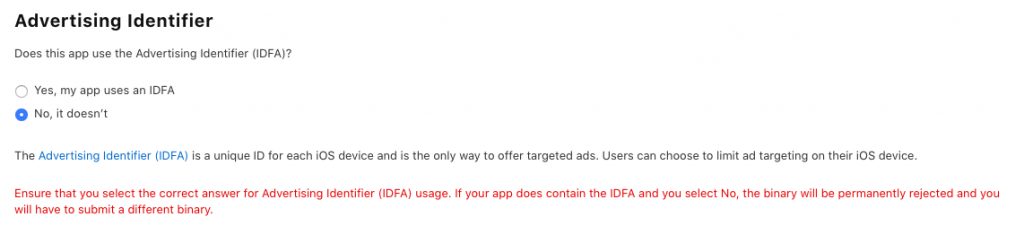
Otherwise, if you have added AdMob ads, select Yes and select the following.
12. In General > App Information tab: in Localizable Information, you can edit the name of your app and add a subtitle:
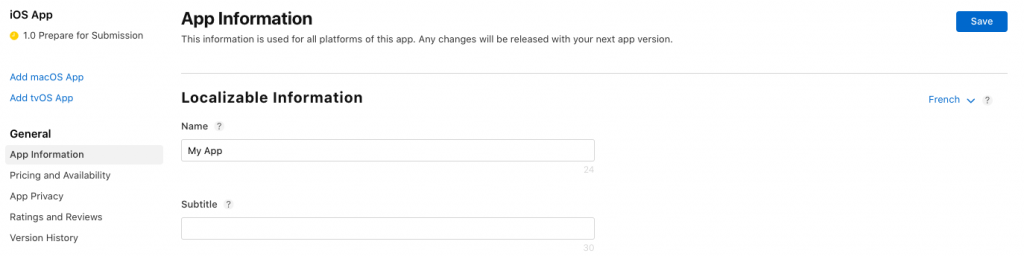
Then, in General Information, select the category of your app, you can also select a secondary category (optional):
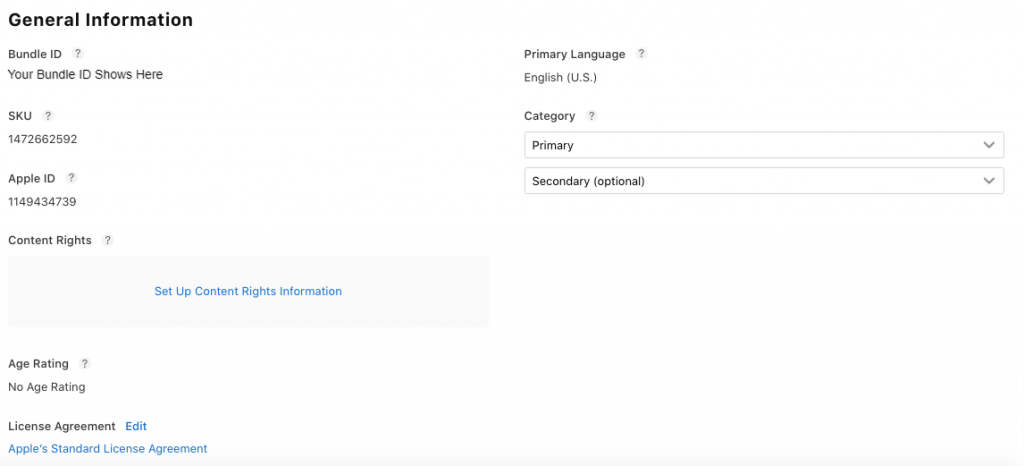
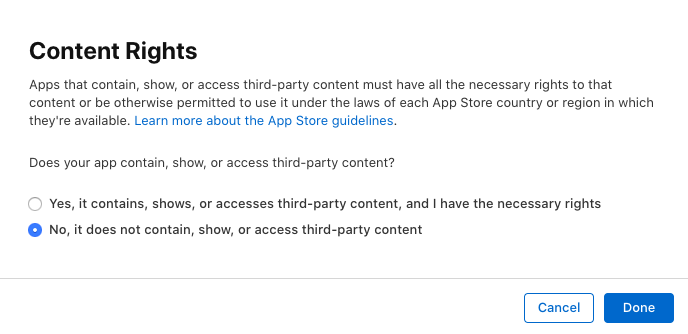
For Content Rights, click on “Set Up Content Rights Information“, select No and click on Done:
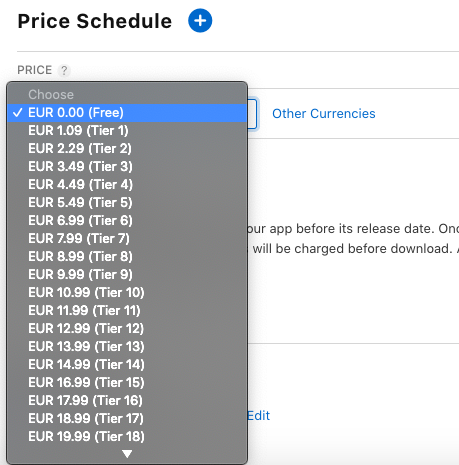
13. Click the Pricing and Availability tab.
14. In Price Schedule, select the Price of your app.
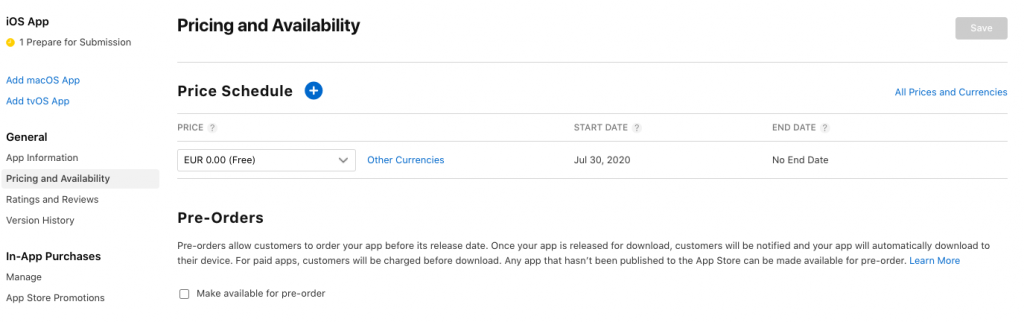
This determines the App Store price and your proceeds. If your app is free, choose Free.
If you want to sell your app, you must have a Paid Application Agreement.
Pre-orders allow customers to order your app before its release date.
If you check “Make available for pre-order“, your app must be manually released as a pre-order after it’s approved by App Review.
15. In Availability, by default all territories are selected, but you can select the countries where your app will be available.

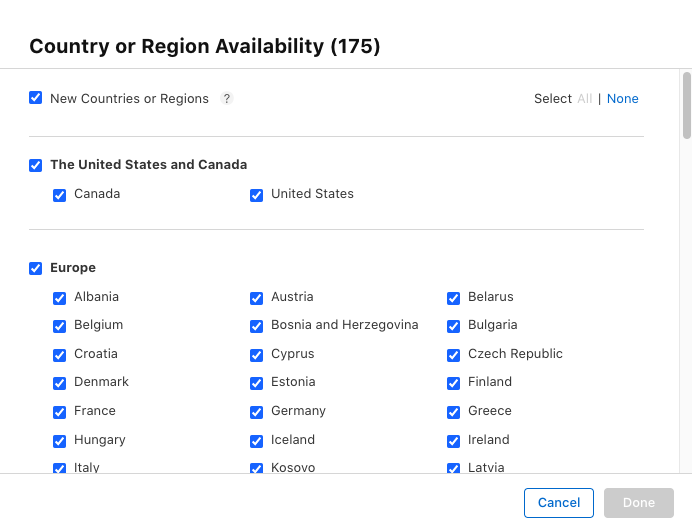
16. Click Save.
17. Click the App Privacy tab.
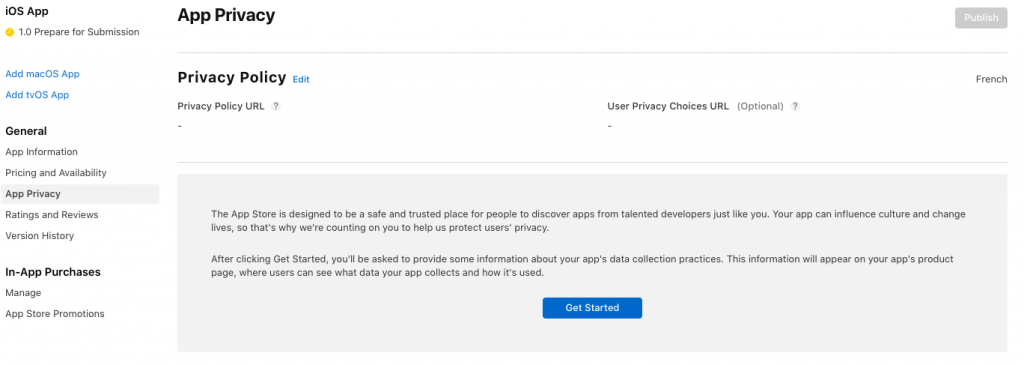
Click on Edit next to Privacy Policy and enter the Privacy policy URL of your app In Privacy Policy URL:
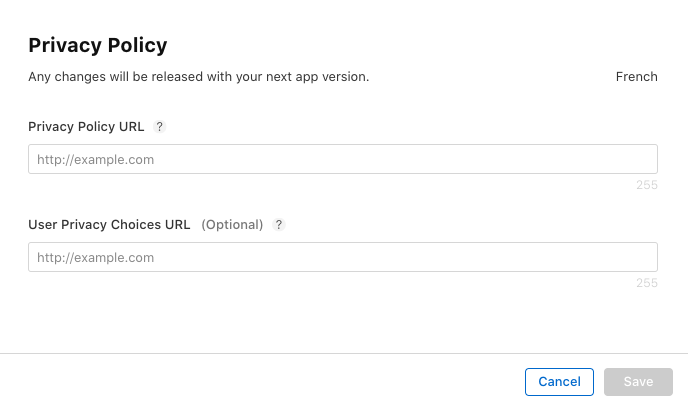
Then click on Save.
18. Return to the Prepare for Submission tab.
19. Click Submit for Review.

Voila! Your app is submitted to the App Store.
(The status of your app is now Waiting for Review and it should be available on the App Store within few days.)
If there are any issues, Apple will contact you via your account e-mail, address these concerns and then you can re submit your application.