The Supercheckout Element is only one type of form that can be added to your website directly by using the element feature. If you would like to fully customize the look and feel of the form, you will need to go the the side navigation of the Site settings to Supercheckout, create a product then choose a different form. At the moment we only have this form available under the elements of the page settings.
First create your pages in Cheetah Builder. For this example, it was used Home, Product and Thank You pages.
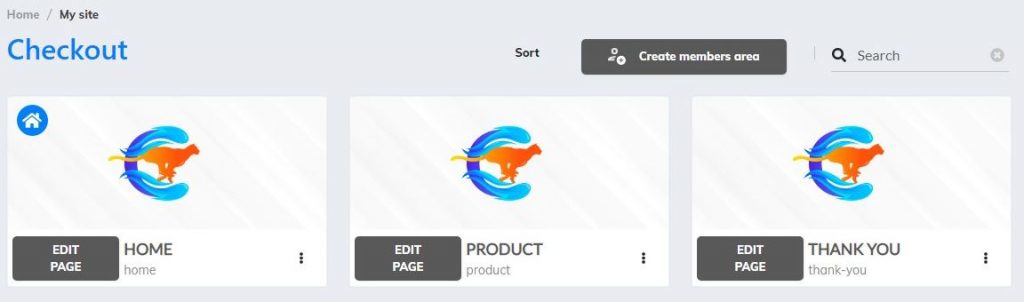
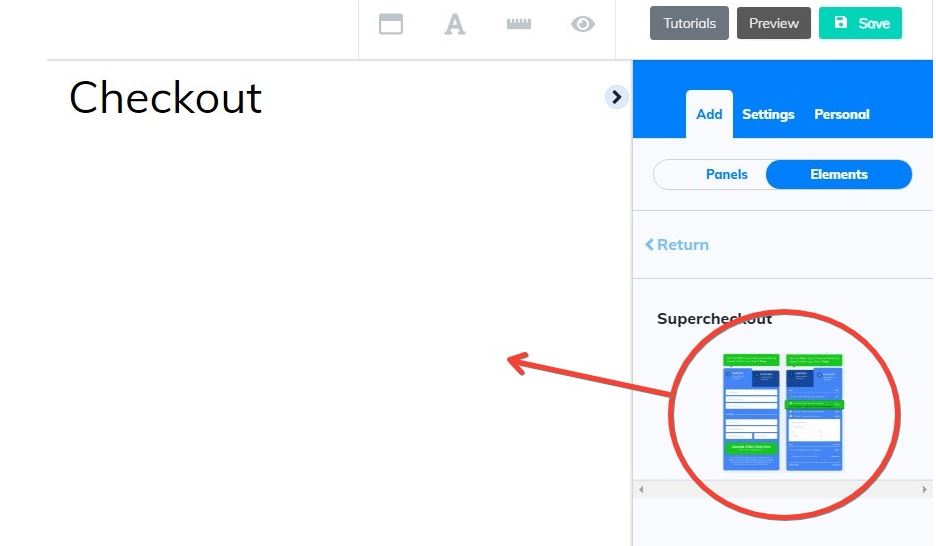
Choose the page where the checkout will be placed.
The page will open, and you have to click on the arrow.
In this part, you can insert and configure your panels and elements.
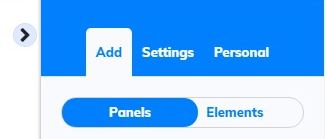
If your page doesn’t have a panel, you have to insert one, by clicking on Panels, and choose the one you like. For this example, it was used a Blank Panel.
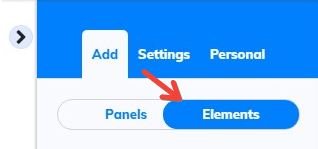
Once you insert a blank panel to your site, go to elements, and scroll down to Supercheckout
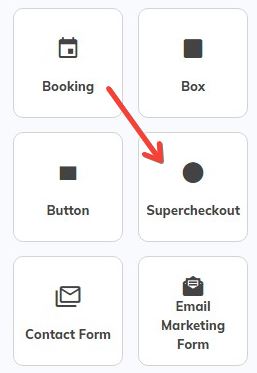
Click on that button, and a checkout form will appear

Drag and drop this element inside your page
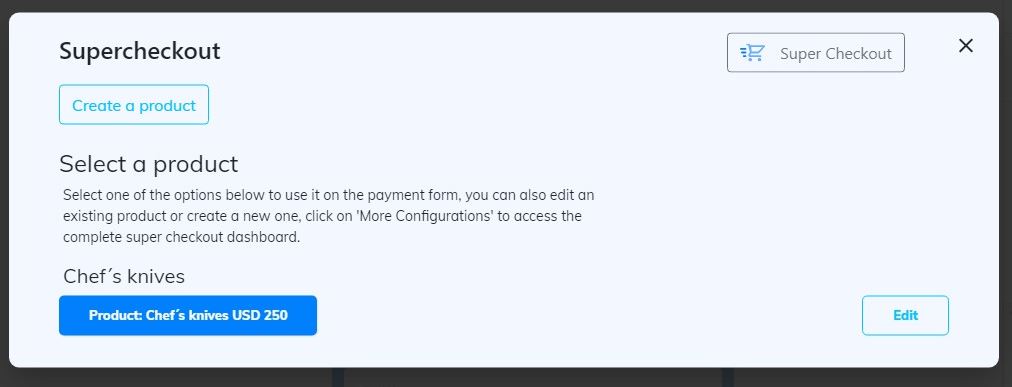
Will pop up a window, asking to select a product
If you haven’t created a product yet, don’t worry. You can create a product by clicking “Create a product” or “Super Checkout”.
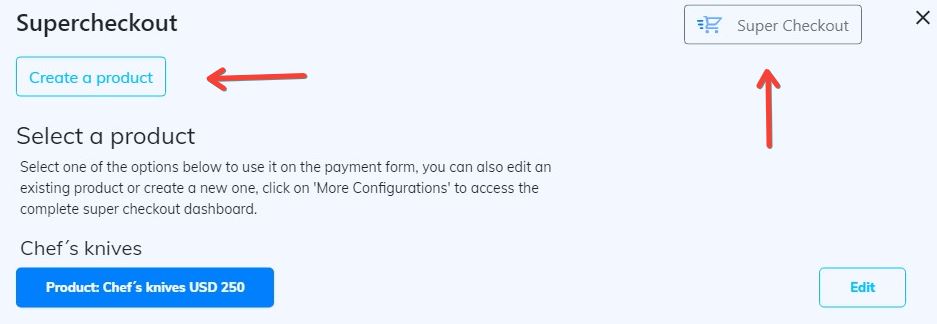
The suggestion is to choose “Super Checkout”, because you can create your product with all configurations, like restricted area, Mailing Boss list, etc
Choosing a product, this form will appear
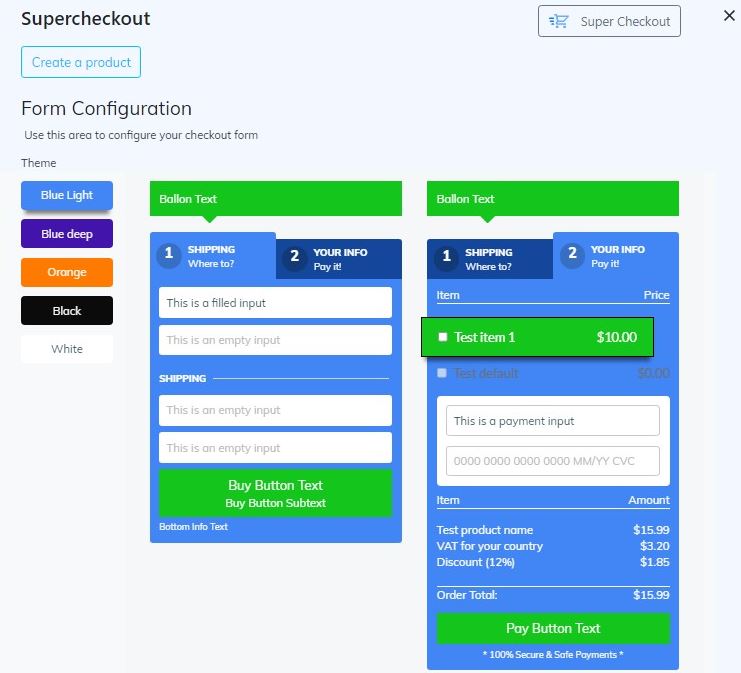
In Theme, you can choose the color for this form. There are 5 options to choose, from Blue Light to White
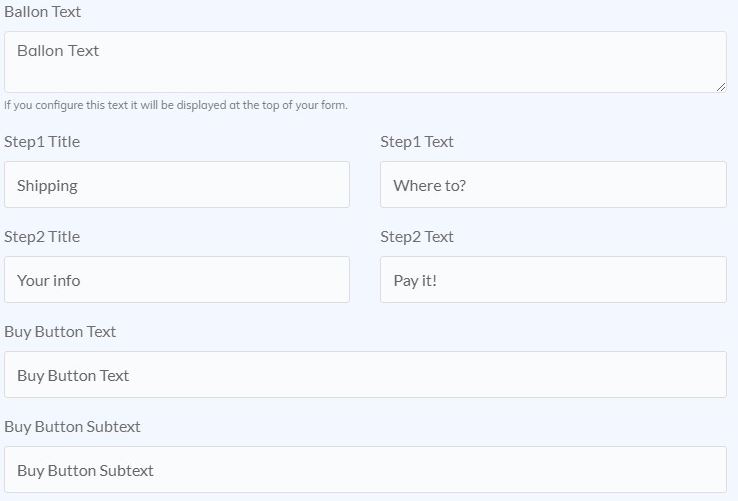
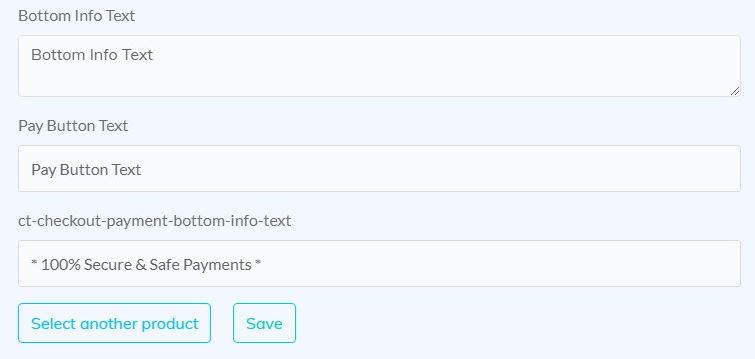
Below you will see the settings for the buttons and texts. Here you can change the texts and the text buttons, to customize your checkout. The changes you will see in the form
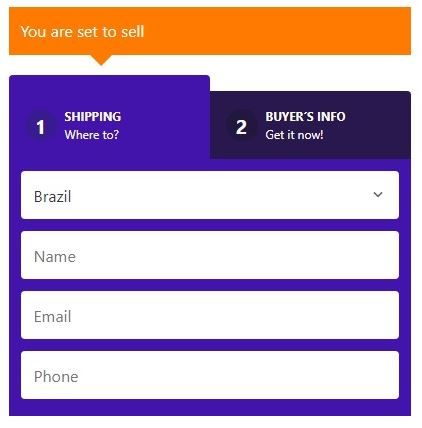
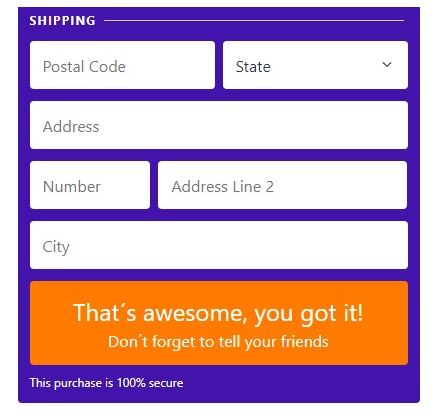
This is an example after configuring the form
Thank you for following this tour with me! If you have any questions or problems using the tool, our technical support team is always available to help you!
Please rate us by giving us your feedback. It is important to us.
Let your business take off🚀