Email Sequence is a series of emails that are sent out automatically on a schedule depending upon the actions of the customer/subscriber. Email Sequences are known by different names such as drip emails, lifecycle emails, email marketing automation, and autoresponders.
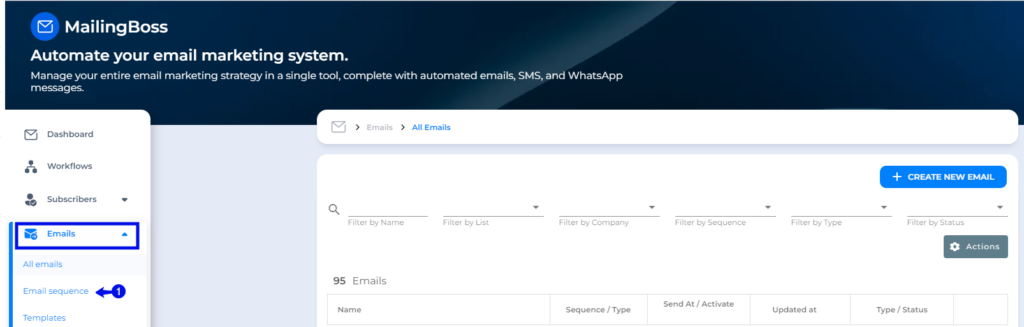
- In Mailingboss on the left hand menu, choose Emails, then Email Sequence.
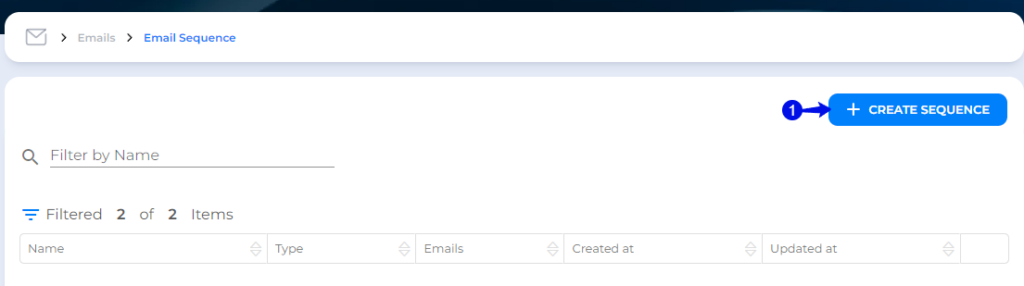
- Click on “Create Sequence”.
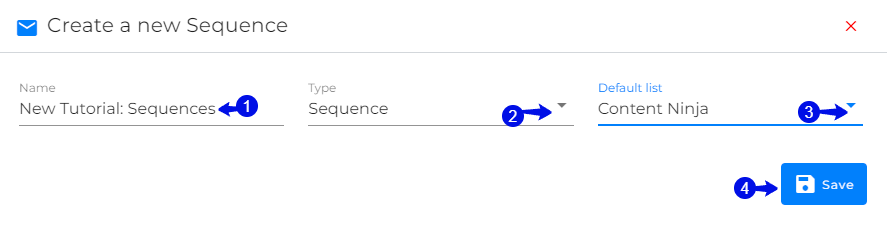
- Give your sequence a name.
- Choose the type: Sequence.
- Choose your list.
- Click on “Save”.
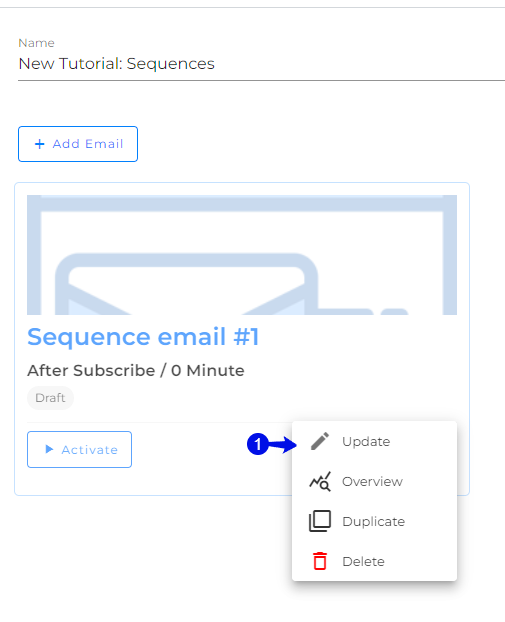
- In the drop-down, choose “Update”.
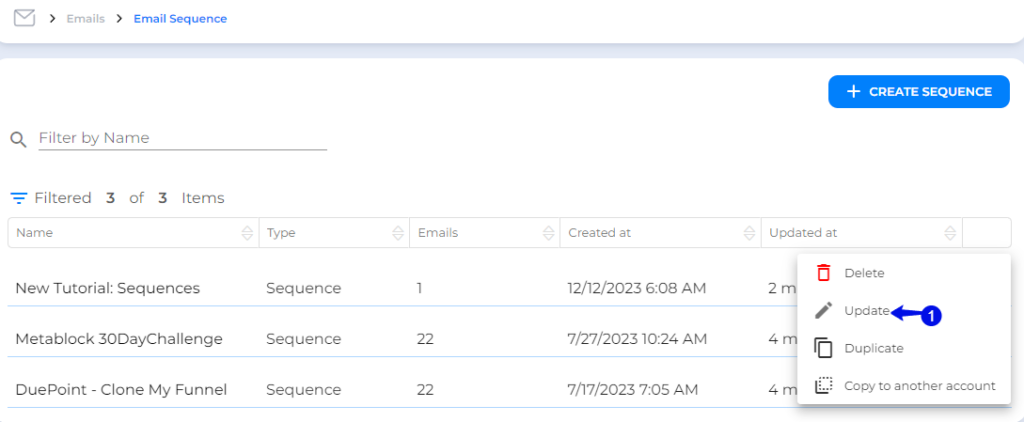
You will see the first sequence you have created but still need to add the content to the email.
- On the drop-down choose “Update”.
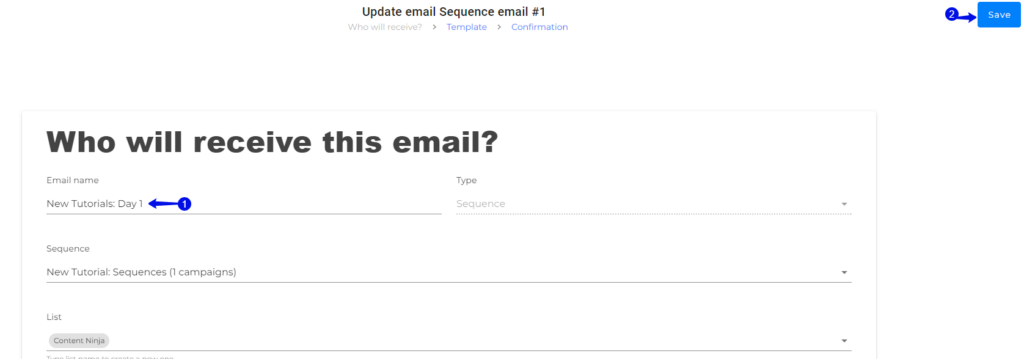
- You can change the email name here by clicking on the edit pencil.
- Click on “Save” when done making any changes.
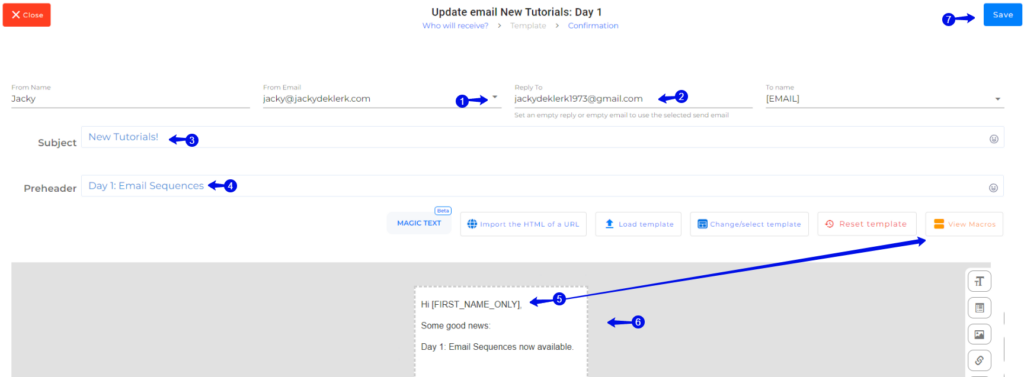
- Choose your verified email. Make sure it is verified to ensure delivery.
- Ad your reply email. Can be any email address.
- Add subject line.
- Preheader is compulsory but looks great and will increase opening emails.
- Add your personalization by using the Macros.
- Add email content.
- Click on “Save”.
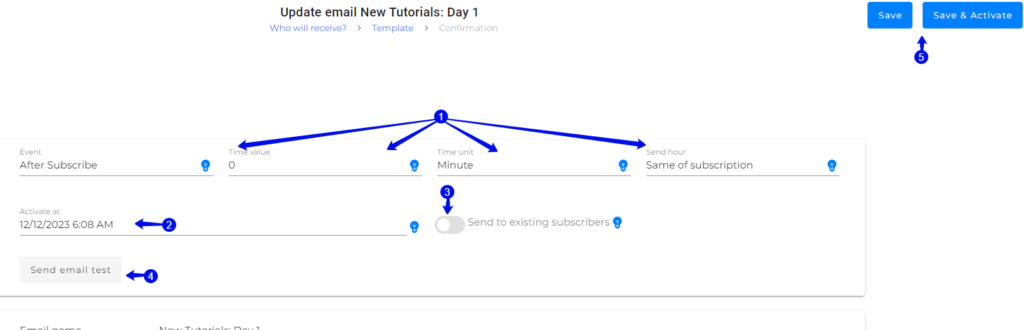
- Choose the event, time value and unit.
- Choose the time and date for email to be sent.
- Choose if you want to send to existing subscribers on your list.
- Choose Save or Save and Activate. In this example, we will just click save to activate later.
- You can add multiple emails here that forms part of the email sequence.
Note: You will do exactly what you did in the previous steps to create the email.
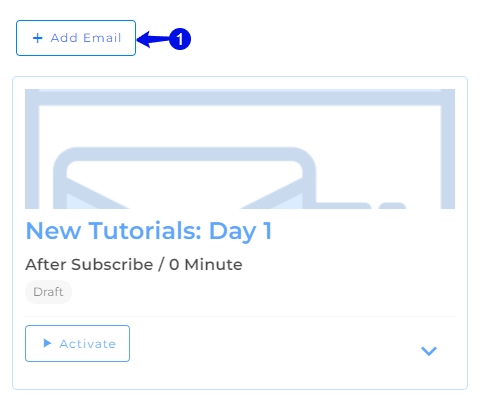
- This email shows “Activate” meaning that it will not be sent until you click “Activate”.
- This email shows: “Pause” meaning that it is already sending. If you click on “Pause” it will stop the email from being sent.


Congratulations! You can now create an email sequence.
Jacky De Klerk | Success Coach