A campaign is a single email that is NOT connected toa list or sequence that you can use to add to a workflow to send based on certain actions such as opening a different email, clicking a link in a different email, receiving a specific tag, opening a webpage, clicking a button on a webpage, and much more.
Open Mailingboss and scroll to Emails.
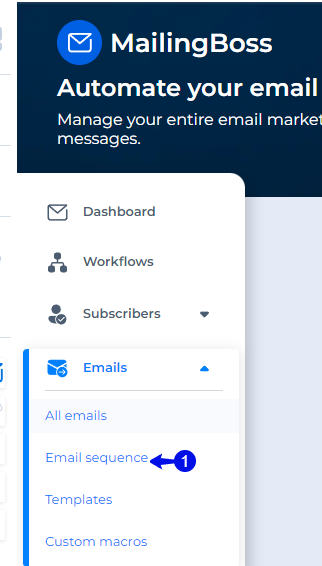
- Under emails, click on “Email Sequence”.
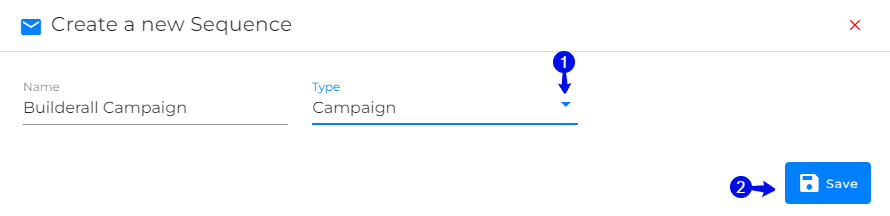
- Click on “Create Sequence”.

- Click on the dropdown and choose “Campaign”.
- Click “Save”.
- Click on dropdown.

- Choose “Update”.

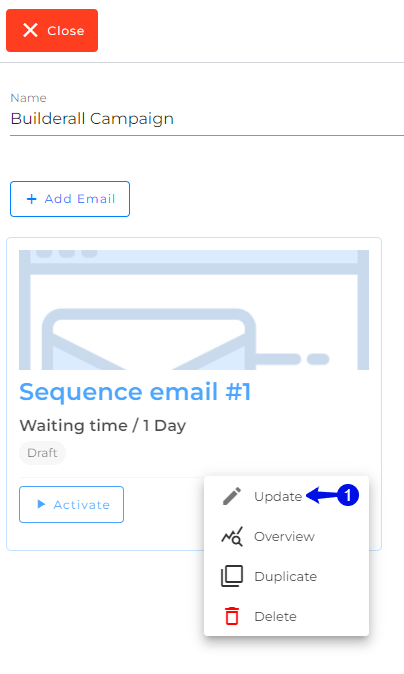
Here you can see the campaign is created.
- Click on the dropdown and choose “Update”.
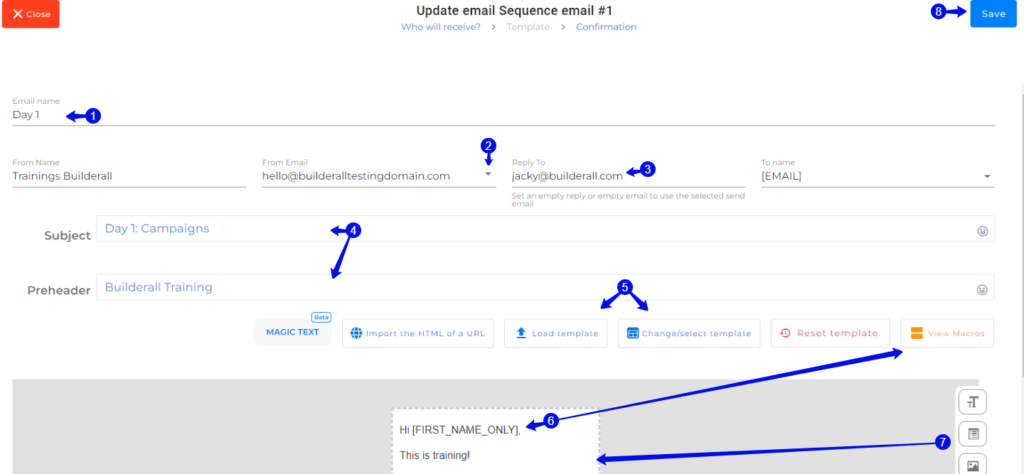
- Change the email name to something that you will be able to identify when you are going to use it in the workflow at a later stage.
- Make sure to choose a verified email.
- Add the reply email.
- Add your subject line. The preheader is optional.
- You can also upload or change the template here.
- To ensure your lead is personalized, use the Macros to copy and paste.
- Edit your email with the editor elements.
- Click “Save”.
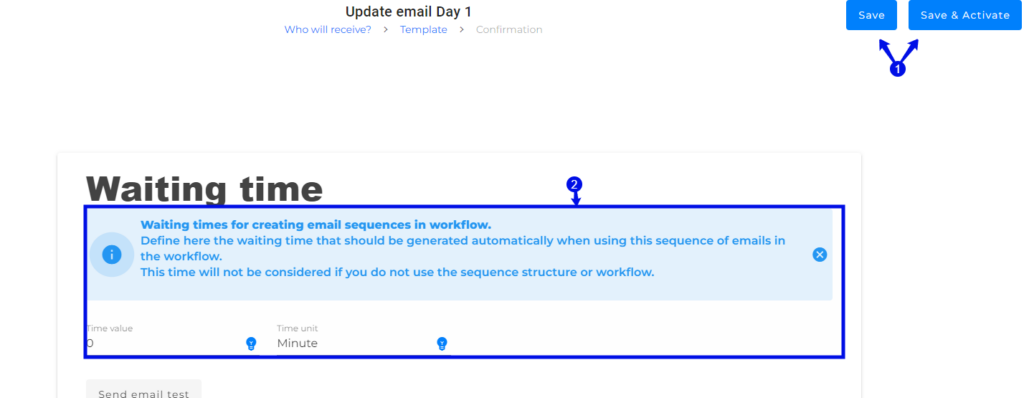
- Click on “Save” if you do not want to activate it yet or “Save and Activate” if the email is ready to be attached in workflow.
- Note that campaigns are not attached to a list and you do not need to change the time value here as you will have the option to set all of this inside the Workflow.
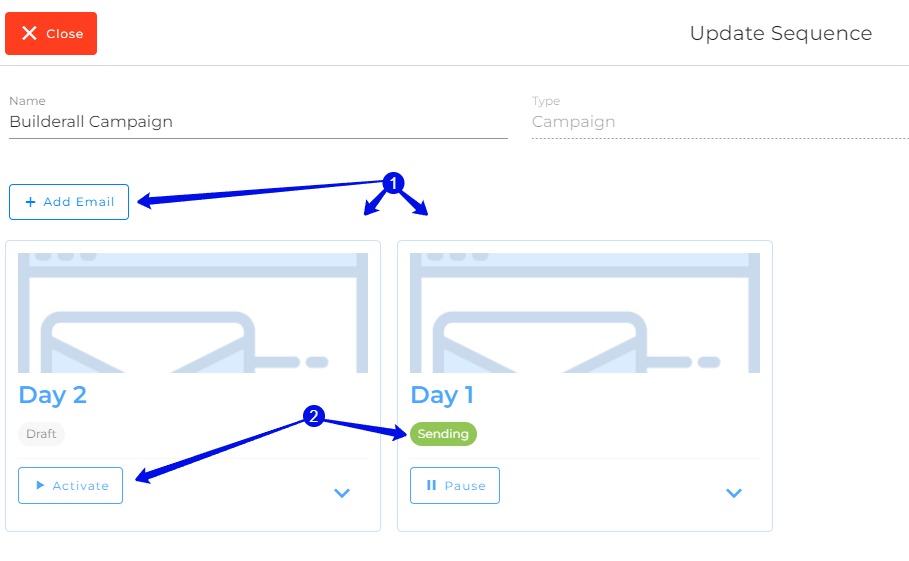
- You can add multiple emails to the Campaign Sequence.
- In this example you can see we have one that is activated showing (Sending) and one that is a draft. To activate the draft, just click on the button “Activate”.

Congratulations! You have successfully created a campaign that you can now use inside your Workflows.
Jacky De Klerk – Success Coach