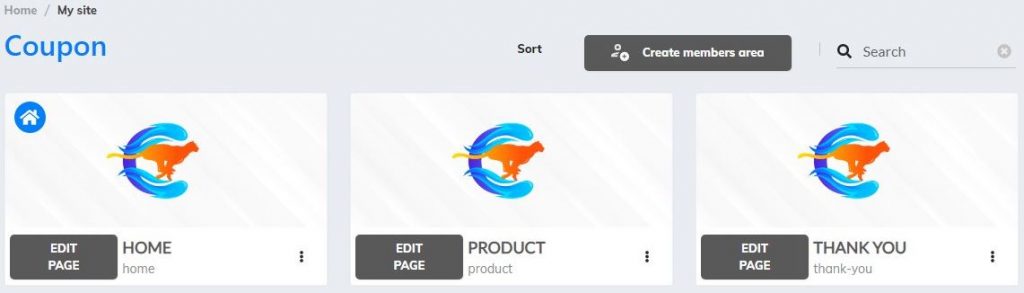
- Create a website and set the pages;
![](http://knowledgebase.builderall.com/wp-content/uploads/2021/06/Create-a-website-1-1024x293.jpg)
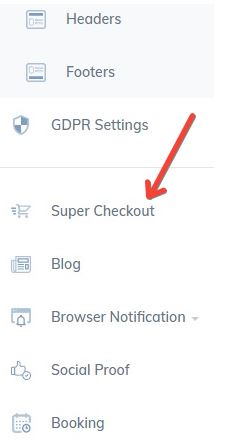
2. Click the Supercheckout feature, on the left menu;
![](http://knowledgebase.builderall.com/wp-content/uploads/2021/06/Scroll-dowm-to-supercheckout.jpg)
3. Now you are in the Supercheckout Dashboard;
![](http://knowledgebase.builderall.com/wp-content/uploads/2021/06/This-is-the-Supercheckout-Dashboard.jpg)
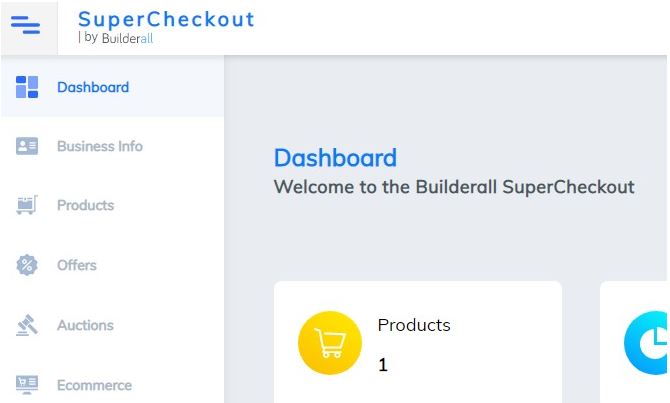
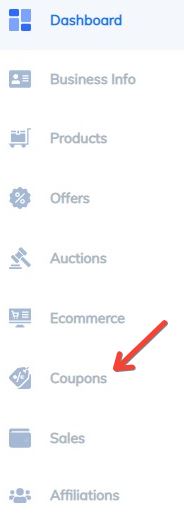
4. Go to “Coupon” and click on it;
![](http://knowledgebase.builderall.com/wp-content/uploads/2021/06/Go-to-Coupons.jpg)
5. Here you are going to create your coupons. Click on this button “Create Coupon”;
![](http://knowledgebase.builderall.com/wp-content/uploads/2021/06/Create-a-Coupon-1024x100.jpg)
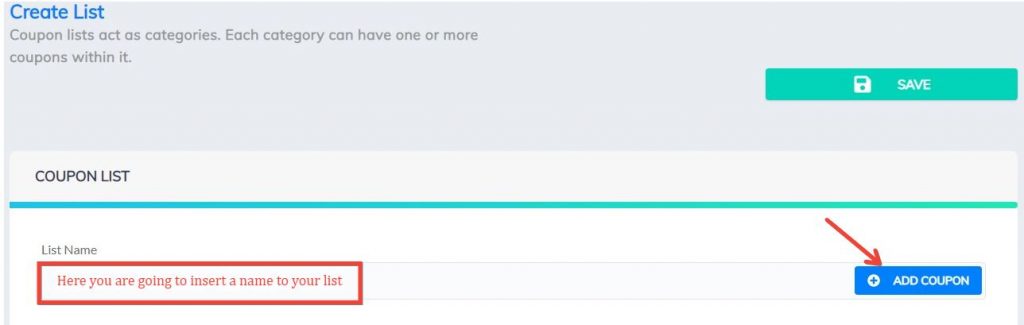
6. Now, you have to create a list. Name it, and click on “ADD COUPON”;
![](http://knowledgebase.builderall.com/wp-content/uploads/2021/06/Create-a-list-1024x325.jpg)
7. This window will appear;
![](http://knowledgebase.builderall.com/wp-content/uploads/2021/06/Add-a-coupon.jpg)
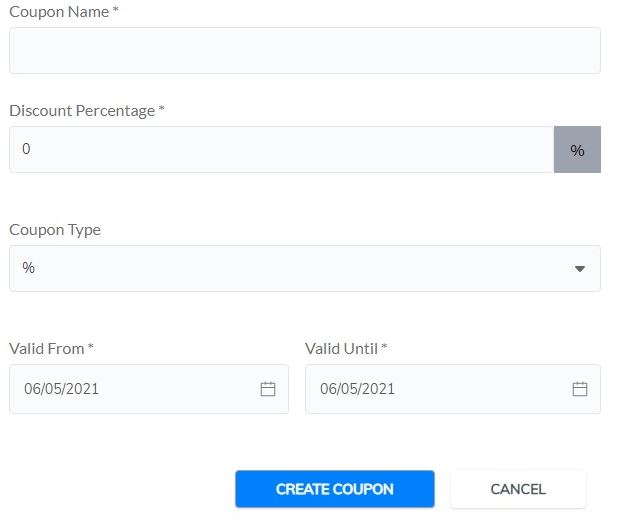
8. Set a name to your coupon;
![](http://knowledgebase.builderall.com/wp-content/uploads/2021/06/Coupon-name.jpg)
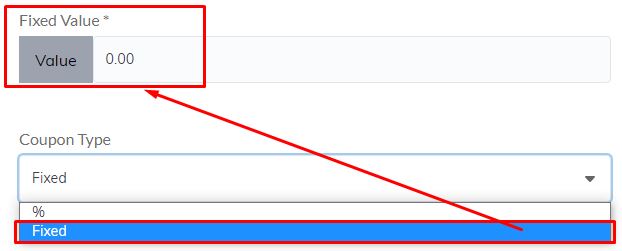
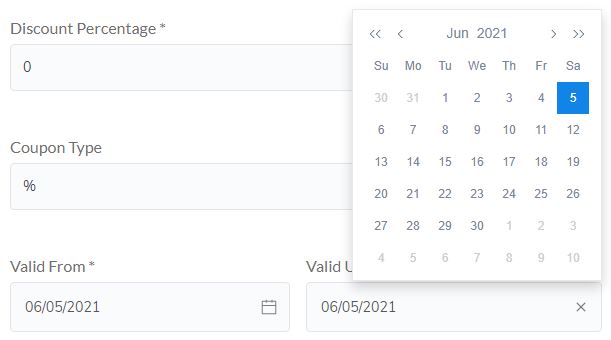
9. You have two options to configure the coupon discount. One by percentage and another by fixed value.
Discount Percentage:
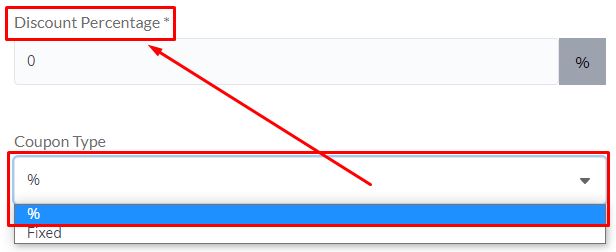
![](http://knowledgebase.builderall.com/wp-content/uploads/2021/06/Discount-percentage.jpg)
Fixed Value:
![](http://knowledgebase.builderall.com/wp-content/uploads/2021/06/Discount-fixed.jpg)
10. Set the period the coupon will be active;
![](http://knowledgebase.builderall.com/wp-content/uploads/2021/06/Set-the-date.jpg)
11. Hit “Create Coupon”;
![](http://knowledgebase.builderall.com/wp-content/uploads/2021/06/Create-a-coupon-111.jpg)
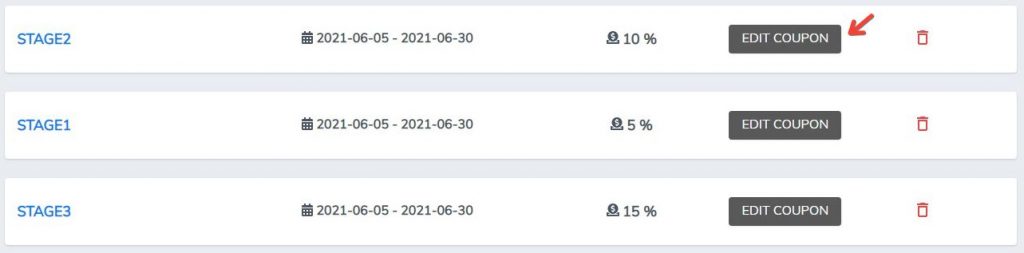
12. The list created with the coupon(s) will be right below;
![](http://knowledgebase.builderall.com/wp-content/uploads/2021/06/Coupons-created-1024x92.jpg)
13. If you want, you can set up your coupon by clicking here;
![](http://knowledgebase.builderall.com/wp-content/uploads/2021/06/Edit-Coupons-1024x253.jpg)
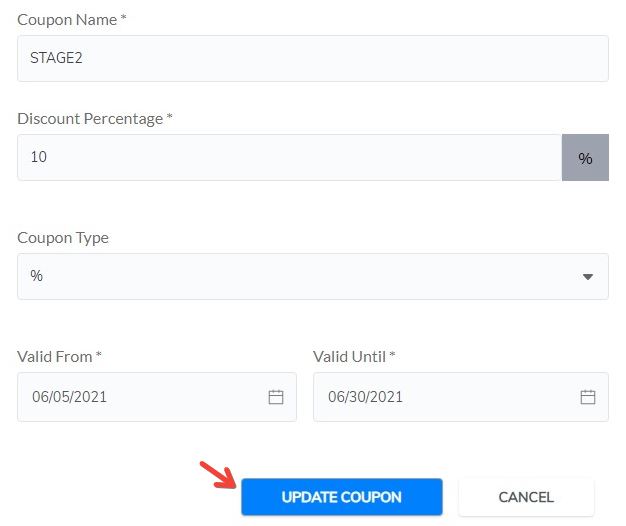
14. By clicking on “Edit Coupon”, a window will appear, and you can edit it again. Just remember to save your work;
![](http://knowledgebase.builderall.com/wp-content/uploads/2021/06/Coupon-edited.jpg)
15. Choose the product that the coupon will be used for. If you don’t have any product created, you will have to create a product. Going to “Products – My products – Create a product”.
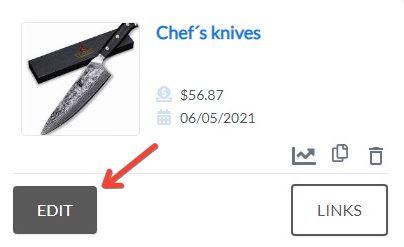
With the product created, go to “Edit”;
![](http://knowledgebase.builderall.com/wp-content/uploads/2021/06/Product-created-hit-Edit.jpg)
16. Here you will edit the product to insert the coupon list. Go to “Pricing;
![](http://knowledgebase.builderall.com/wp-content/uploads/2021/06/Go-to-Pricing.jpg)
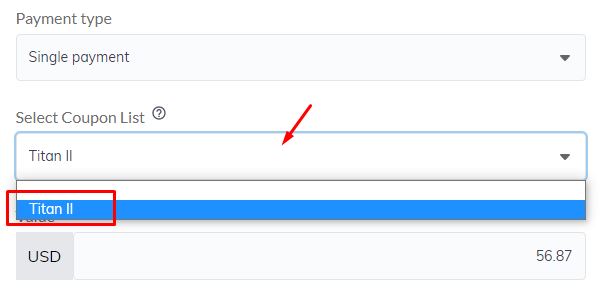
17. Now, you have to select a coupon list and hit “Update and Finalize”;
![](http://knowledgebase.builderall.com/wp-content/uploads/2021/06/Select-a-list.jpg)
![](http://knowledgebase.builderall.com/wp-content/uploads/2021/06/Update-and-Finalized-1024x62.jpg)
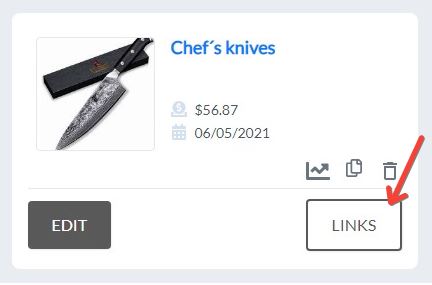
18. You will see your updated product. Click on “Links” to get the sale URL of the product;
![](http://knowledgebase.builderall.com/wp-content/uploads/2021/06/Click-on-Links.jpg)
19. Get the “Checkout URL”;
![](http://knowledgebase.builderall.com/wp-content/uploads/2021/06/Checkout-URL.jpg)
20. Go to your Cheetah page, where you will sell the product. Here you can use IFrame or Supercheckout element;
![](http://knowledgebase.builderall.com/wp-content/uploads/2021/06/Supercheckout-or-Iframe-element.jpg)
21. For this example, an IFrame element will be used. If you want to use a supercheckout element, click here;
Drag and drop IFrame element into your page, and follow the steps to configure it
![](http://knowledgebase.builderall.com/wp-content/uploads/2021/06/Iframe-example.jpg)
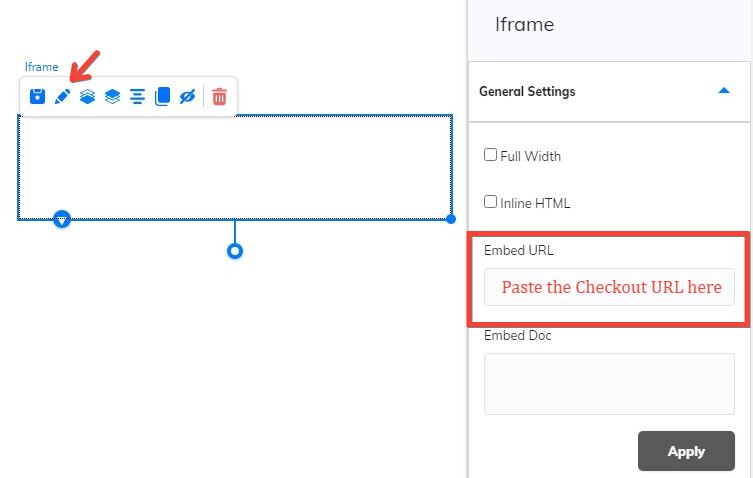
22. The checkout form will appear. Don’t forget to click save and republish your website;
![](http://knowledgebase.builderall.com/wp-content/uploads/2021/06/Iframe-and-Save-1024x557.jpg)
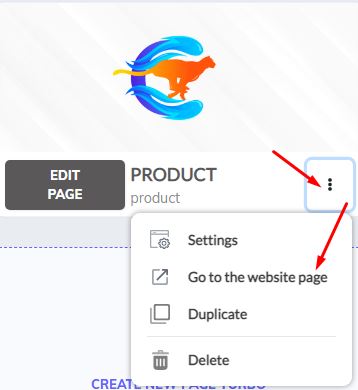
23. Go to website page;
![](http://knowledgebase.builderall.com/wp-content/uploads/2021/06/Go-to-your-website.jpg)
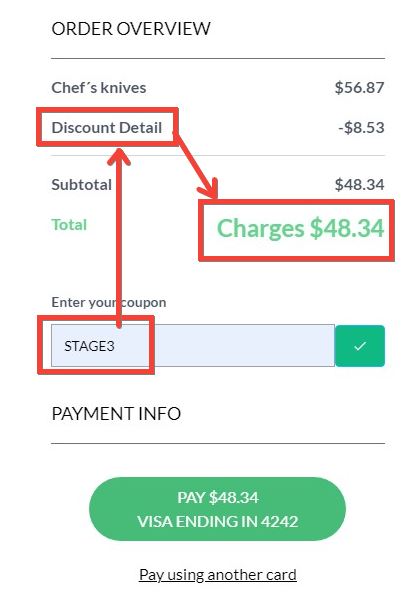
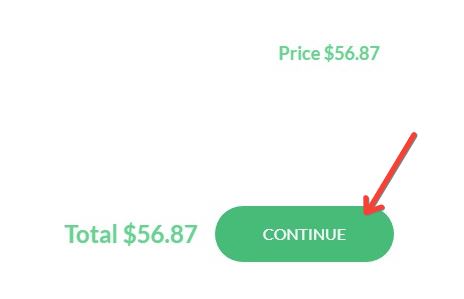
24. When the customer clicks on “Continue” button, he will be redirected to the page to enter the data, and on this page he can enter the coupon;
![](http://knowledgebase.builderall.com/wp-content/uploads/2021/06/Continue.jpg)
![](http://knowledgebase.builderall.com/wp-content/uploads/2021/06/Coupon-View-1024x538.jpg)
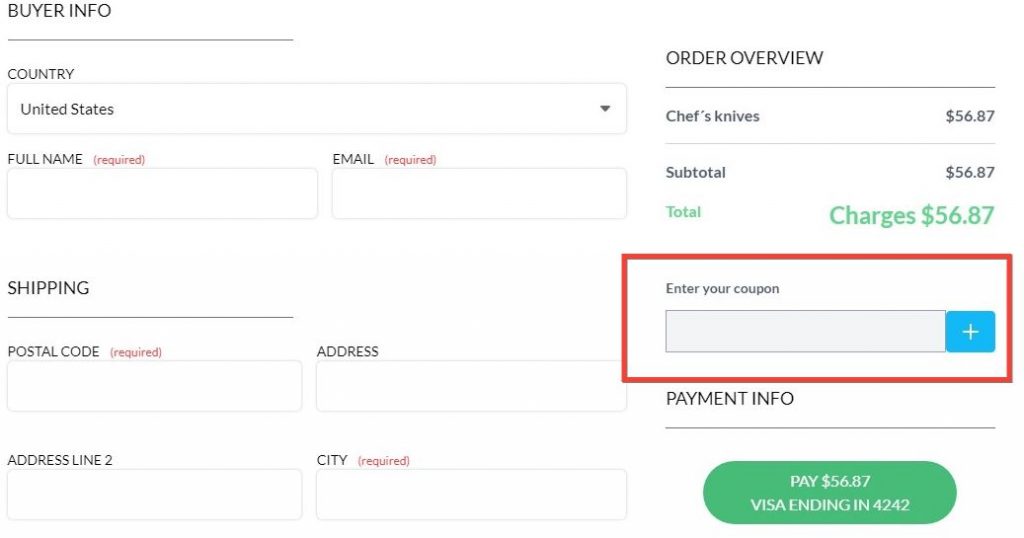
25. In this field, the customer will enter the name of the coupon you sent him. And this is how the discount will appear to the customer at checkout.
![](http://knowledgebase.builderall.com/wp-content/uploads/2021/06/Coupon-and-Discount-1.jpg)