- Access your WordPress Pro or WooCommerce tool. Choose a site or a store on the left menu;

2. Select a site or store you want to access the database. Click on the three dots, and select the first option, “Manage website”;
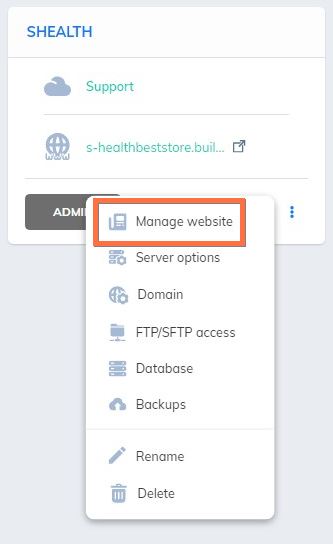
3. Will open a new page. Select “Database”;

4. First, you need to add your IP address. Just hit the “ADD” button;
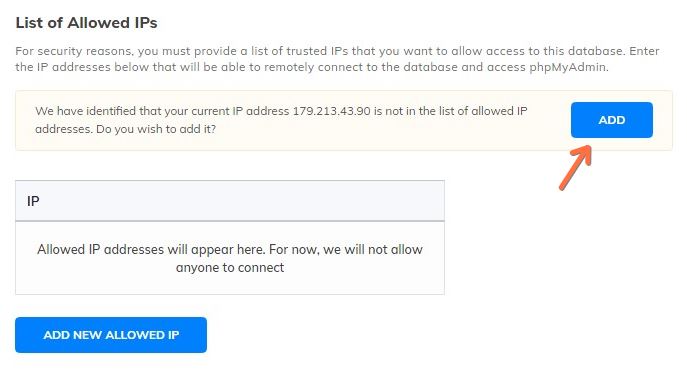
5. This message will appear, and also your IP number;
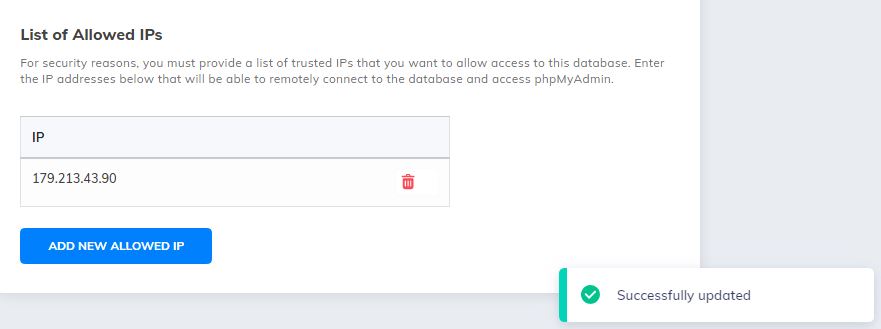
6. Now, click on this button;
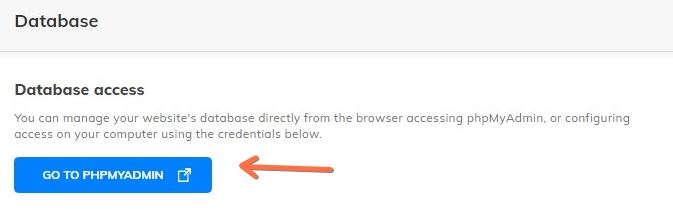
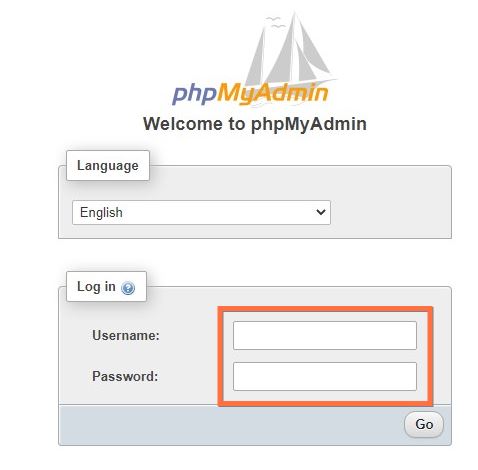
7. This new page will be opened. Here, you will need a username and a password. You will collect this info in the previous page;
8. Click here to copy a username and a password;
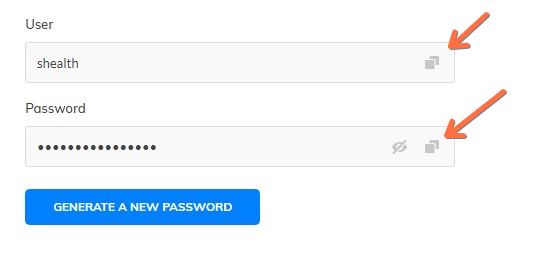
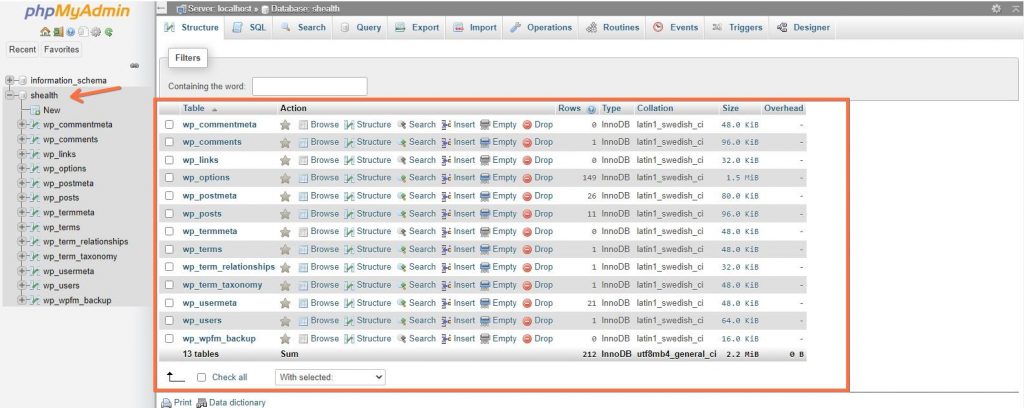
9. After you paste the username and password, you will enter the database. Here you will be able to check all the files you have in your website or store;