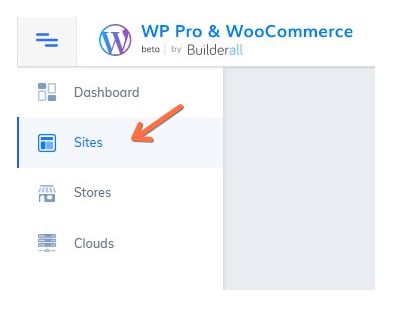
- Access your WordPress Pro or WooCommerce tool. Select a store or a site on the left menu;
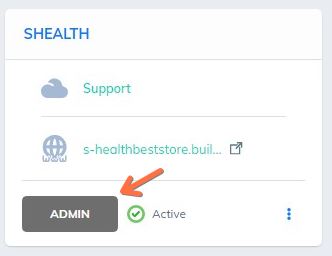
2. Select a site or store. Click on the “Admin” button;
3. You will need to log in your WordPress account;

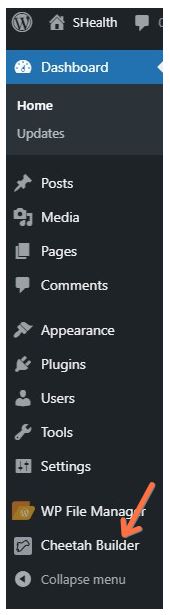
4. After the login, you will enter the dashboard. Go to “Cheetah Builder”;
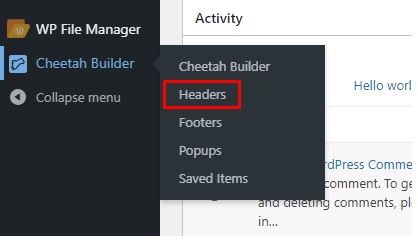
5. Now, select the Header option;
6. This page will appear. Click on “Add new”;

7. Insert a name to your header. Then, click “Add”;
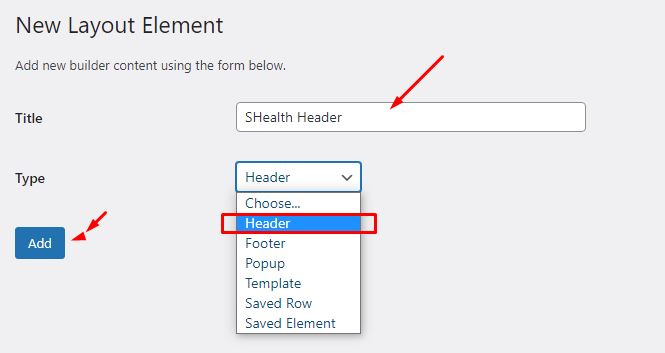
8. Uou need to select what pages the header will be shown. If you want, you can select all pages, by clicking here;
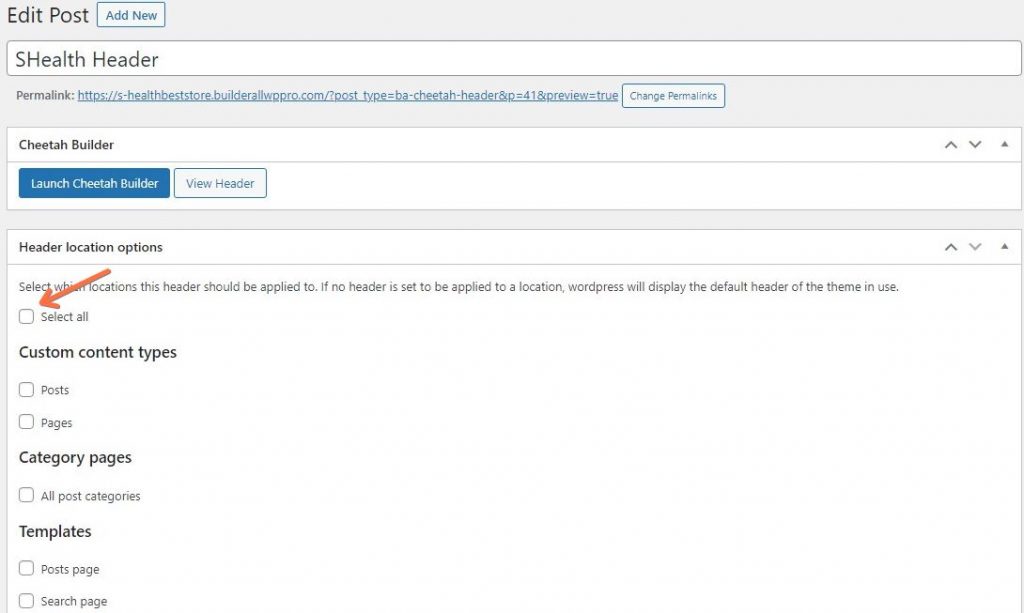
9. Click on the “Publish” button. Make sure that the status shows published;
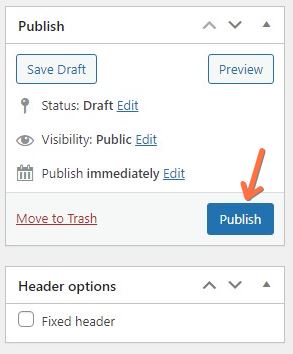

10. Now, click on “Launch Cheetah Builder”;
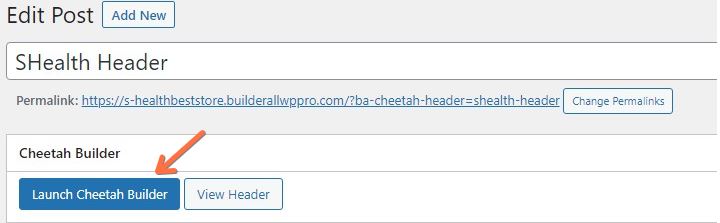
11. You will enter Cheetah editor;
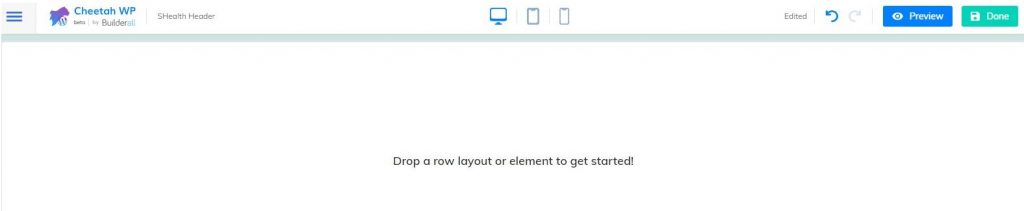
12. In the Cheetah Builder, design your Header and when complete, click on “done”;
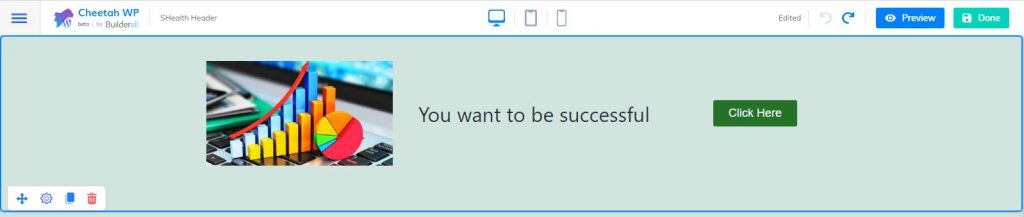
13. Then click “Publish”;

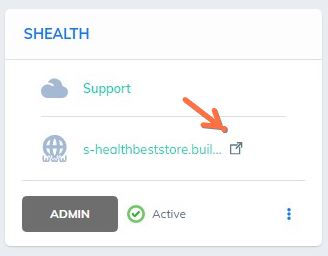
14. Close the tab, go to the dashboard, click on the site URL to view the site with Global header;
15. Verify that your Global Header is correct;
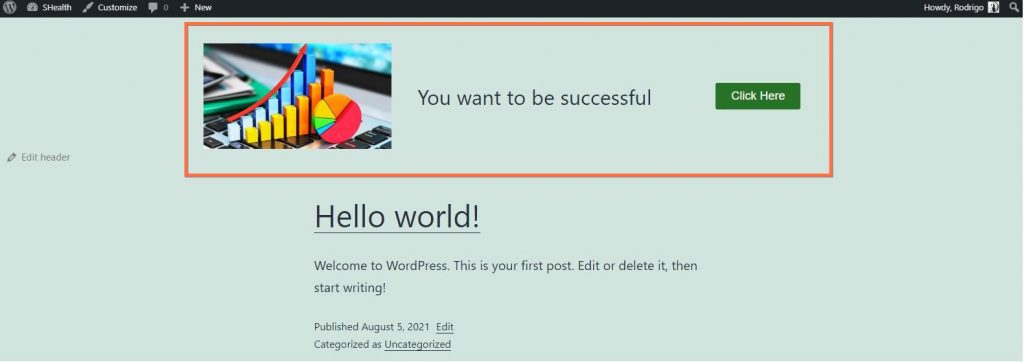
16. You can also make changes to the Header by clicking on the navigation bar at the top of the site;
