A blog is an informational website consisting of discrete, often informal diary-style text entries. Posts are typically displayed in reverse chronological order so that the most recent post appears first, at the top of the web page.
Blogging is a big part of content marketing and SEO. It builds trust and helps customers in their decision-making process and customer journey.
In addition to creating blog posts, it is very important to think about SEO to ensure that the blog drives the best and most relevant traffic from the search engines.

STEP 1: Creating a Blog
To be able to create your blog, you will need to ensure you already have your website created.
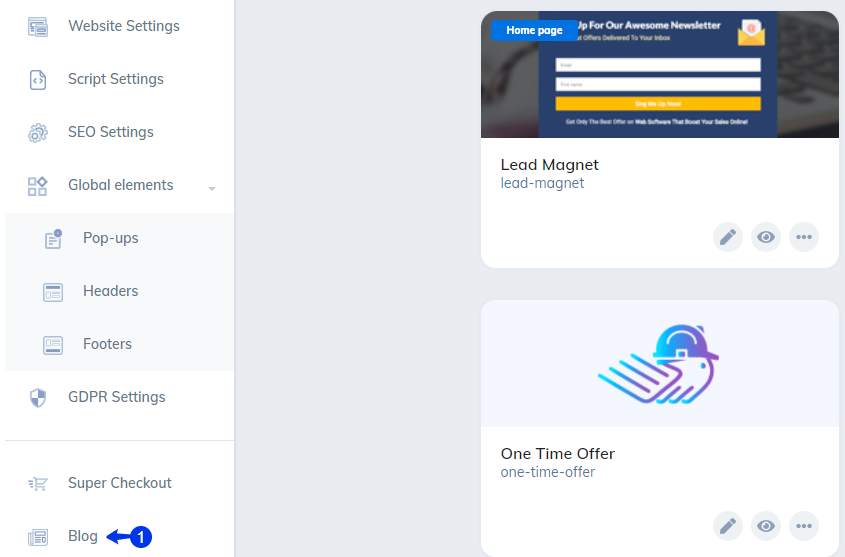
- On the left menu of the site, click “Blog”.
- Click “New Blog”.

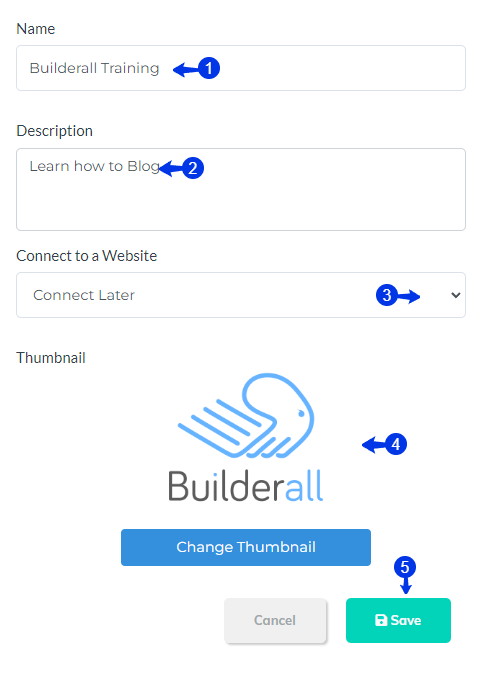
- Give the blog a name.
- Give the blog a description.
- Choose is you want to connect the blog immediately or later. In this example we choose later.
- Add your thumbnail.
- Click “Save”.
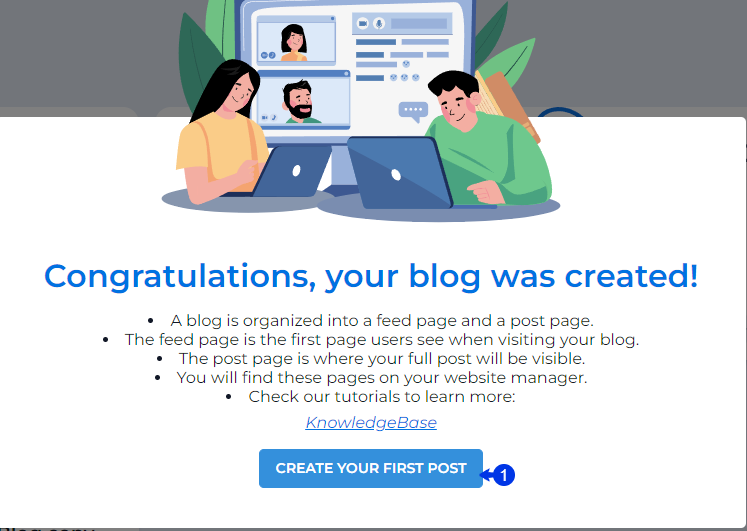
- You can create your first post, by clicking on “Create your first post”, but it is advisable to close this prompt and first create all the elements you will need during the process of creating an article. It will safe you the time to go in and out of the post, especially when a blog is new and do not yet have categories and authors applied.
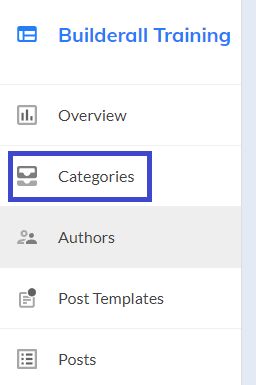
Categories
You can create all the different categories that you will blog about right in the beginning of your Blogging journey. If you do not know all the categories yet, you will be able to create them during your post creation.
- Choose catergories and click on “New Catergory”.
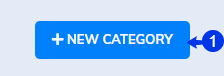
- Click on “New Category”.

- Give your category a name.
- Click “Save”.
Authors
You can have multiple authors for your blog. You will be able to add them all and choose which other is writing the post inside the post itself.
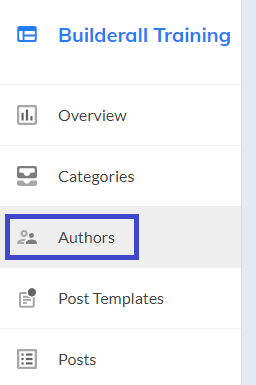
Scroll and choose authors.

- Click on “New Author”.
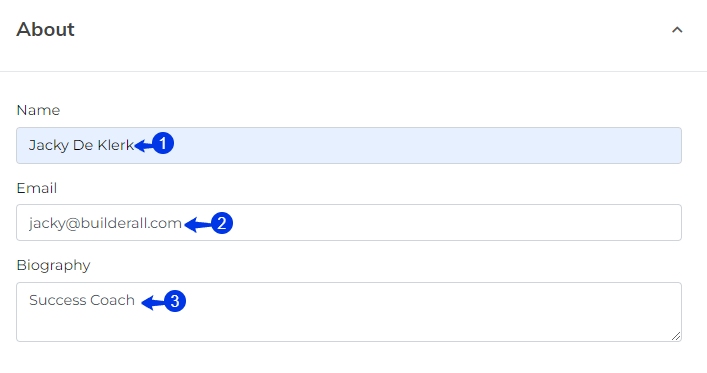
- Add the name of the author.
- Add the email address of the author.
- Write a biography of the writer.
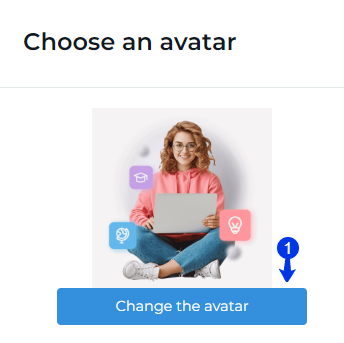
- Choose the photo of the author.
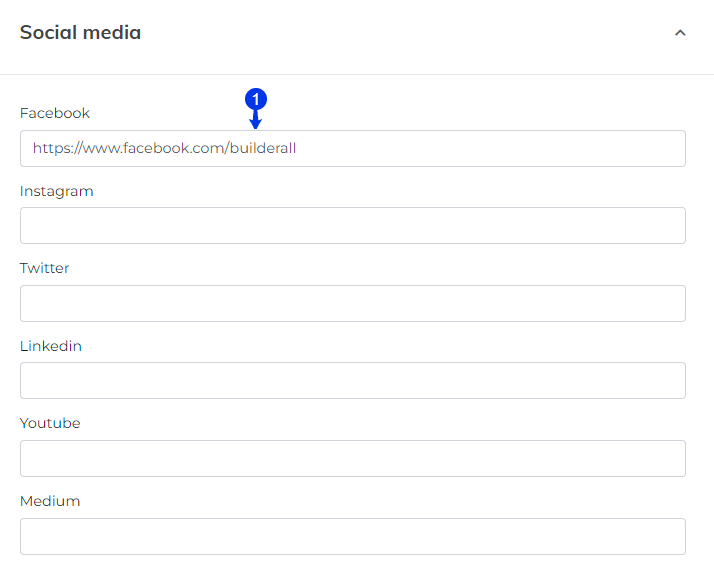
- Choose the Social media accounts of the author.

Remember to click “Save.”
Create a Post Template
This part is not compulsory but it is recommended to create post templates so that you do not need to redesign each post each time that you create a post. It will not just save time, but also help with consistency of the look and feel of your blog posts.
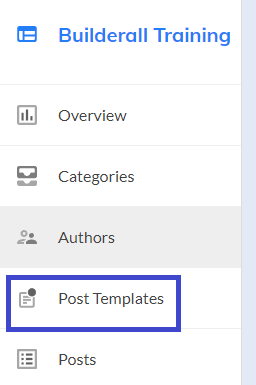
Scroll to Post Templates
- Click on “New Template”.
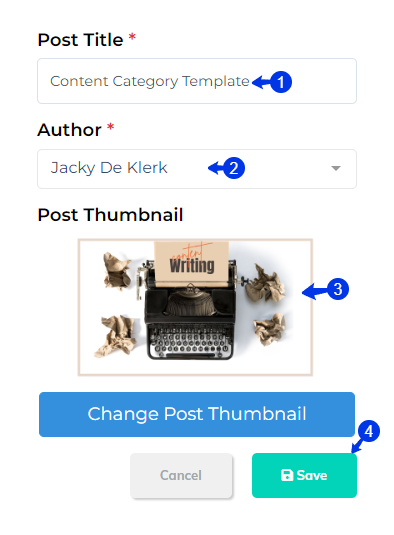
- Because this is a template and there will be different type of categories, this template will be called “Content Writing” template.
- Add the author.
- Choose a thumnail.
- Click “Save”.
PS: Remember that the information here can be changed when you choose the template in the post.

STEP 2: Writing a Blog Post
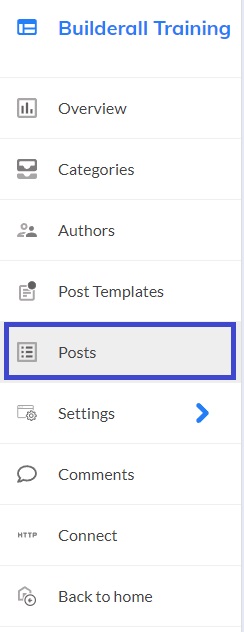
Scroll and click on “Posts”.
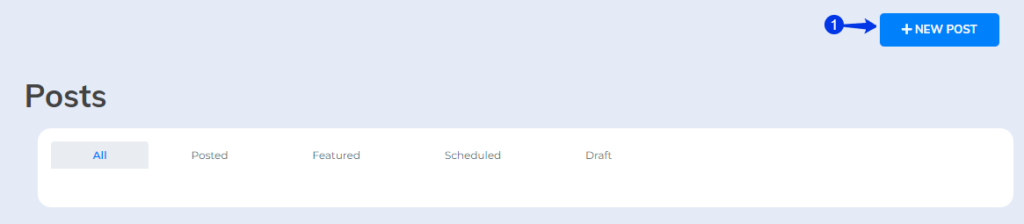
- Click on “New Post”.
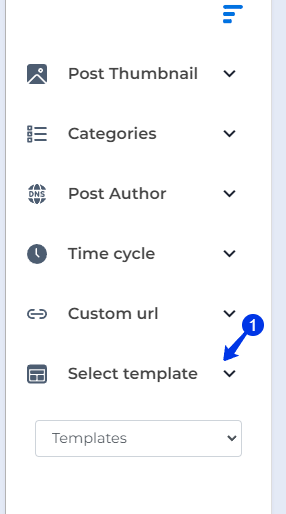
- You can also make use of the template that you have created by clicking on “Select Template”. The template will then be loaded, ready for you to edit.
Important to remember: First load the template, then write your blog post as choosing the template will override your work.
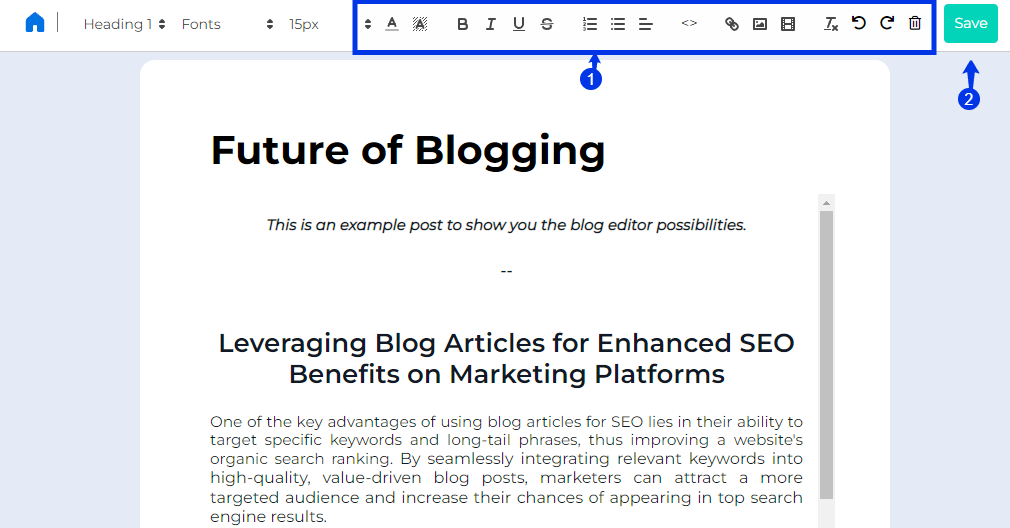
- This is the editor for the post. You can change/edit, add all your content from this menu.
- When done click “Save”.
STEP 3: Connect Your Blog to your Website
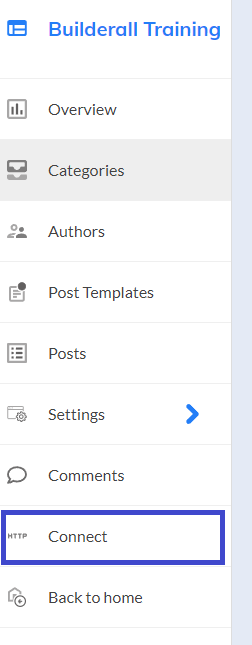
On the left menu, scroll and click on “Connect”.
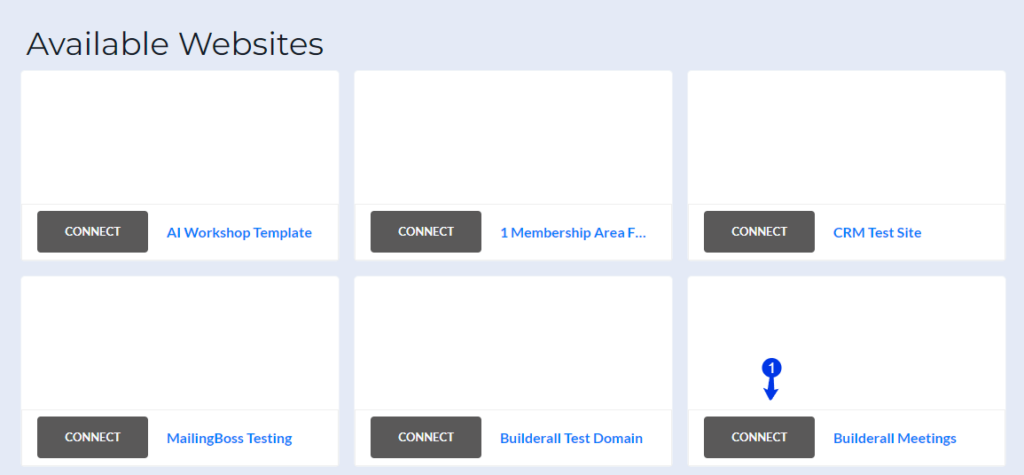
- Choose the site you want to connect.
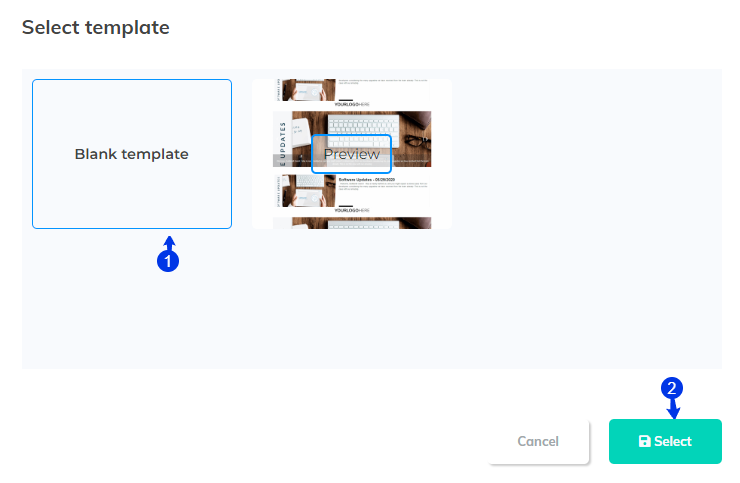
- Choose the “Blank Template”.
- Click on “Select”.
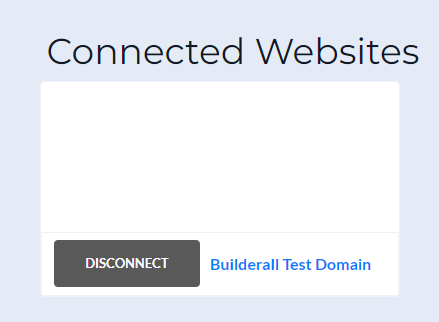
Your sites that are connected will be under “Connected Websites”. Here you can also disconnect the site from the blog if you have made a mistake.

STEP 4: Add the Feed and Post elements to your pages.
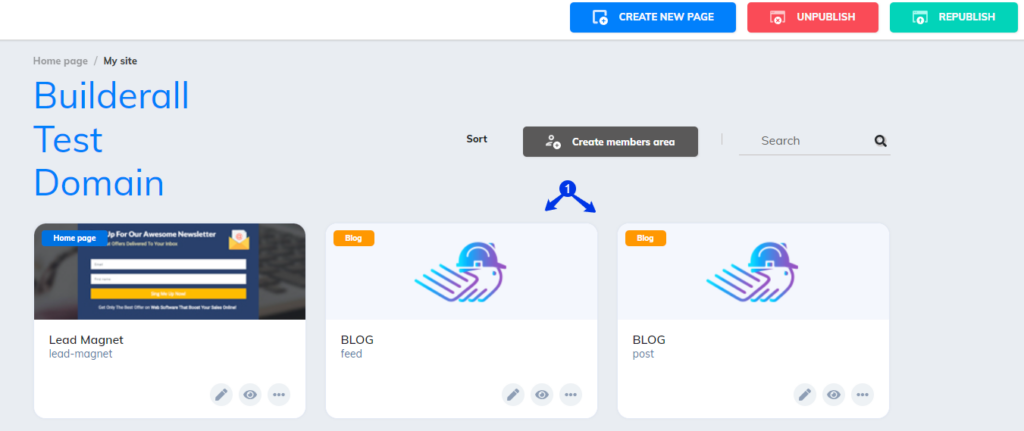
- You will see two pages added to your website: Feed and Post.
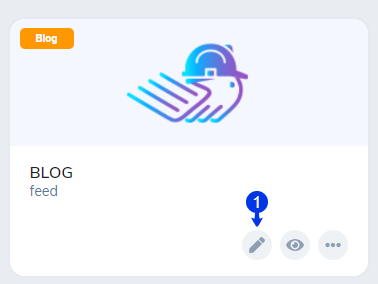
- Click on the pencil of the Feed Page.
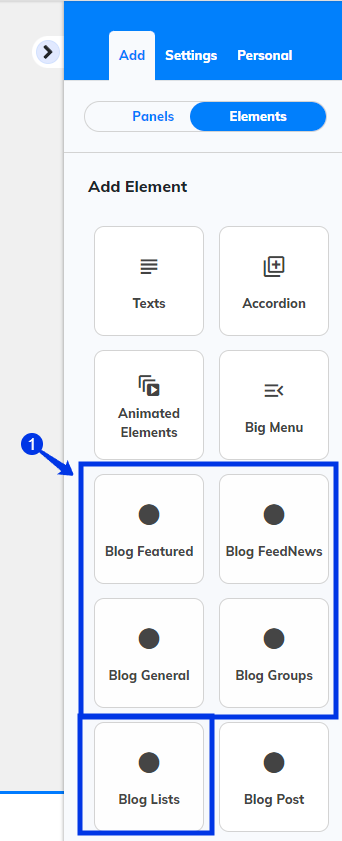
- Click on Add Elements. You will see that you have multiple options you can choose from. It depends on how you want your Blog to look like. Choose the element and drag to your panel.
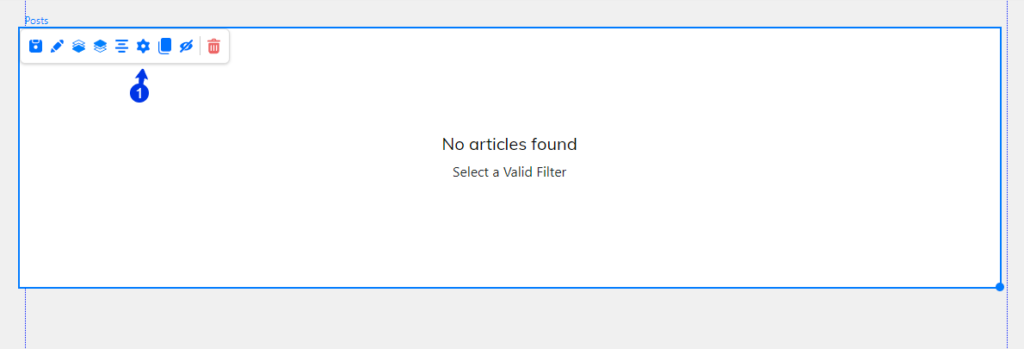
- You will be able to chane to way the element look by clicking on the wheel.
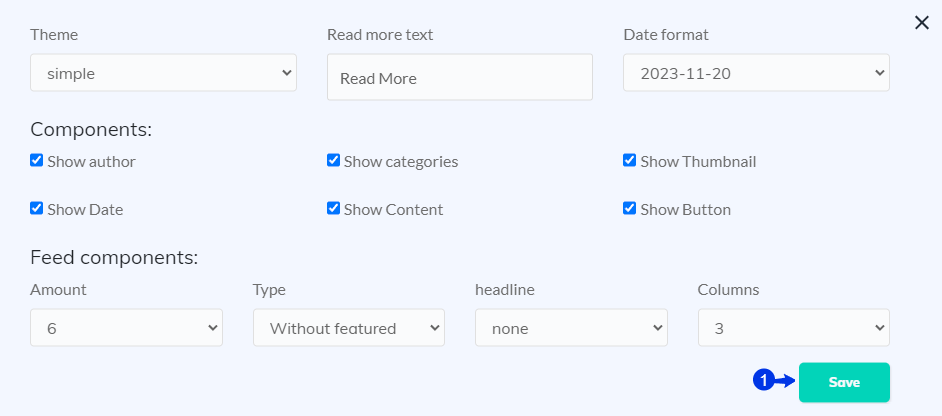
1.After you have made your changes, click “Save”.
Please note that the same needs to be done with the blog post page, otherwise the individual article that the visitor clicks on, will not be shown.

Congratulations. You now have successfully created a blog, write an article, connected the blog to your site and add the elements to your blog pages.
Jacky De Klerk | Success Coach