In this tutorial we will integrate Hotmart with your Membership Site so that the checkout happens on Hotmart.
STEP 1:
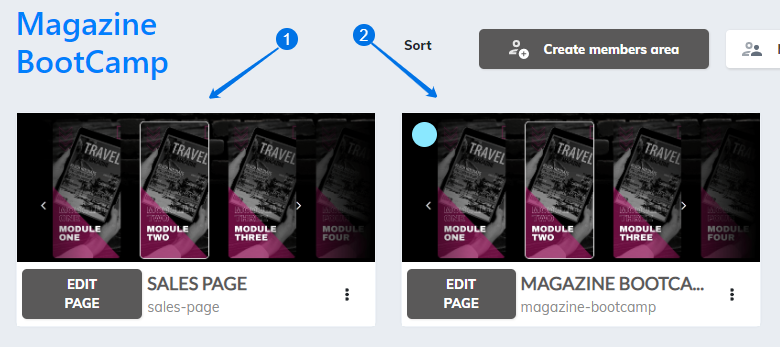
- Create your Sales Page where you will sell your course.
- Create your Membership Page and restrict it.
STEP 2:
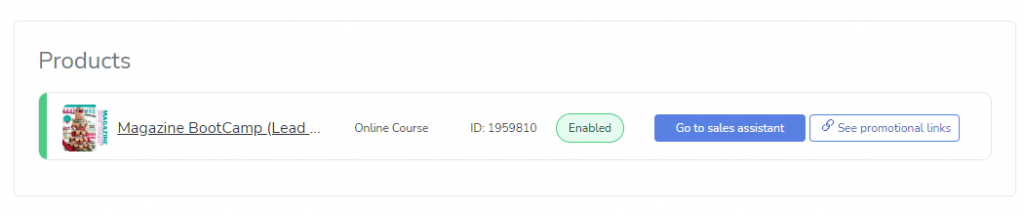
Go to Hotmart and create your product.
STEP 3:
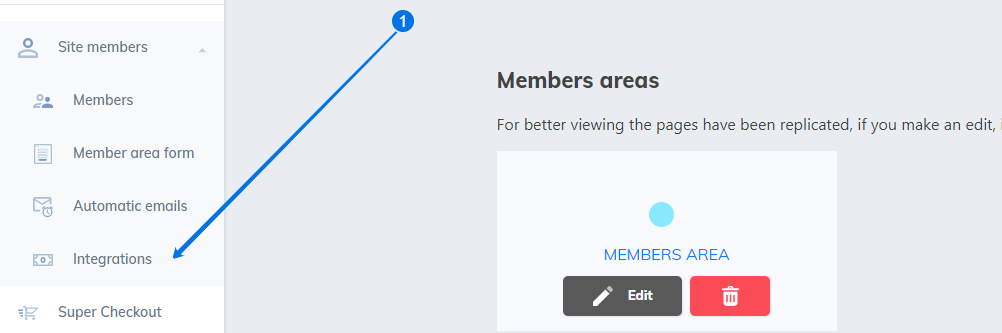
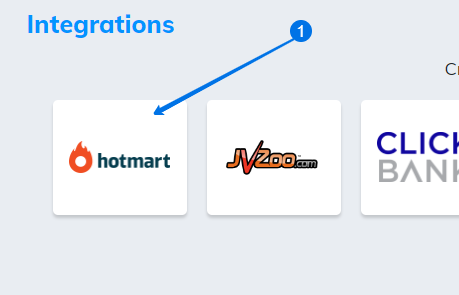
- On the left of your site, click on “Members” then click on “Integrations.”
STEP 4:
- Click on “Hotmart” integration. Keep the tab open and go back to Hotmart.
STEP 5:
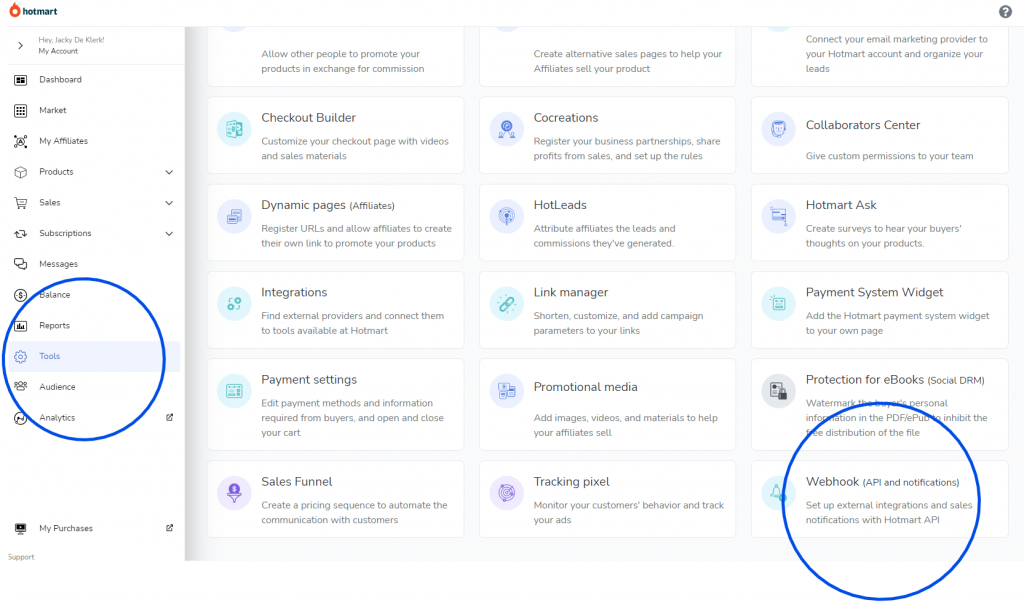
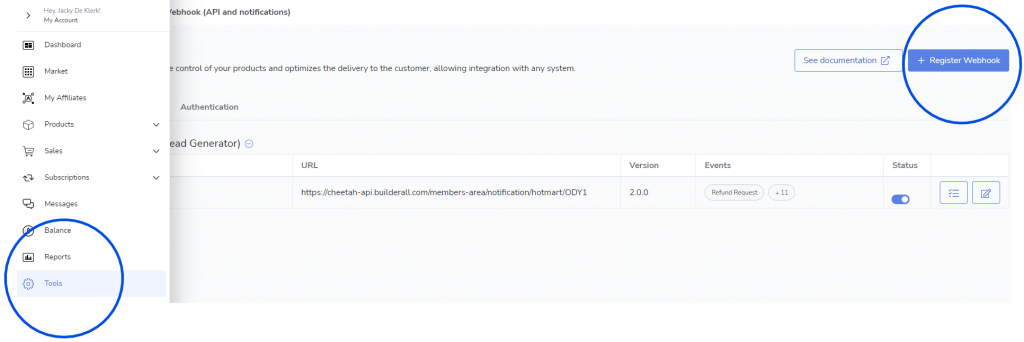
In Hotmart. Go to Tools, then scroll and click on “Webhook”.
STEP 6:
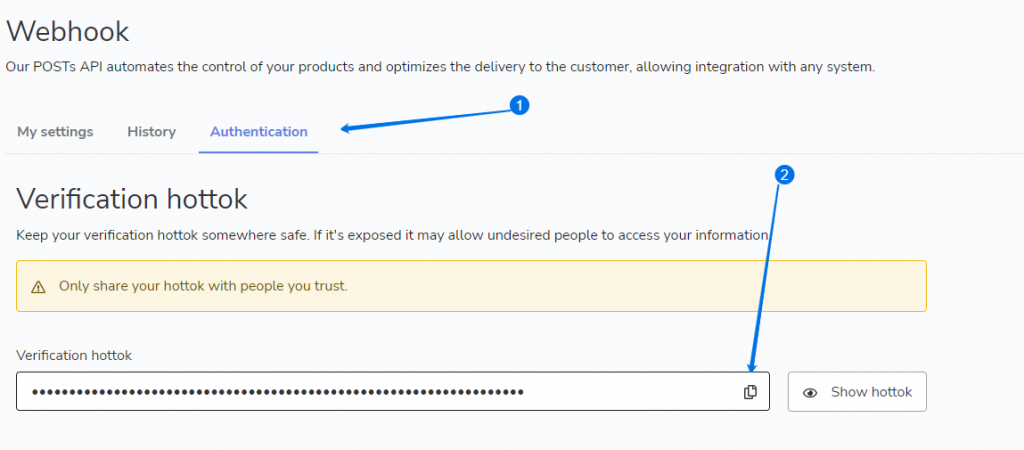
- Click on “Authentication”.
- Copy the token and go back to Membership Site and keep this tab open.
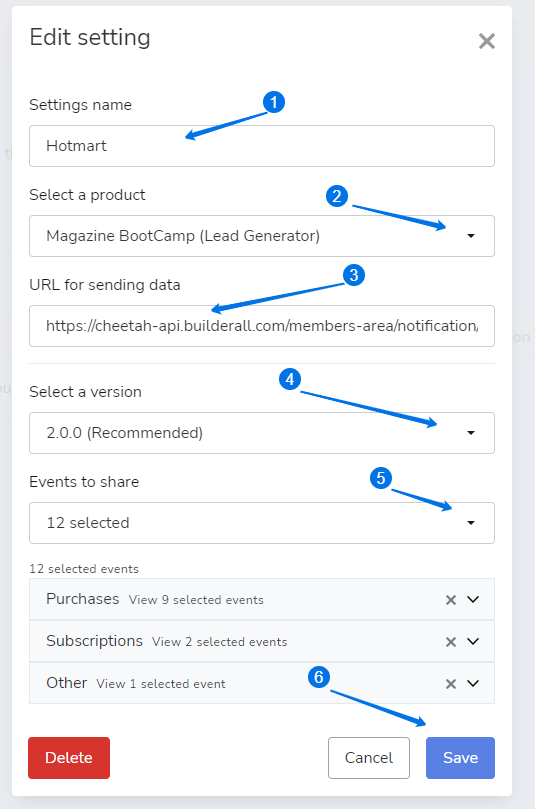
STEP 7:
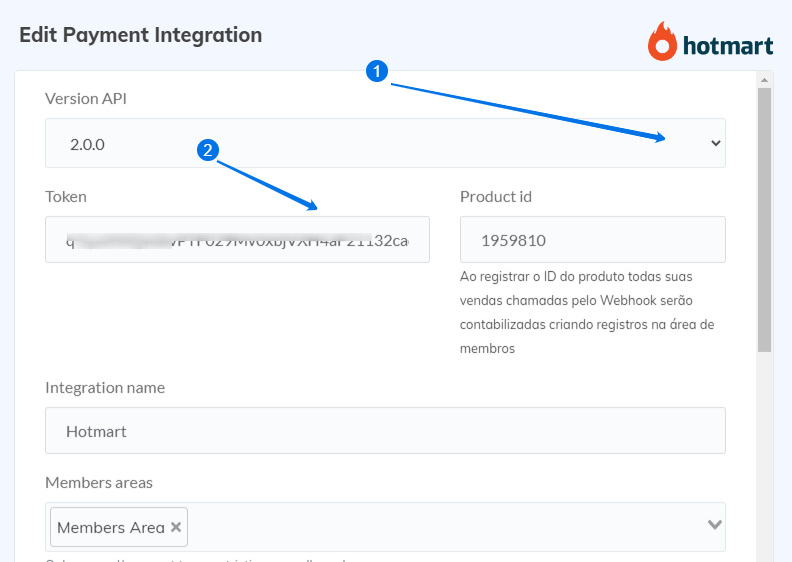
- Choose Version 2.0.0.
- Paste the token you have copied here. Keep this tab open and go back to Hotmart.
STEP 8:
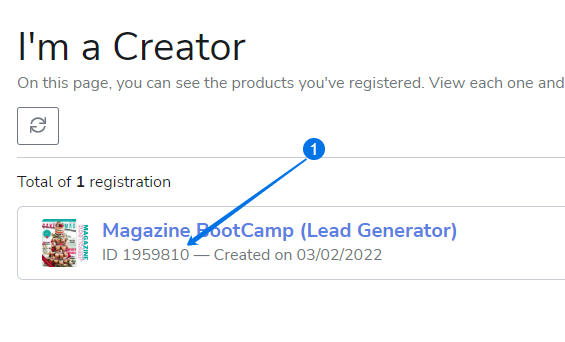
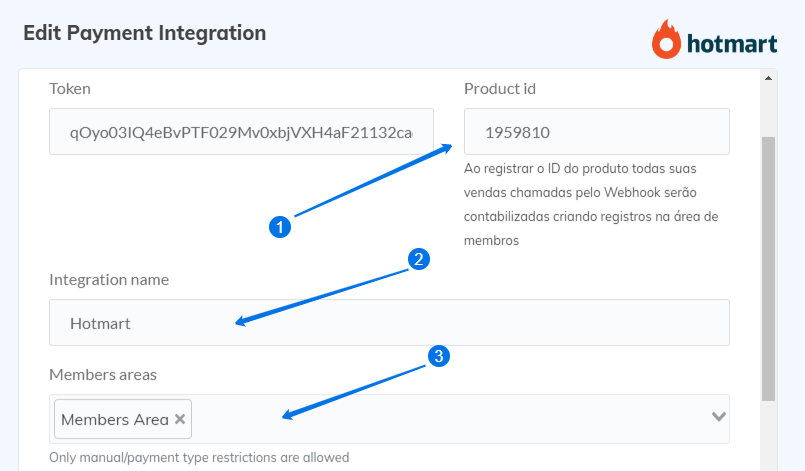
- Find your product in Hotmart and copy the ID. Go back to Membership Site.
STEP 9:
- Paste the Product id here.
- Give your integration a name.
- Choose the Membership Area that needs to be released. Keep this tab open and go back to Hotmart.
STEP 10:
- Click on “promotional links”.

STEP 11:
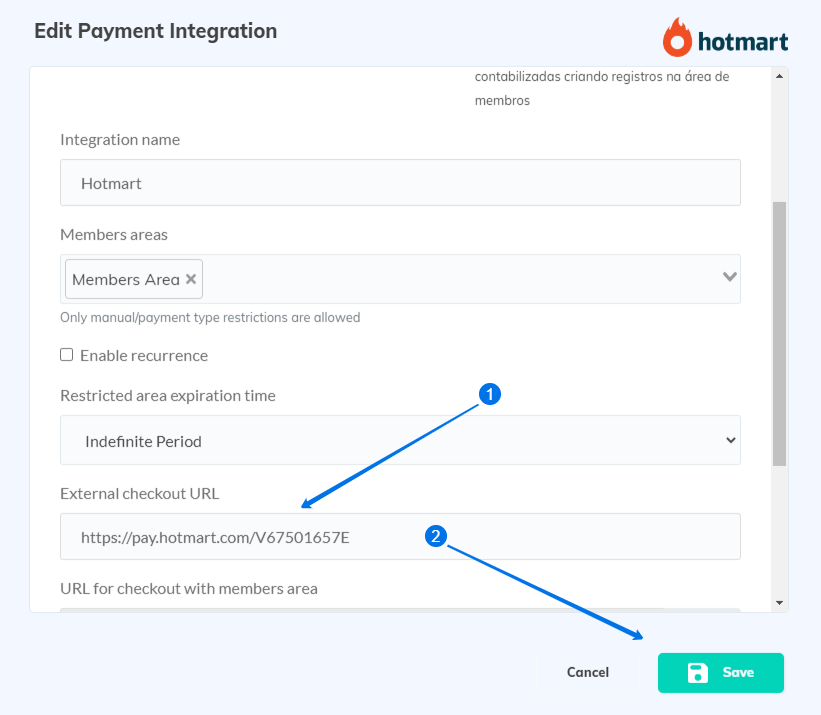
- Copy “Checkout Page” link. Go back to Membership page.

STEP 12:
- Paste the link here.
- Click on “Save”.
STEP 13:
- Copy the “Webhook” and go back to Hotmart.

STEP 14:
Go to tools. Click on Webhook and click “Register Webhook”.
STEP 15:
- Give the Webhook a name.
- Select your product.
- Paste the Webhook here.
- Choose version 2.
- Make sure to choose “All Events”.
- Click “Save”.
STEP 16:
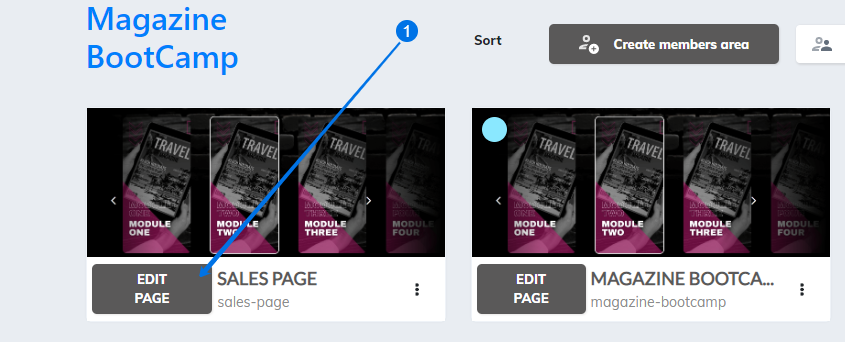
Go back to Membership Site and click on “Edit Page” Sales Page.
STEP 17:
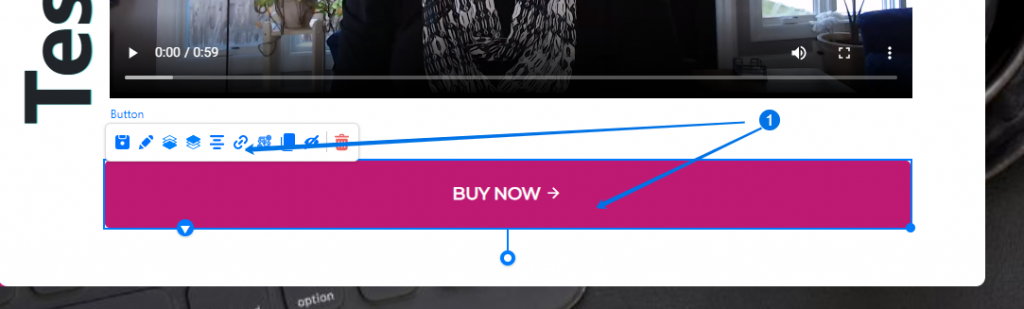
- Make sure to do the following with all the pay buttons on your page: Click on the link on the button.
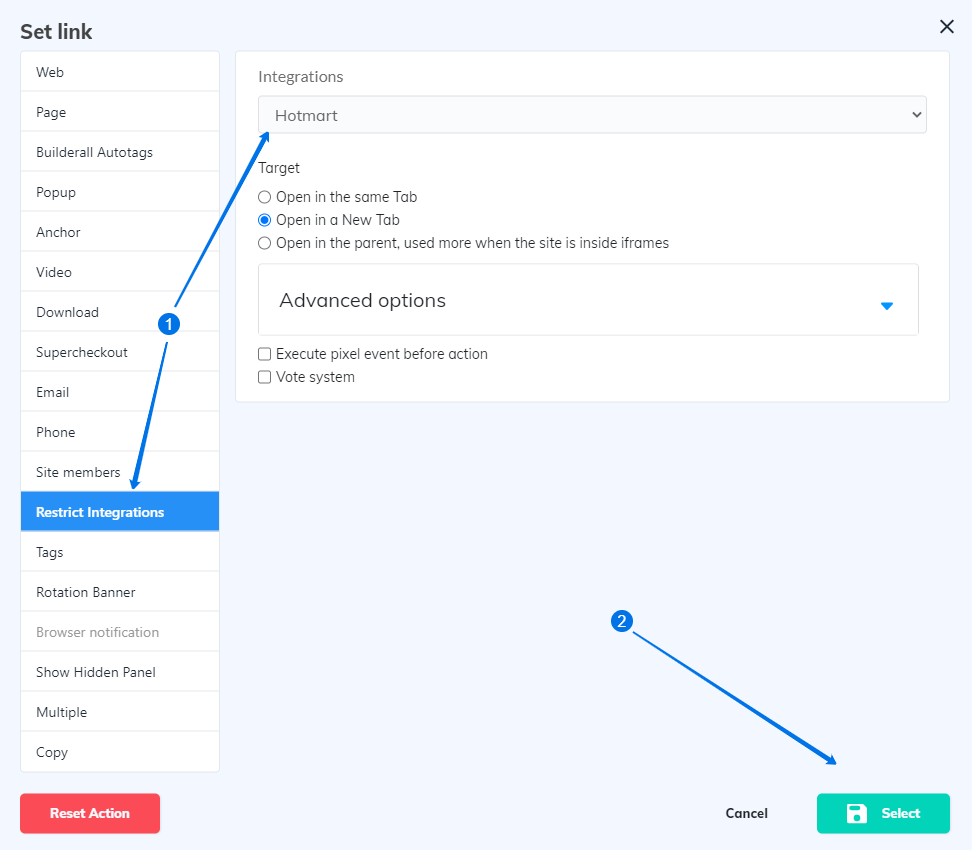
STEP 18:
- Click “Restrict Integrations” and choose your Integration.
- Click “Select”.