Cloud is a server, a virtual machine that the user will have in his name and all the resources of this server will be the user’s, to use as needed. These resources do not have any kind of limitation, as it was in the old WordPress, where the amount of simultaneous access was limited to 50 per website. Now, as the user owns a server, the limitation of how many people will access the website or store, will depend on the server supporting this amount of accesses.
To create a site or store, you need to hire a server/cloud. You can create the server during the creation of the site/store or directly in the “Clouds” section, which we will look at now.
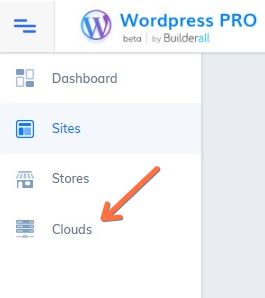
- Open your WordPress Pro. On the left menu, click on “Clouds”;
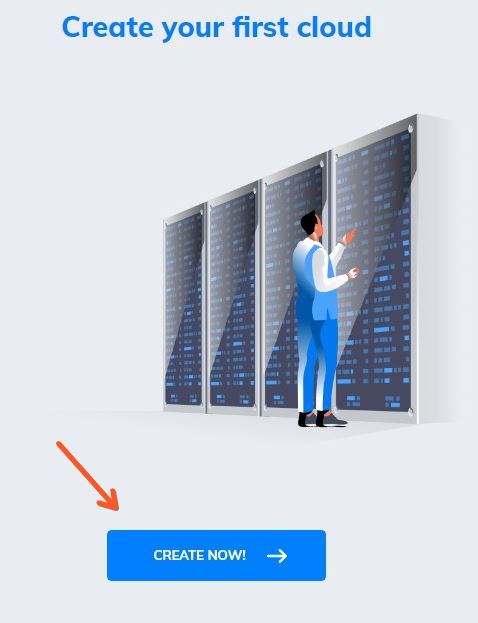
2. This window will appear. Click on the button to move on;
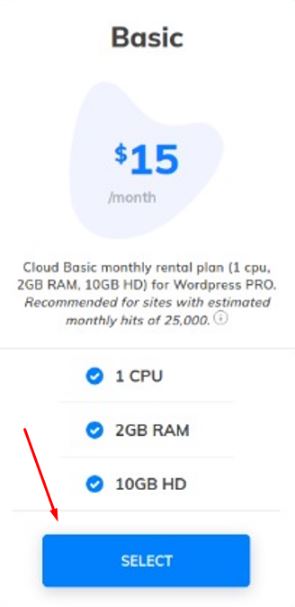
3. You can choose a plan here. Check the features that each plan offers and choose the one that will suit you. The value of the plans are monthly;
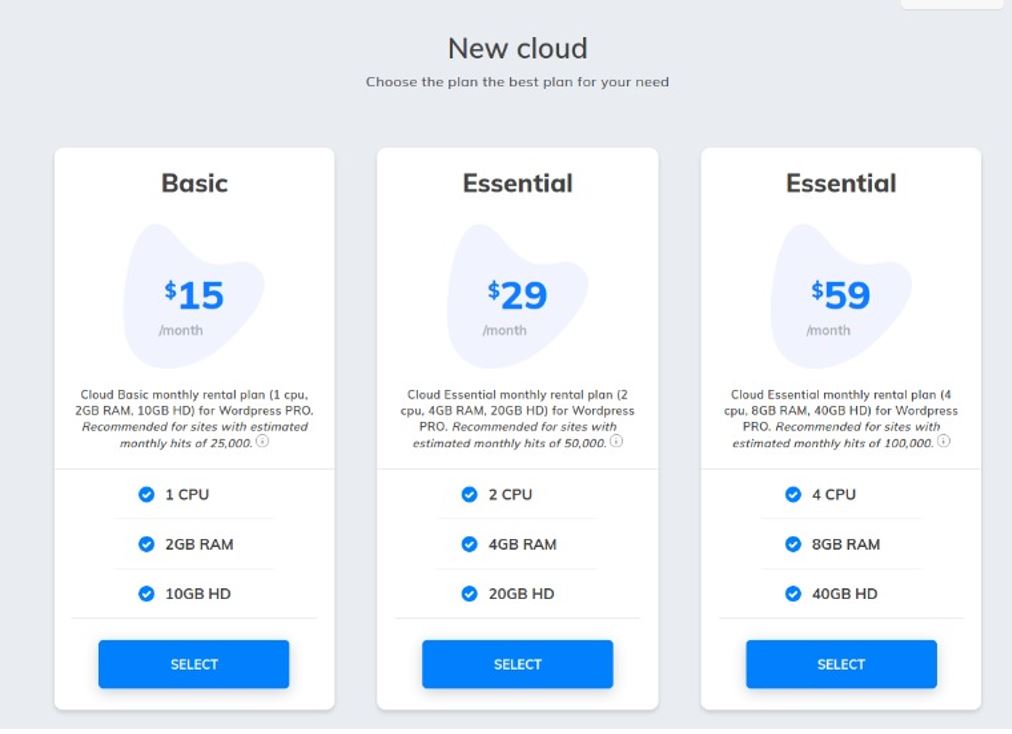
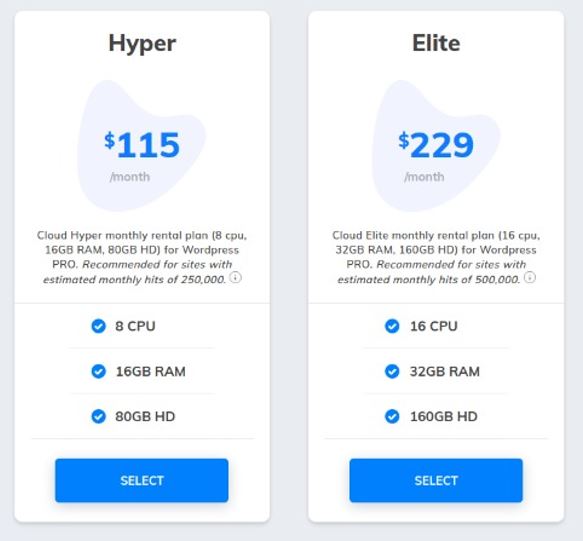
4. Choosing the best cloud for you, click on the button;
5. Will open a window, asking to name your cloud;
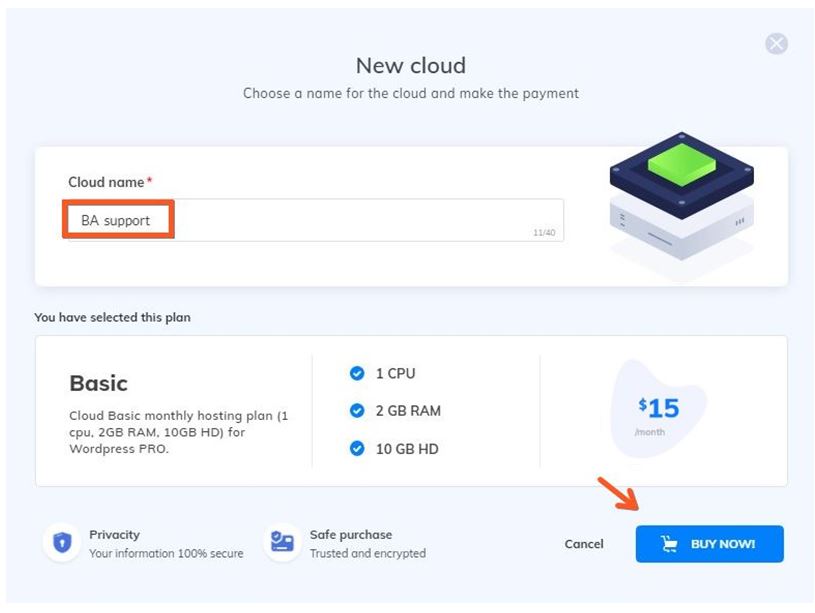
6. You will be redirected to the checkout page. You will be able to choose the credit/debit card or PayPal methods of payment. When you checkout, the cloud creation will take about 5 minutes to complete. After that, it will look like this. Clicking on the pencil, you can rename your cloud. Also, you can delete your cloud by clicking the trash bin. This middle option, is to configure your cloud. Let’s take a look at it;

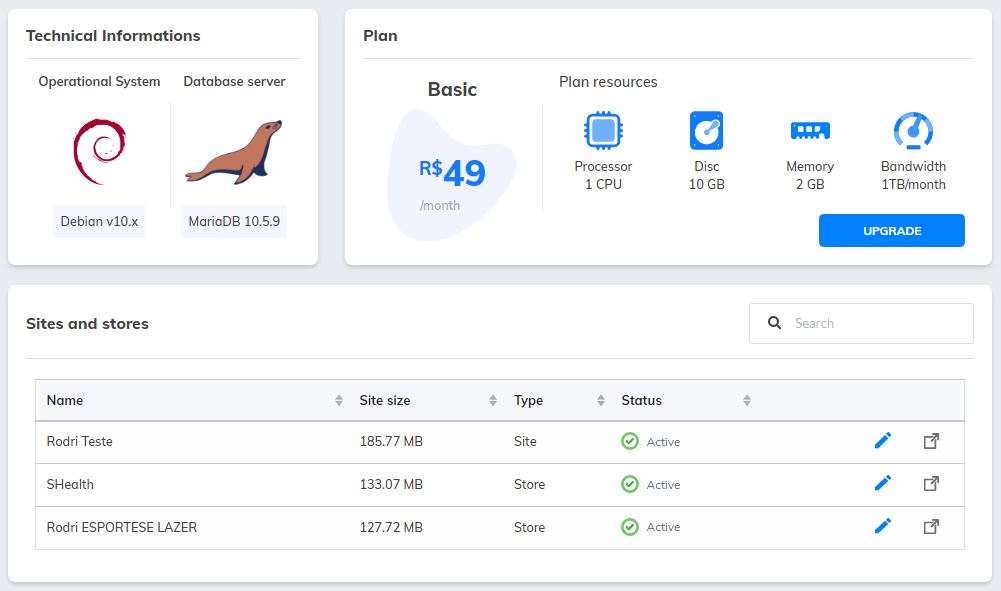
7. You will have all this information in this section. We are going to check each one of them;
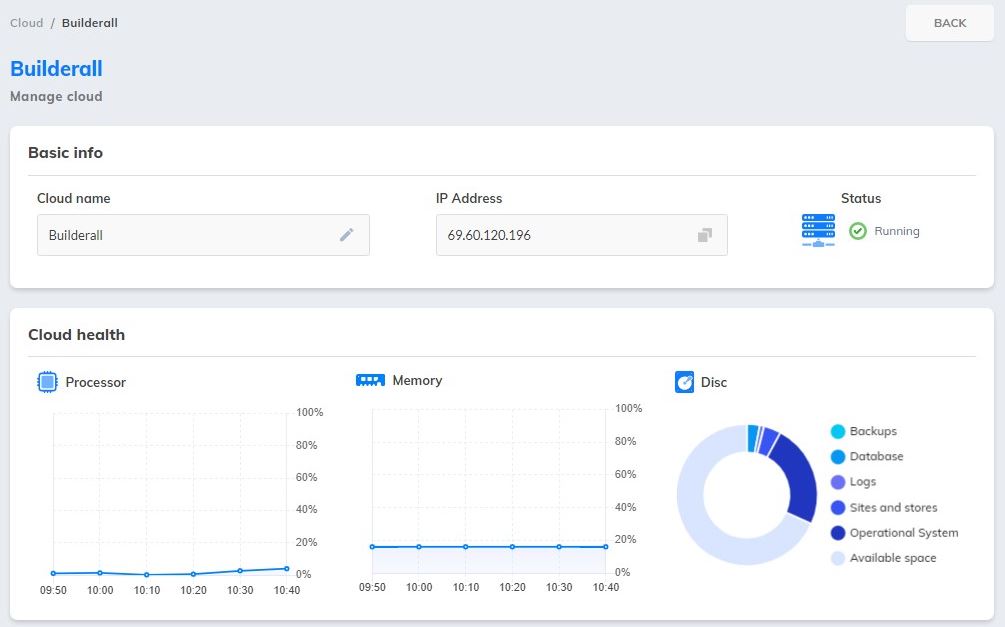
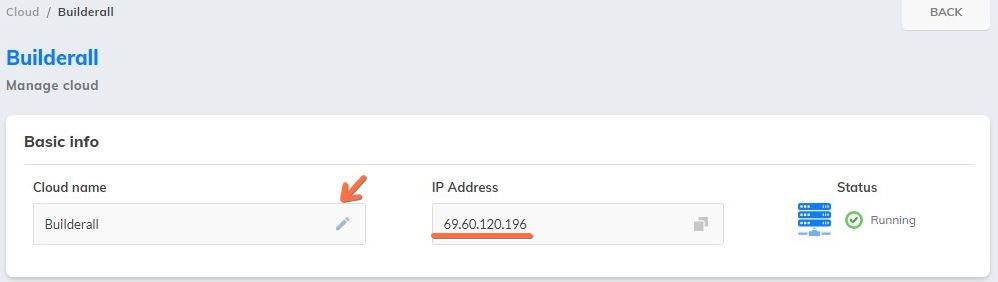
8. The first part is the Basic Info. Here you can edit the name of your server, and check the IP address. If you click on the double squares near the IP number, you will copy it;
9. Here the user can check how much the processor and memory has been used in the last hour. Next to it, it shows the storage capacity of the disk, with information from the operating system, backups, stores, websites, etc;
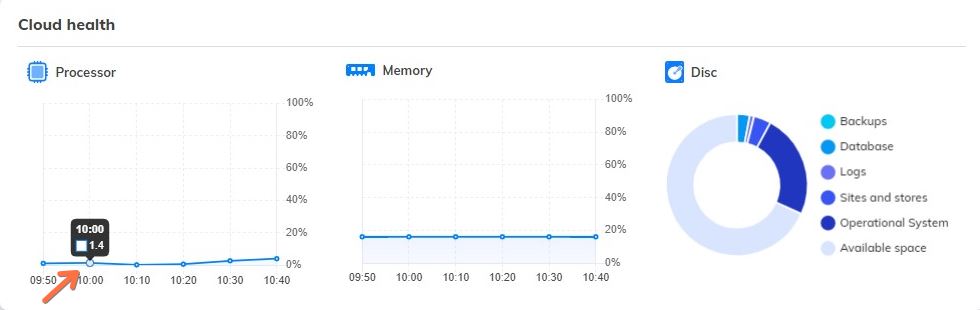
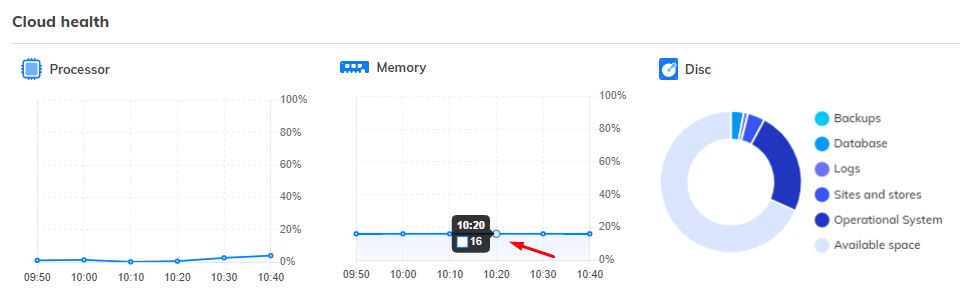

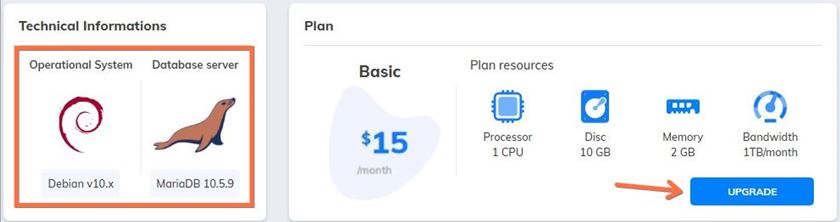
10. The server needs an operating system, and here Debian (Linux system) is used, which takes up 22% of the HD. Automatically, when creating a cloud, the database is also created and takes up 2% of the disk space. Remember that the user will have access to the database, but we suggest that only those users who have advanced knowledge of databases should access it. Here you can upgrade your server plan as well. Just click on the button;
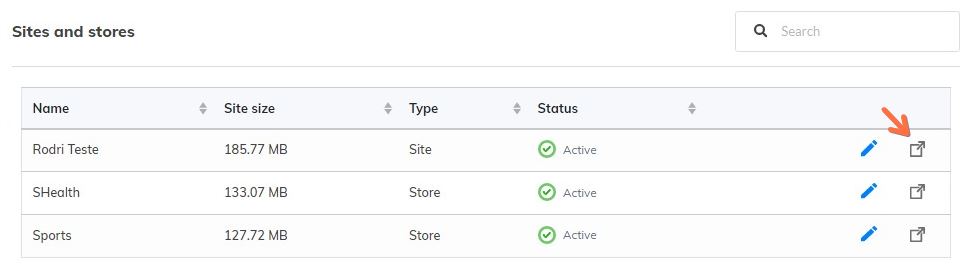
11. In this part, you can check how many and which sites and stores you have on your server. How much space each one is taking up, and if you need to, you can delete them to free up space on your hard drive. You can also access the site or store by clicking on this button;
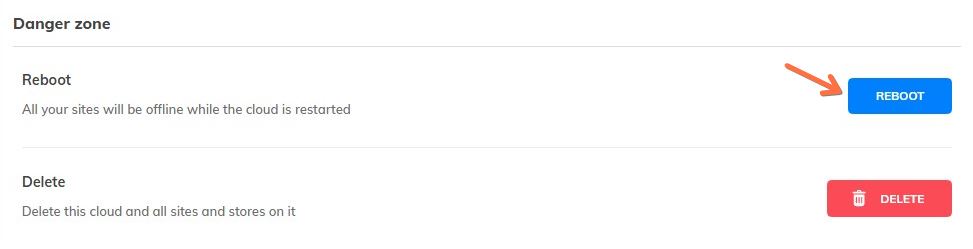
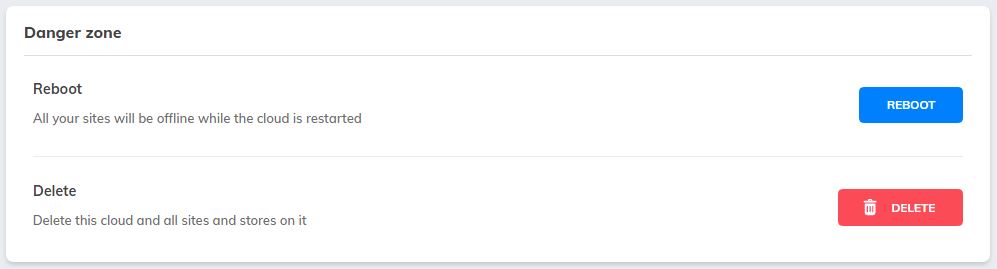
12. In this section the user is able to restart his cloud, it may be that at some point the server is crashed, taking this action may get the server working again. If this does not solve the problem, the user will have to contact our support. Here he can also delete the cloud;