To create a website or WooCommerce, you need to hire a server. You can create the “Cloud” (server) during the website/store configuration, or directly in the “Clouds” section.
“Cloud” is a server, a virtual machine that the user will have in his name and all the resources of this server will belong to the user, to use as needed. Let’s see how can a user can hire a “Cloud”.
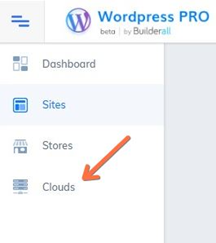
- Log into the WordPress Pro tool. On the side menu, click “Clouds”;
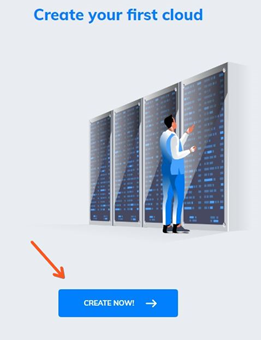
2. This window will appear. Click on “Create Now”;
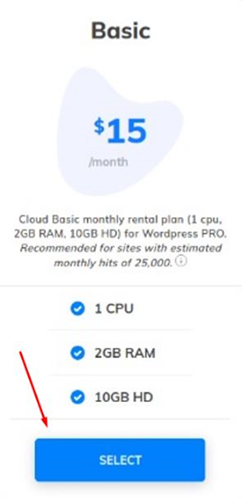
3. The server hiring plans will appear and when you hire the plan that fits your requirements, you can create websites and stores to allocate on this server. There is no limitation of these resources, only the capacity that the server offers;
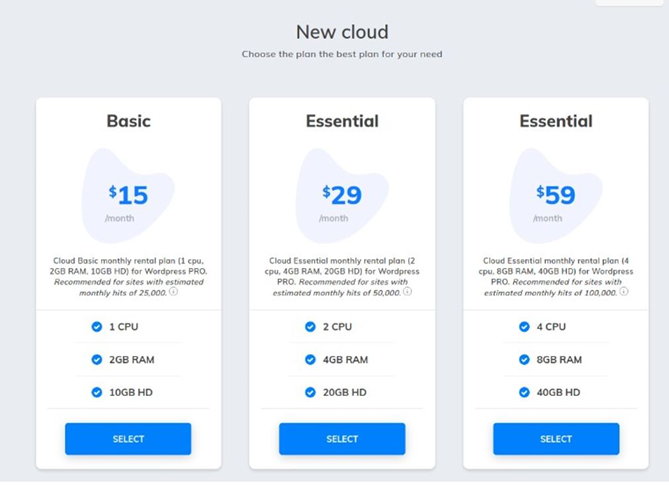
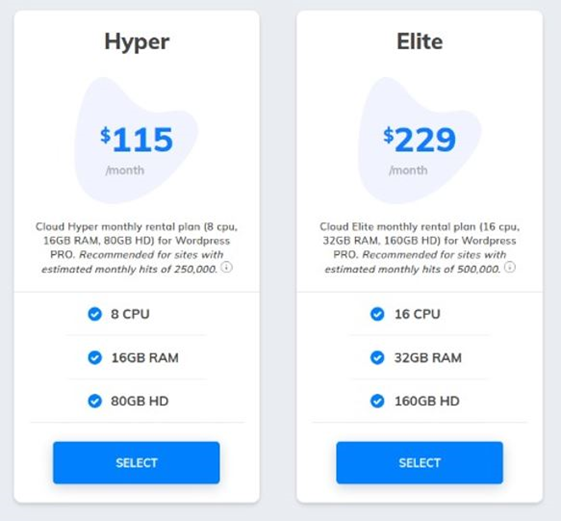
4. When you have chosen the plan, just click the “Select” button;
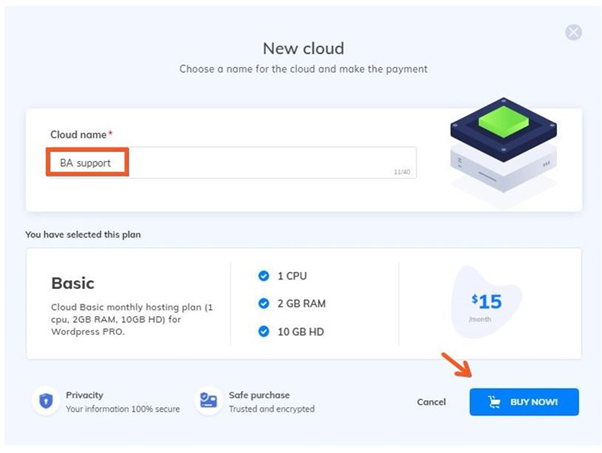
5. A window will open for you to enter the server name. After identifying your server, press the “Buy” button;
6. You will be redirected to the Builderall checkout, where you can choose to pay with international debit or credit card or Paypal. Once the payment is done, the server will appear like this. Clicking on the “pencil” you can rename your server and clicking on the “trash” will delete your server, with all information on it, not being able to recover them;
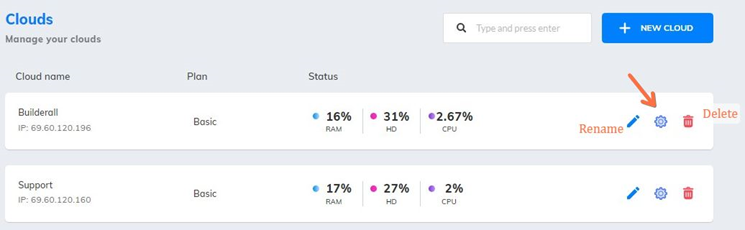
7. By clicking on this “gear” we will check some settings;
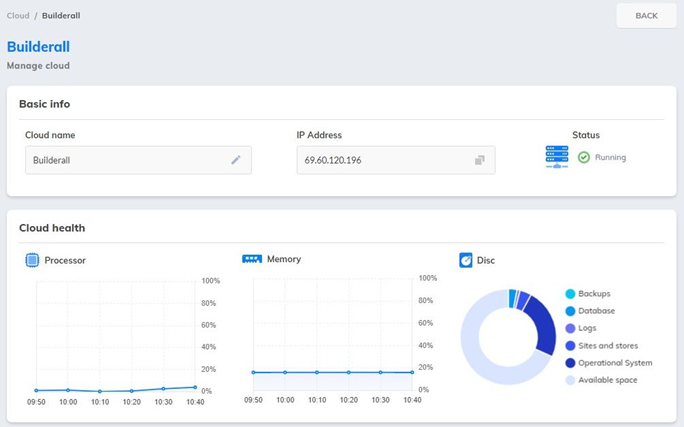
8. Under “Basic Information” you can change your server name and check the IP number you are using. Under “Status” you will see whether the server is active or not;

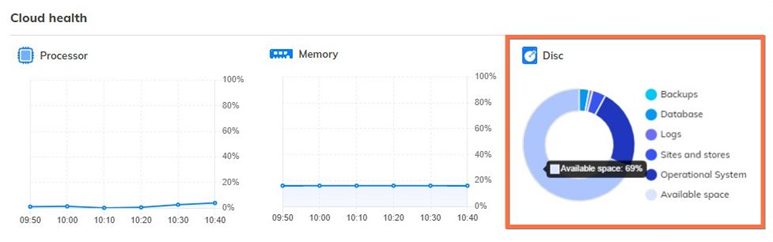
9. Under “Cloud health” you can analyze how much processor and memory has been used in the last hour (see examples below);
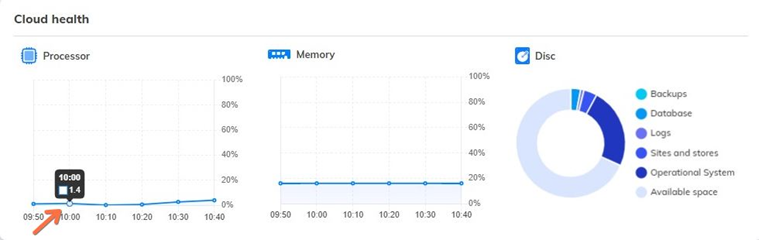
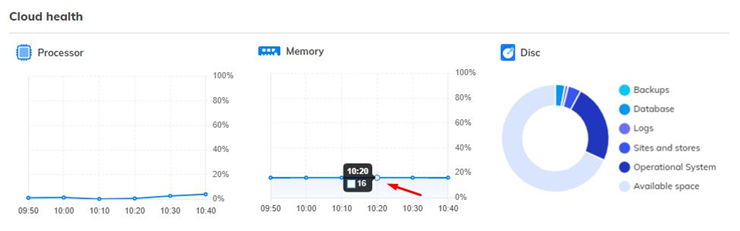
* This information concerns the disk, what is saved on it. So you can check how much the backups are using your disk, for example.
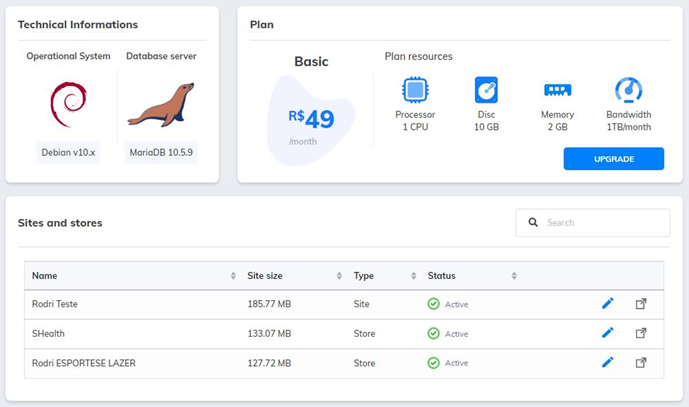
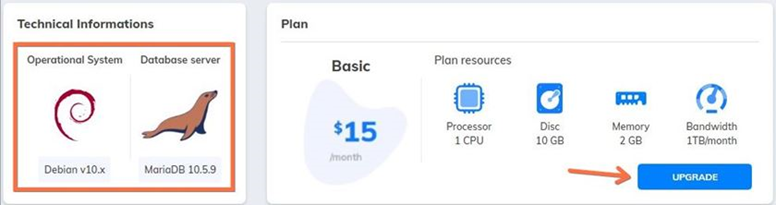
10. Under “Technical Informations” the user can check the operating system and the database that the server uses. Each server has its own operating system and occupies 22% of the HD. Automatically when creating a “Cloud”, the database is created and will occupy 2% of the disk space. If you want to upgrade your server, just click on this button;
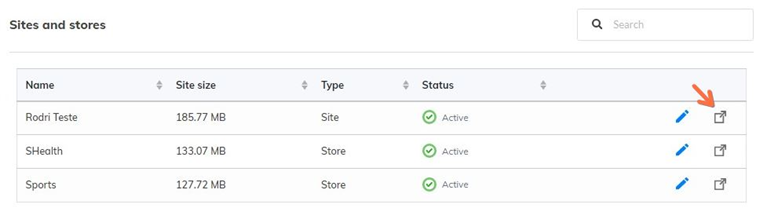
11. Under “Sites and Stores” you will see all sites and stores, with their respective sizes. This will give you a parameter of how much each site is taking up on your disk. You can check if they are active or not. If you want to check the site or store, click on this icon;
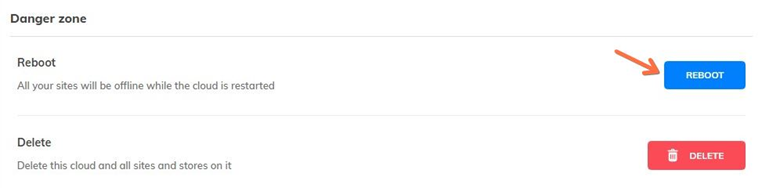
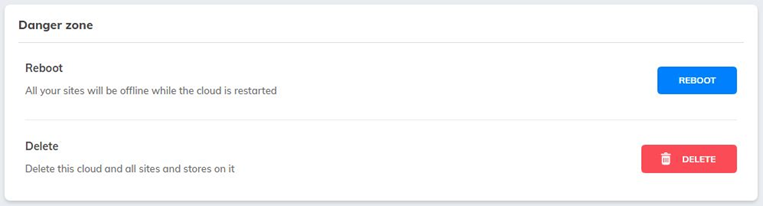
12. In the “Dander zone”, you can restart the “Cloud”. It may be that at some point the server is crashed, and by taking this action the server can get back up and running. Here you also have the option to delete the server;