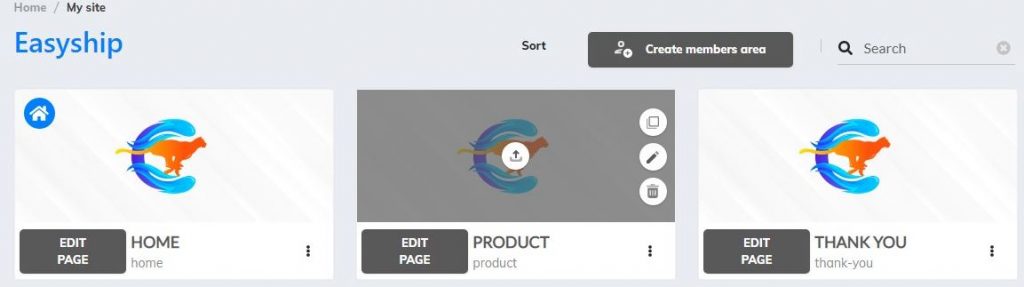
- First, you need to build your pages
2. Now, scroll down to Supercheckout
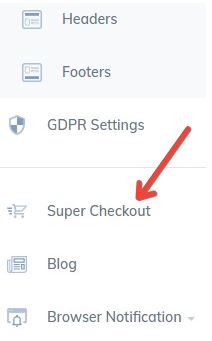
3. Click there, and will open the Supercheckout Dashboard
If you are going to create your first product, you need to fill the Business Information
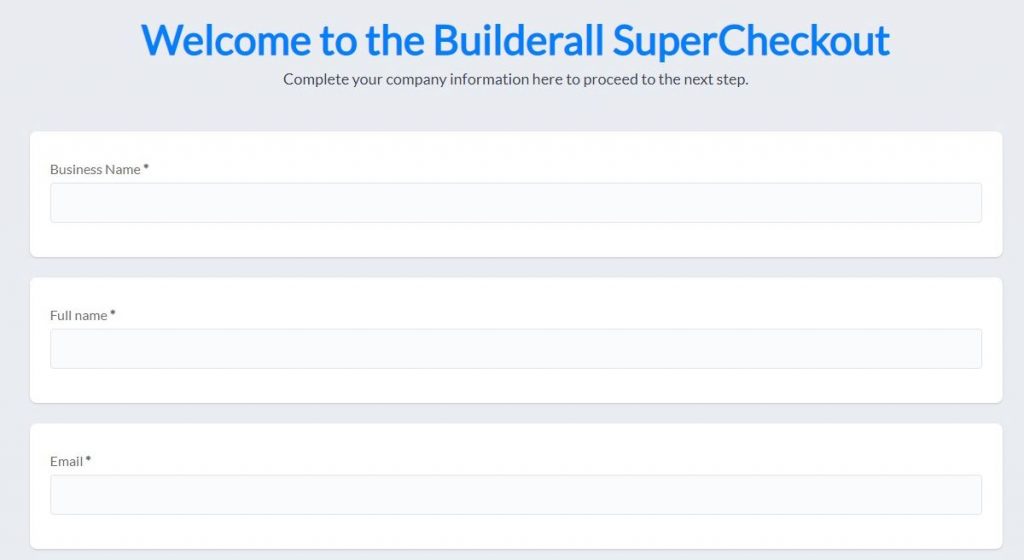
Just complete all information here
After filling with business information, you will enter the Dashboard
4. Click here to create a new product

You will fill in the required information for these fields:
- Product Info;
- Pricing;
- Affiliation;
- Designs;
- Email Campaign;
- Restricted Area;
- Integrations;
- Shipping;
- Terms of Use.
5. In “Shipping” section, you will have three options.

Choose “Regular shipping”.
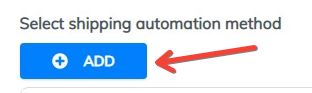
6. It will open this section to add another shipping method

Choose Easyship
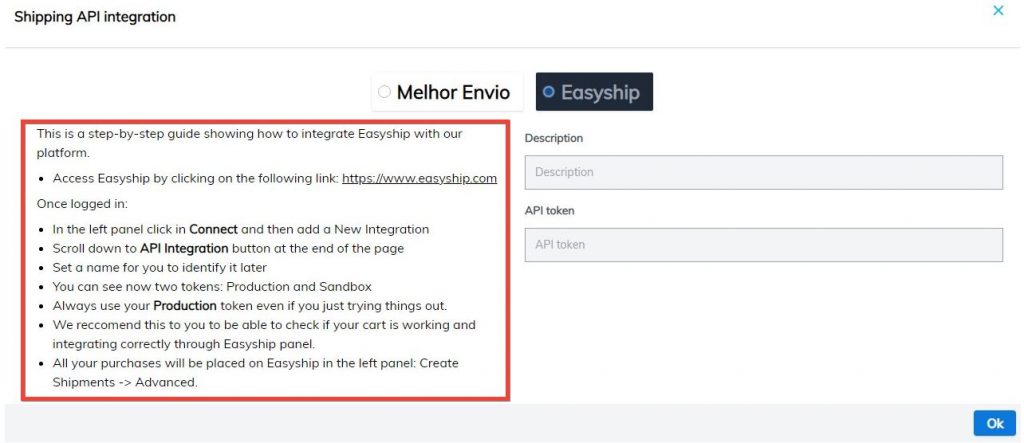
Read the instructions to get the API Integration
Enter this link: www.easyship.com
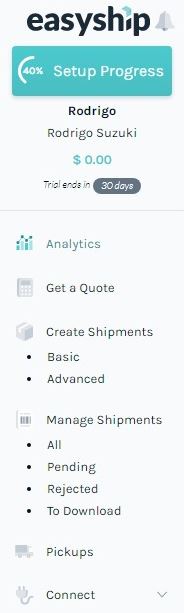
7. Inside Easyship account, you will see this menu
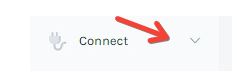
8. Click “Connect”
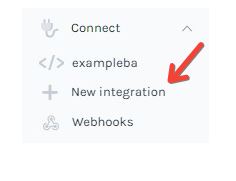
9. Will open these subcategories. Click “New integration”
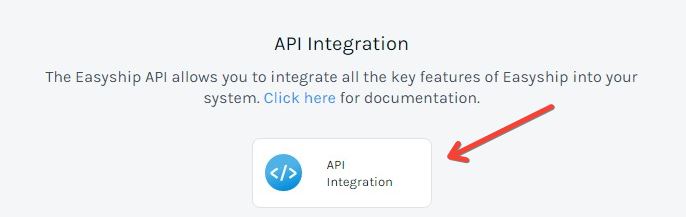
10. Scroll down the page, and click here “API Integration”
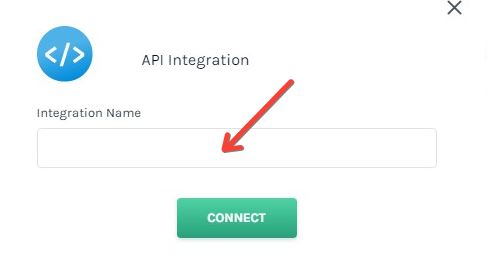
11. Now, you have to insert a name here, and hit “Connect”
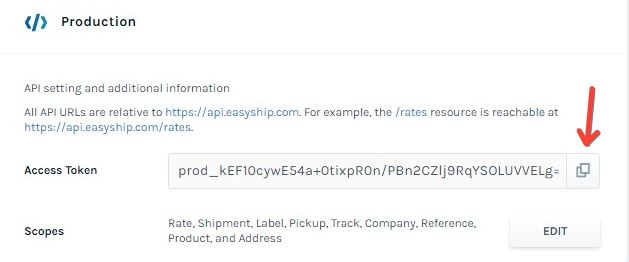
12. You will see this page

13. According to the previous instructions, it is suggested to use “Production”. Copy the code, by clicking on the image
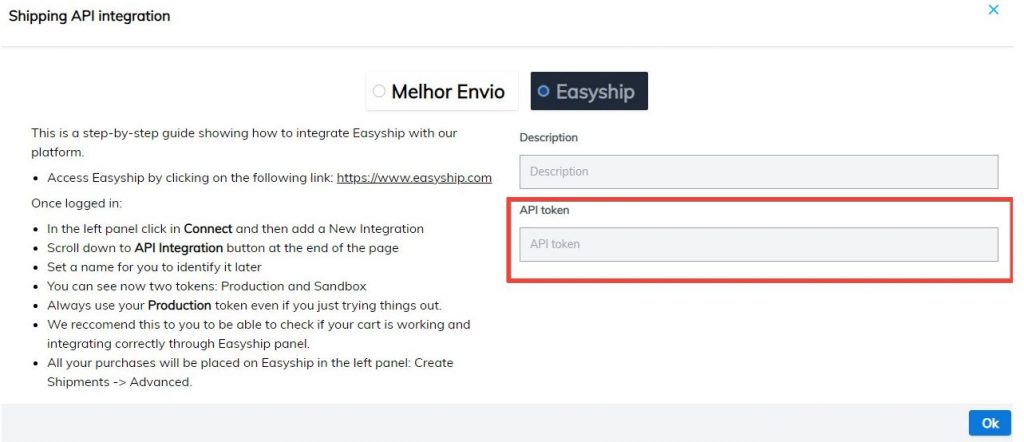
14. Now, go back to Supercheckout – Products – Shipping
In this part, paste the token and set the “Description”
15. Easyship method is created. Choose it, and configure product information
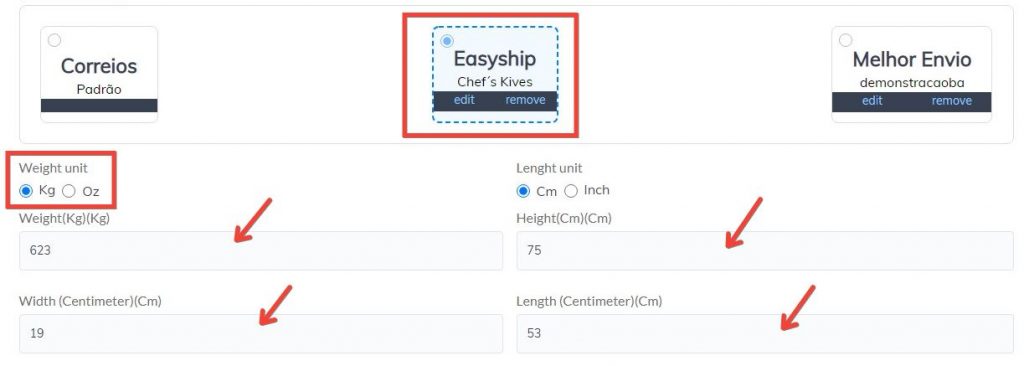
16. What you have to do now, is to save your configurations
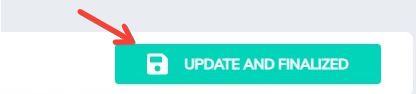
Almost done. The product is created, and the shipping method is set
After accepting the Terms and Conditions, the product is created
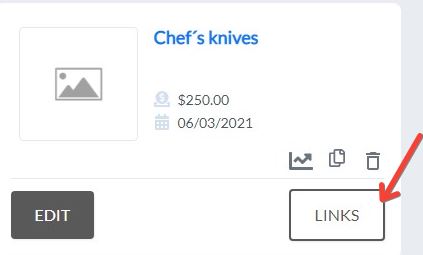
17. Click on “Links”
18. The “Panel Links” will appear. Choose the “Checkout URL” link, and configure it to a button or a checkout form.
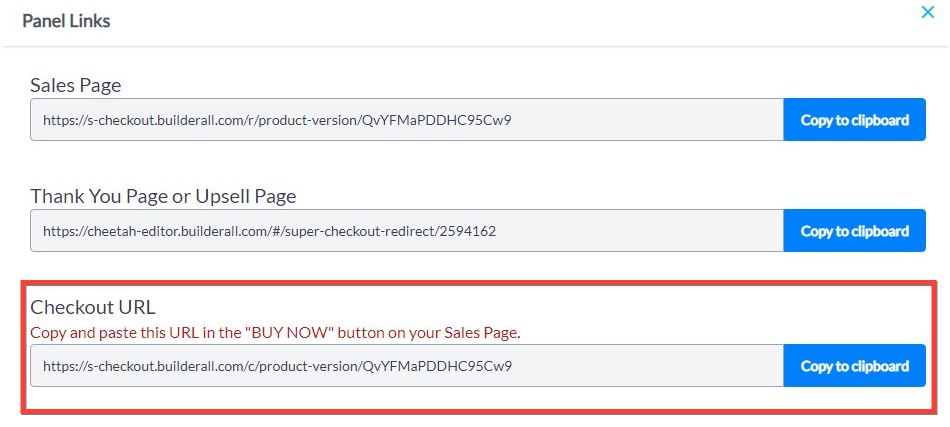
Now your product is ready to start selling.