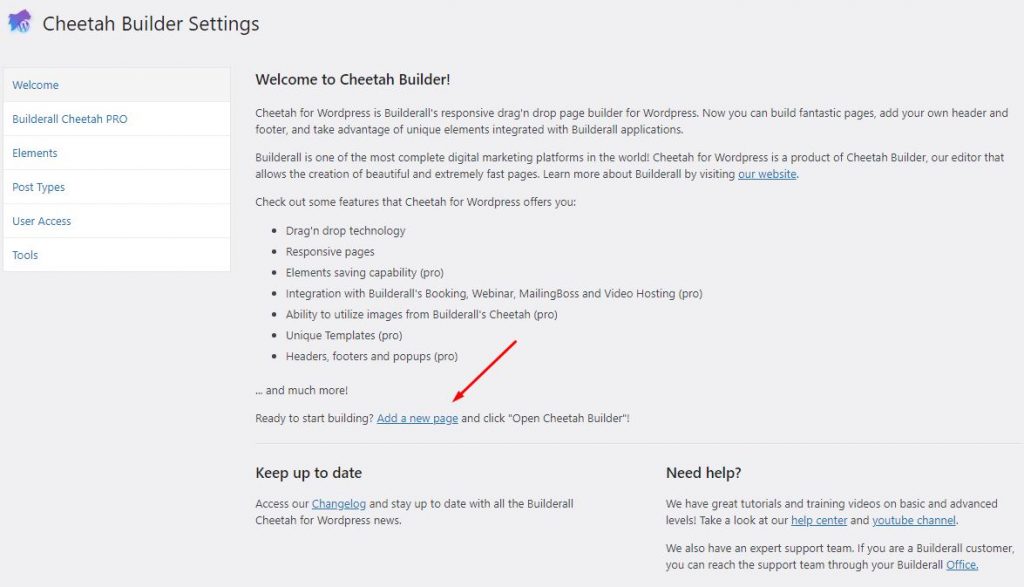
- If you are going to create a site where you are going to create your site from scratch without a template, just click on “Add a new Page”;
2. If you already have a WordPress Site attached to Builderall, you can unlink the site here;

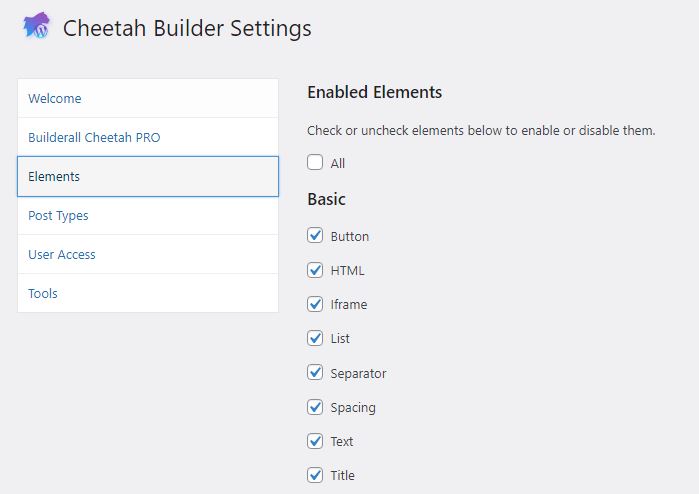
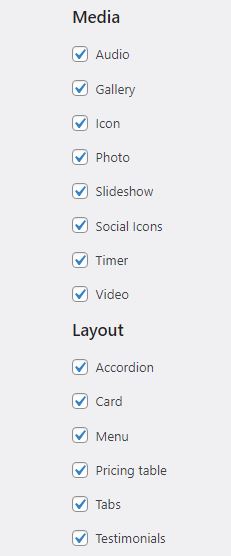
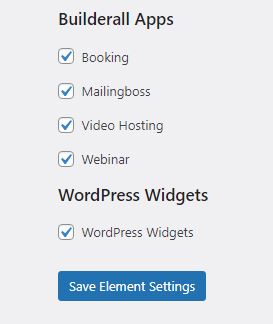
3. Here, you need to choose the elements you will be using inside the Cheetah Builder. If you want to use all of them, just click “All”;
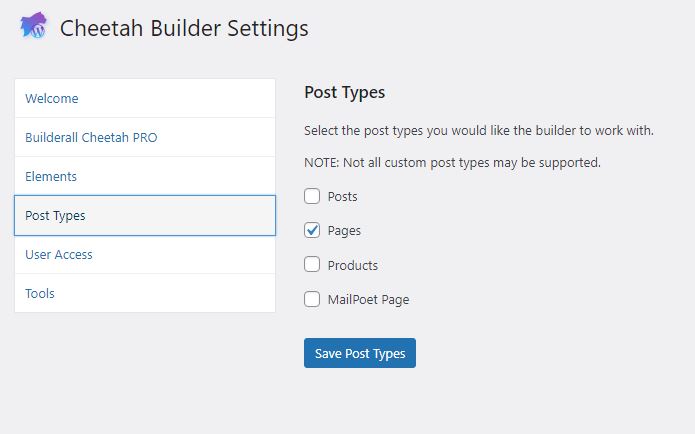
4. Same applies to all post types. Choose and “save”;
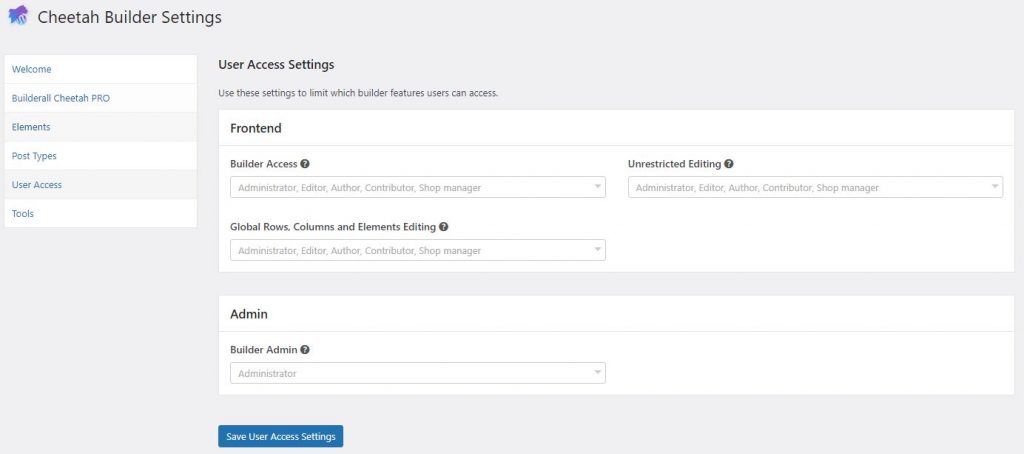
5. Here you can add User Access for your virtual assistants or team. Once done, click “Save User Access Settings”. If no other users, just leave out;