In this tutorial we will create your product in Supercheckout. It can either be a Physical or Digital Product.

Please note, if you want to create an ecommerce store with various products with more functionality, you will still need to add every product in Supercheckout to use the Ecommerce Functionality.
- On the left hand side navigation of your website. Click on “Super Checkout”
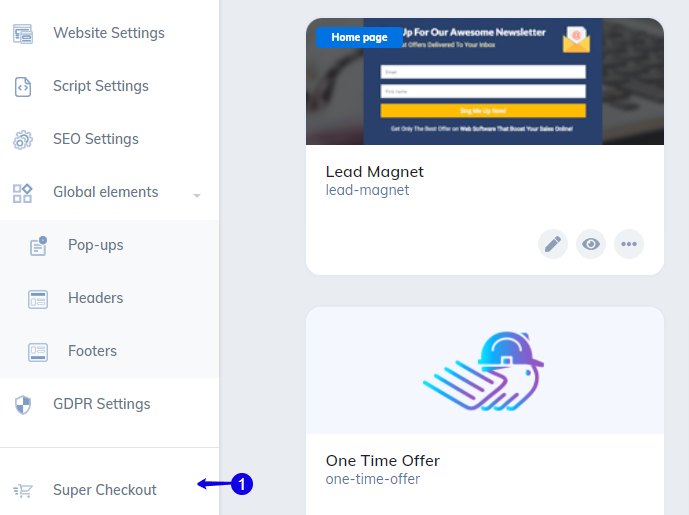
Note: If it is the first time you are using Super Checkout on this domain, you will be required to add your company details that will reflect on your invoices.
- Click on “Create New Product”.

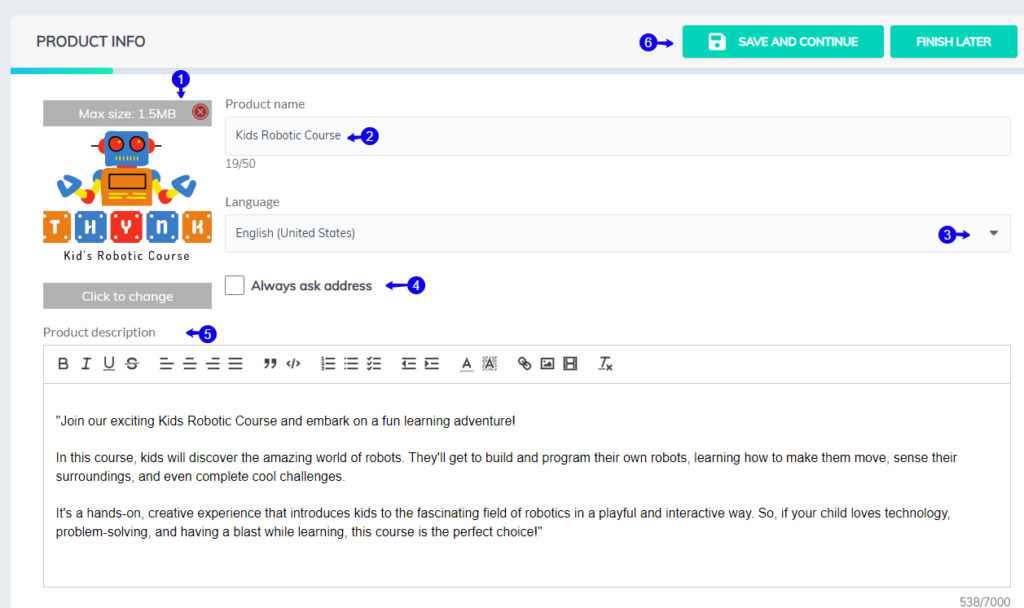
- Add an image for your product.
- Give your product a name.
- Choose your language.
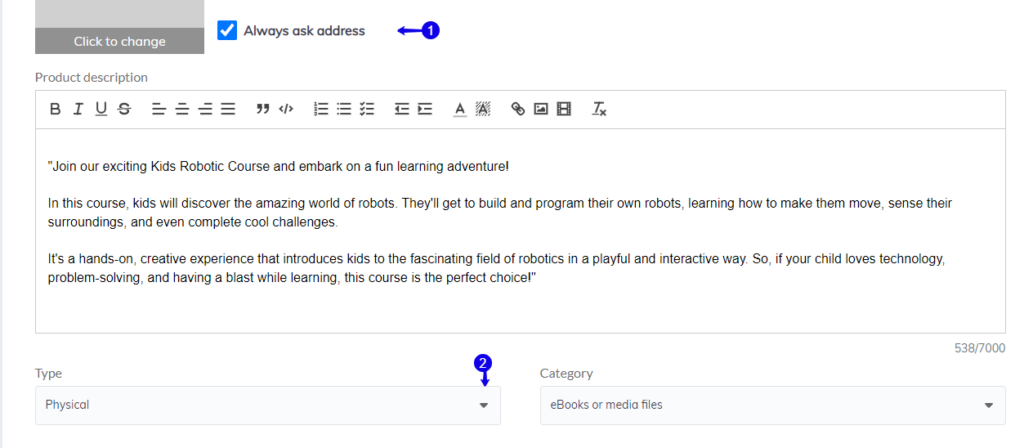
- If it is a physical product, enable “Always ask address” If Digital product leave blank.
- Give a proper product description because your lead might click on buy button and decide on checkout they are no longer interested. Adding proper description might motivate to continue.
- Click “save and continue”.
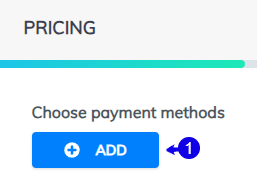
- Click on “+Add” to choose a payment gateway.
- These are all the payment gateway available. If you do not see your payment gateway, it means it is not integrated with Builderall yet. Every payment gateway have their own settings. Just follow the text prompts to set up your payment gateway.
- When done, click “Ok”.

- Choose your payment gateway, by clicking once. It will show it is enabled by adding a blue dotted line.
- Choose your currency. You can only activate one currency.
- Choose your payment type:
- Single payment
- Recurring payment
- Auction
- If you are offering a coupon. You can enable it here, by choosing from the drop-down.
- Choose the value of the product.
- Choose if you are offering a refund on the product.
- Add any additional taxes.
- Click “Save and Continue”.

Here you will have three options. You can either disable product quantification, or enabled it to restrict the amount a person is allowed to purchase, or to give discount according the how many they purchase.
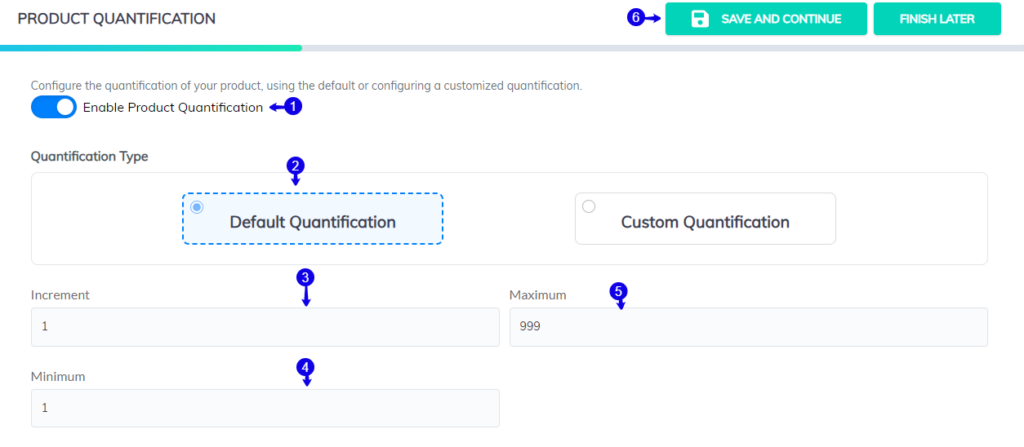
OPTION 1: DEFAULT QUANTIFICATION
Here you can choose how many products a person is allowed to purchase.
- To enable product quantification, you need to slide button to show blue.
- Choose Default Quantification
- Increment: Do you only allow clients to purchase in increments of 2,4,6 etc?
- Minimum: What is the minimum they can purchase.
- Maximum: What is the maximum they can purchase.
OPTION 2: CUSTOM QUANTIFICATION
Here you can choose how much discount is applied.
Example: The more they purchase the more discount is given.
- Enable product quantification
- Choose “Custom Quantification”.
- Click “+Add” and label your quantification. Specifiy how many needs to be purchased with the amount of discount that will be given.
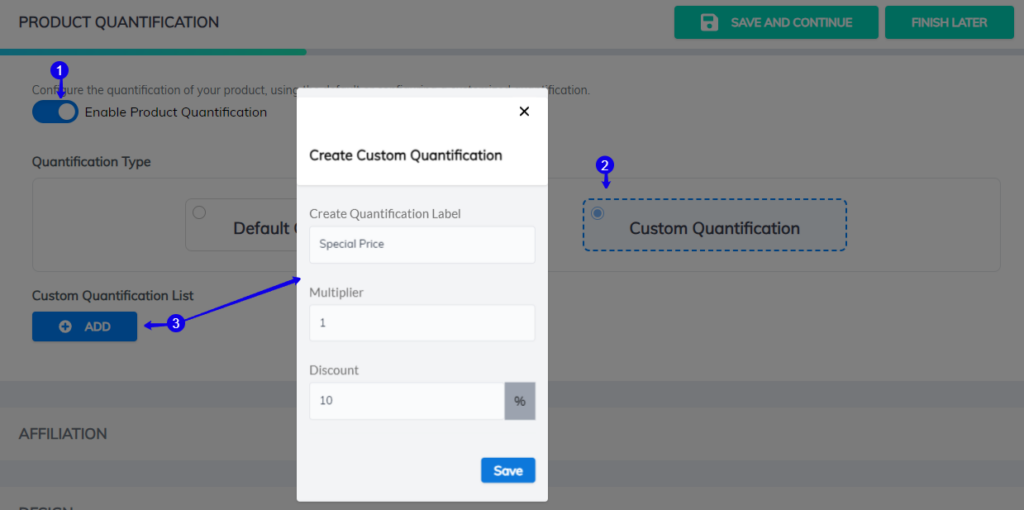
- When done, click “Save and Continue”.

You can add affiliation to your product and create multiple tier structures. Also note that this only applies to this product alone and not across all your products.
- Click on “Enable individual affiliation for this product”.
- Click “Update and finalized”.

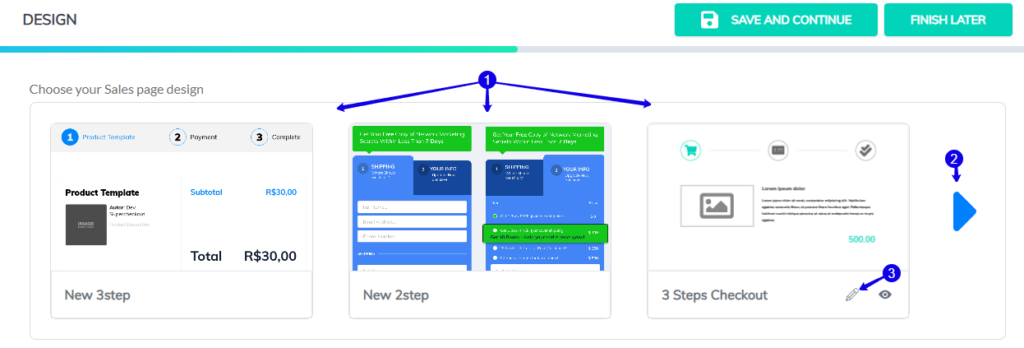
- You will have multiple checkout forms to choose from.
- If you scroll to the right, you will see an additional form.
- Choose one you would like to modify and click on the pencil. You can change the color of the buttons and text.
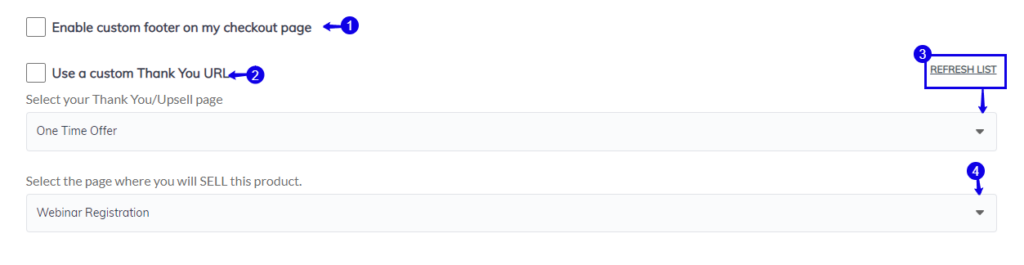
- If you would like to add a custom footer like “Thank you for your business” you can tick this block and add your text.
- Here you can choose to either type in a url where you would like to send them to after they have made the purchase, by clicking on this block and adding the url.
- If you want to send them to a page in your site, you can use the drop-down. If you do not see your page, you can click on refresh.
- Choose from the drop-down the page where the product will be sold.
- When done, click on “Save and Continue”.

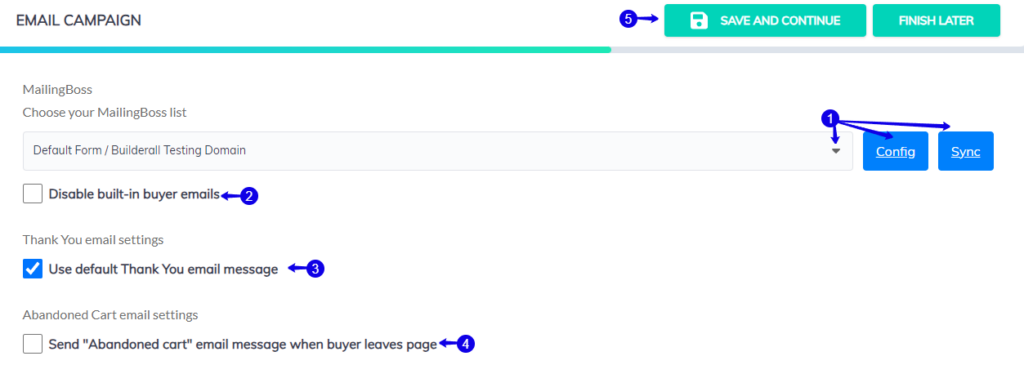
Here you will choose the list that the client will be added to, so that you can send them emails in Mailingboss.
- Choose your list. If you do not see your list, you can syncronize or configure the list here.
- You can disable the built in buyer emails that will be sent on your behalf.
- If you want the system to send an email, you can modify the content by removing the tick and add your own content.
- If you want to send an abandoned cart email, you need to tick the block and add the necessary content.
- When done, click on “Save and Continue”.
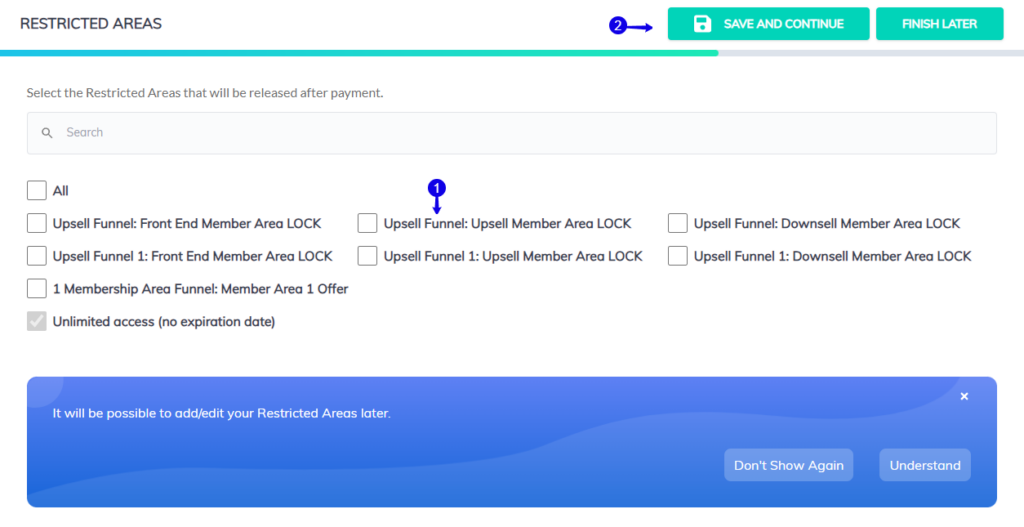
Restricted areas applies to Membership Sites. You will need to have Membership Pages restricted for them to show up in this area.
- Choose which membershp pages needs to be released when product is purchased.
- Click “Save and Continue”.
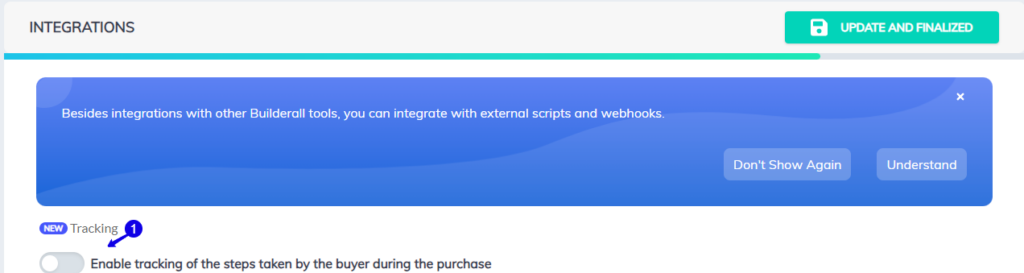
TRACKING
- If you would like to track your clients activity during the checkout, just enable here.
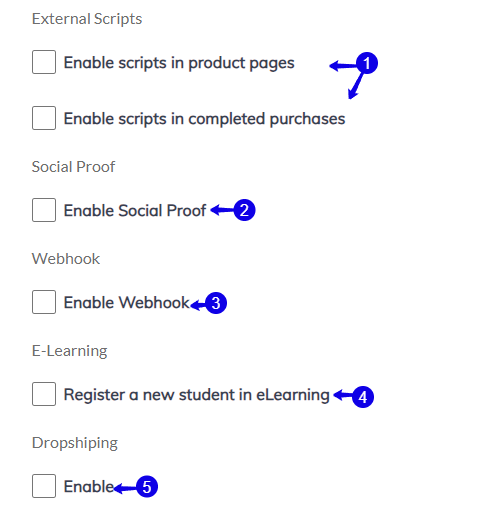
EXTERNAL SCRIPTS
- You can add any type of scripts here such as your Google Tag Manager script so that you can collect data.
- If you are going to add Social Proof to your site, you can enable it here, but you first need to create the Social Proof campaign.
- You can create webhooks that you can add to other platforms such as Zapier and Pabbly.
- If your product is an e-learning course, you can choose to register the student in elearning when they purchase the product.
- If you are doing dropshipping, you can enable to send information to another platform.
- When done, click on “Save and Continue”.

If you have a physical product and would like to set up shipping for your product. You will need to enable Physical Products in the Product Info to ensure this section becomes available.
- Under Product Information click on “Always ask Address”.
- Change type to “Physical”.
TYPES OF SHIPPING
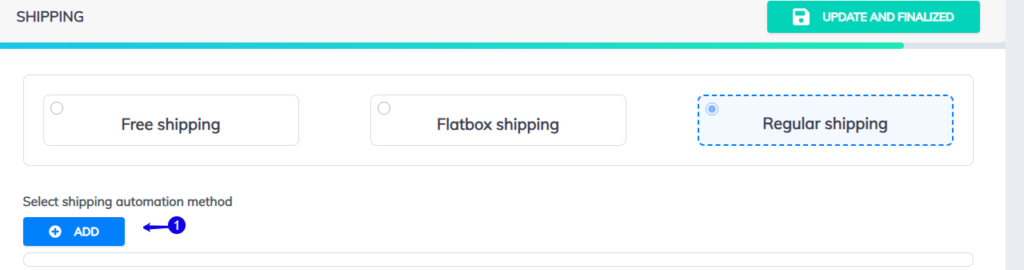
- You can choose between 3 different types of shipping.
- Free Shipping where a person will not be charged.
- Flatbox shipping where a specific flat rate will be charged.
- Regular shipping where the client will be charged according to the dimensions you have set.
- You can also charge additional shipping rates, by making use of the transport zones.

- If you are going to enable “Regular shipping” you will have the functionality to add an automted shipping method by making use of an external plaform “Easyship”.
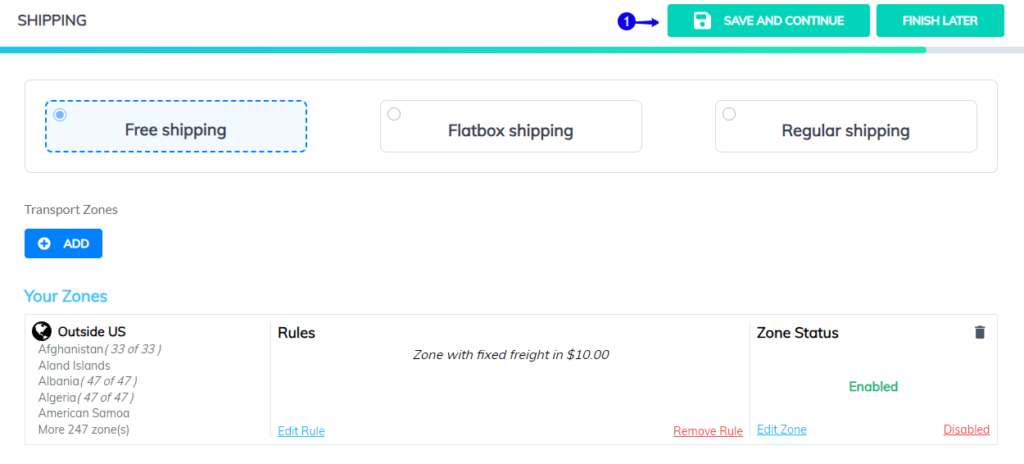
TRANSPORT ZONES
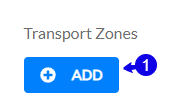
- Transport zones can be added to Free shipping, Flatbox shipping and Regular shipping
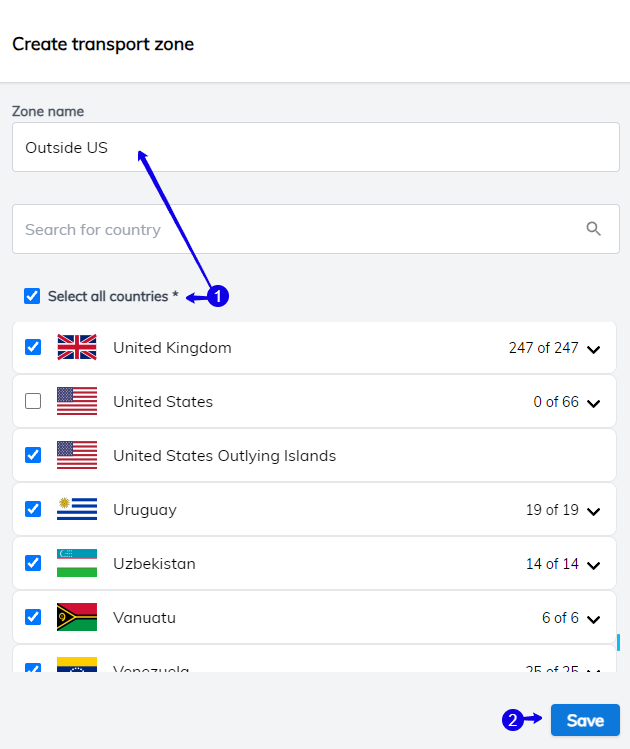
In this example, we will set up shipping so that everyone outside the US will pay additional fees, over and above the normal shipping rates you have determined previously.
- Give the Zone a name and choose the countries that will pay additional shipping fees.
2. Create the rule they will be charged by adding the additional fee.
3. Click on “Add rule”.
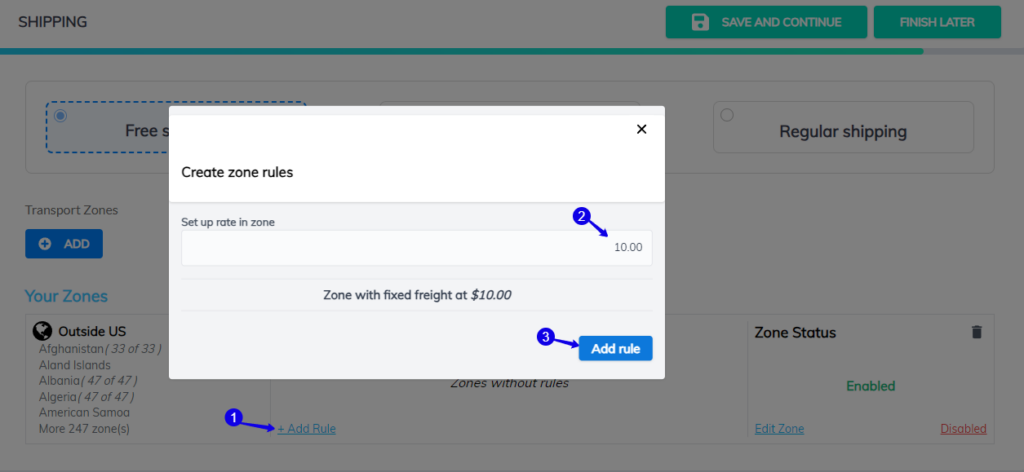
Here you can see that we have chosen “Free Shipping” because the box are highlighted in blue, and we have created a rule for people that purchase a product and resides outside of the US to pay a shipping feel.
- Accept the terms and conditions.
- When done, click on “Save and Continue”.

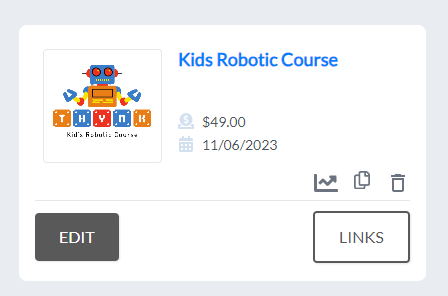
Your final product will look like this, ready to be used anywhere on your site.

Congratulations, you now have successfully setup your first product in Supercheckout.
Jacky de Klerk | Success Coach